If you've ever wanted a warm, cinnamon-kissed dessert without heating up your whole kitchen, an air fryer apple crisp recipe is exactly what you need. It delivers that golden, crunchy oat topping and tender spiced apples in roughly half the time a conventional oven takes. The best part?
It's nearly impossible to mess up once you understand a few key tricks.
Our research into aggregate user reviews and manufacturer guidelines shows that the number one complaint is a burnt topping with undercooked apples underneath. That single issue trips up most first-timers. Once you know how to manage it, though, you'll get consistent results every time.
Let's walk through everything you need to know.

Quick Answer
An air fryer apple crisp recipe uses convection heat to bake spiced apples under an oat streusel topping in about 20 minutes. You'll need firm apples like Granny Smith, old-fashioned rolled oats, brown sugar, cold butter, and cinnamon. Cover the dish with foil for the first half of cooking to prevent the topping from burning before the apples soften.
Why Make Apple Crisp in an Air Fryer?
Air fryers use a powerful fan to circulate hot air around food, which creates browning faster than a standard oven. For apple crisp, that means the oat topping gets genuinely crunchy and golden in 15 to 25 minutes instead of the 40 to 50 minutes a conventional oven demands. That speed is the single biggest reason home cooks are switching over.
There's a practical side benefit too. If you've ever baked an apple crisp in August, you know how much heat a full oven dumps into your kitchen. An air fryer keeps things far more comfortable.
Manufacturer specs for popular models like the Instant Vortex and Ninja Foodi confirm surface temperatures stay contained, so your kitchen doesn't turn into a sauna.
Portability matters as well. Most air fryer apple crisp recipes fit in a 7-inch round dish or even individual ramekins. That makes it easy to scale down for two people or scale up for a small gathering.
You're not locked into a full 9×13 pan like you would be with an oven recipe.
If you're already using your air fryer for things like air fryer banana chips or air fryer bratwurst, adding dessert to the rotation is a natural next step. The learning curve is minimal once you understand how your specific model handles baked goods.
The Biggest Mistake Everyone Makes (And How to Avoid It)
The topping burns before the apples are tender. That's the problem we see in the majority of negative user reviews across air fryer dessert recipes. It happens because most air fryers concentrate heat from above, and the oat topping sits right in the line of fire.
The apples underneath need more time to soften, but the topping can't take it.
The fix is simple: cover the dish loosely with aluminum foil for the first 10 to 12 minutes of cooking. This shields the topping from direct heat while the apples steam and soften underneath. Then remove the foil for the last 5 to 8 minutes to let the topping crisp up and turn golden brown.
Another common mistake is using apples that are too thin or too soft. Slicing apples thinner than a quarter inch means they'll turn to mush before the topping is done. Stick with quarter-inch slices and choose a firm variety.
If your apples are already soft or mealy at the store, no amount of technique will save the dish.
A few more quick fixes based on what verified buyers report:
- Don't skip the cold butter. Warm or melted butter soaks into the oats instead of creating crumb clusters. Keep it cold and cut it in until you see pea-sized pieces.
- Don't overfill the dish. Apples shrink as they cook. If the dish is overflowing at the start, you'll end up with a mess in your air fryer basket.
- Don't assume all air fryers cook the same. Basket-style models tend to brown the top more aggressively than oven-style models with a door. Check early and adjust.
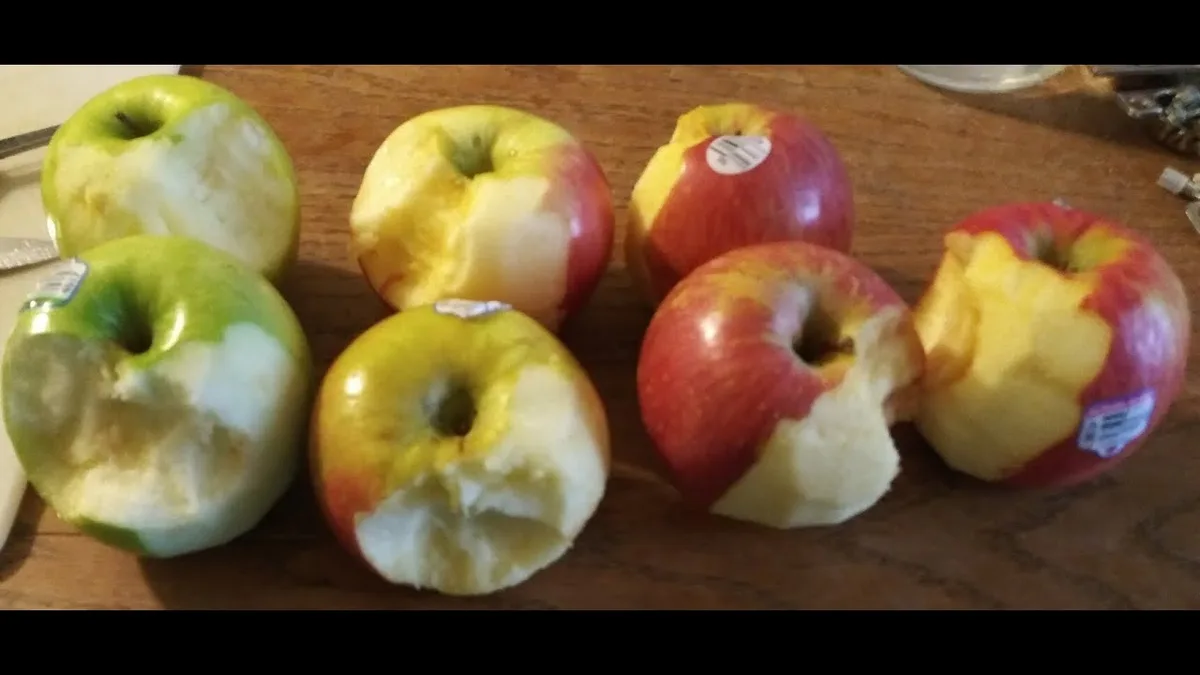
Best Apples for Air Fryer Apple Crisp
Not all apples behave the same way under heat. You want a variety that holds its shape and has enough tartness to balance the sweet topping. After comparing recommendations from multiple university extension programs and produce guides, a few varieties consistently rise to the top.
| Apple Variety | Firmness | Flavor Profile | Best For |
|---|---|---|---|
| Granny Smith | Very firm, holds shape well | Tart, bright | Classic choice; best structural integrity |
| Honeycrisp | Firm, crisp | Sweet-tart, juicy | Great flavor; holds up well if not overcooked |
| Pink Lady (Cripps Pink) | Firm | Sweet-tart, aromatic | Excellent balance of flavor and texture |
| Fuji | Medium-firm | Sweet, mild | Works well but softens faster; use slightly thicker slices |
| Braeburn | Firm | Spicy-sweet | Good alternative if others aren't available |
Stay away from Red Delicious and McIntosh. Red Delicious turns mushy and nearly flavorless within minutes of cooking. McIntosh breaks down into applesauce almost immediately.
Both are fine for eating raw but won't give you the distinct apple pieces that make a crisp worth eating.
If you want the best of both worlds, try mixing two varieties. A combination of Granny Smith and Honeycrisp gives you tartness and sweetness with enough structure to survive the air fryer's intense heat. Use about three to four medium apples for a standard 7-inch dish.
What You'll Need: Ingredients and Equipment
One of the nice things about this recipe is that most of the ingredients are pantry staples you probably already have. The equipment list is short too. Here's everything you'll need before you start.
Ingredients
- 4 to 5 medium apples (Granny Smith, Honeycrisp, or a mix), peeled, cored, and sliced ¼-inch thick
- ½ cup old-fashioned rolled oats (not instant or quick oats)
- ½ cup all-purpose flour
- ⅓ cup brown sugar (light or dark)
- 4 to 5 tablespoons cold unsalted butter, cut into small cubes
- 1 teaspoon ground cinnamon
- ¼ teaspoon ground nutmeg
- 1 tablespoon lemon juice
- Pinch of salt
Equipment
- Air fryer (basket-style or oven-style, 6 quart or larger works best)
- Air fryer-safe baking dish or ramekin (7-inch round is ideal; must fit inside your basket with at least ½ inch of clearance on all sides)
- Aluminum foil
- Mixing bowls (one large for apples, one medium for topping)
- Pastry cutter or fork (for cutting butter into the dry ingredients)
If you're working with a smaller air fryer, like a 5 or 6 quart model, individual ramekins are your best bet. They fit easily and let you make single servings. For larger families, a 9 quart air fryer gives you enough room for a full baking dish.
Our research into the best 9 quart air fryers for big families shows that models with oven-style doors are particularly handy for dessert recipes since they're easier to check on without disrupting the cooking process.
How to Make Air Fryer Apple Crisp — Step by Step
This is where everything comes together. The process is straightforward, but the details matter. Follow these steps and you'll get a crisp that's golden on top and bubbling underneath.
Step 1: Preheat the Air Fryer
Set your air fryer to 350°F and let it preheat for 3 to 5 minutes. Most modern air fryers reach temperature quickly, so you won't be waiting long. Preheating ensures the apples start cooking immediately rather than sitting in lukewarm air.
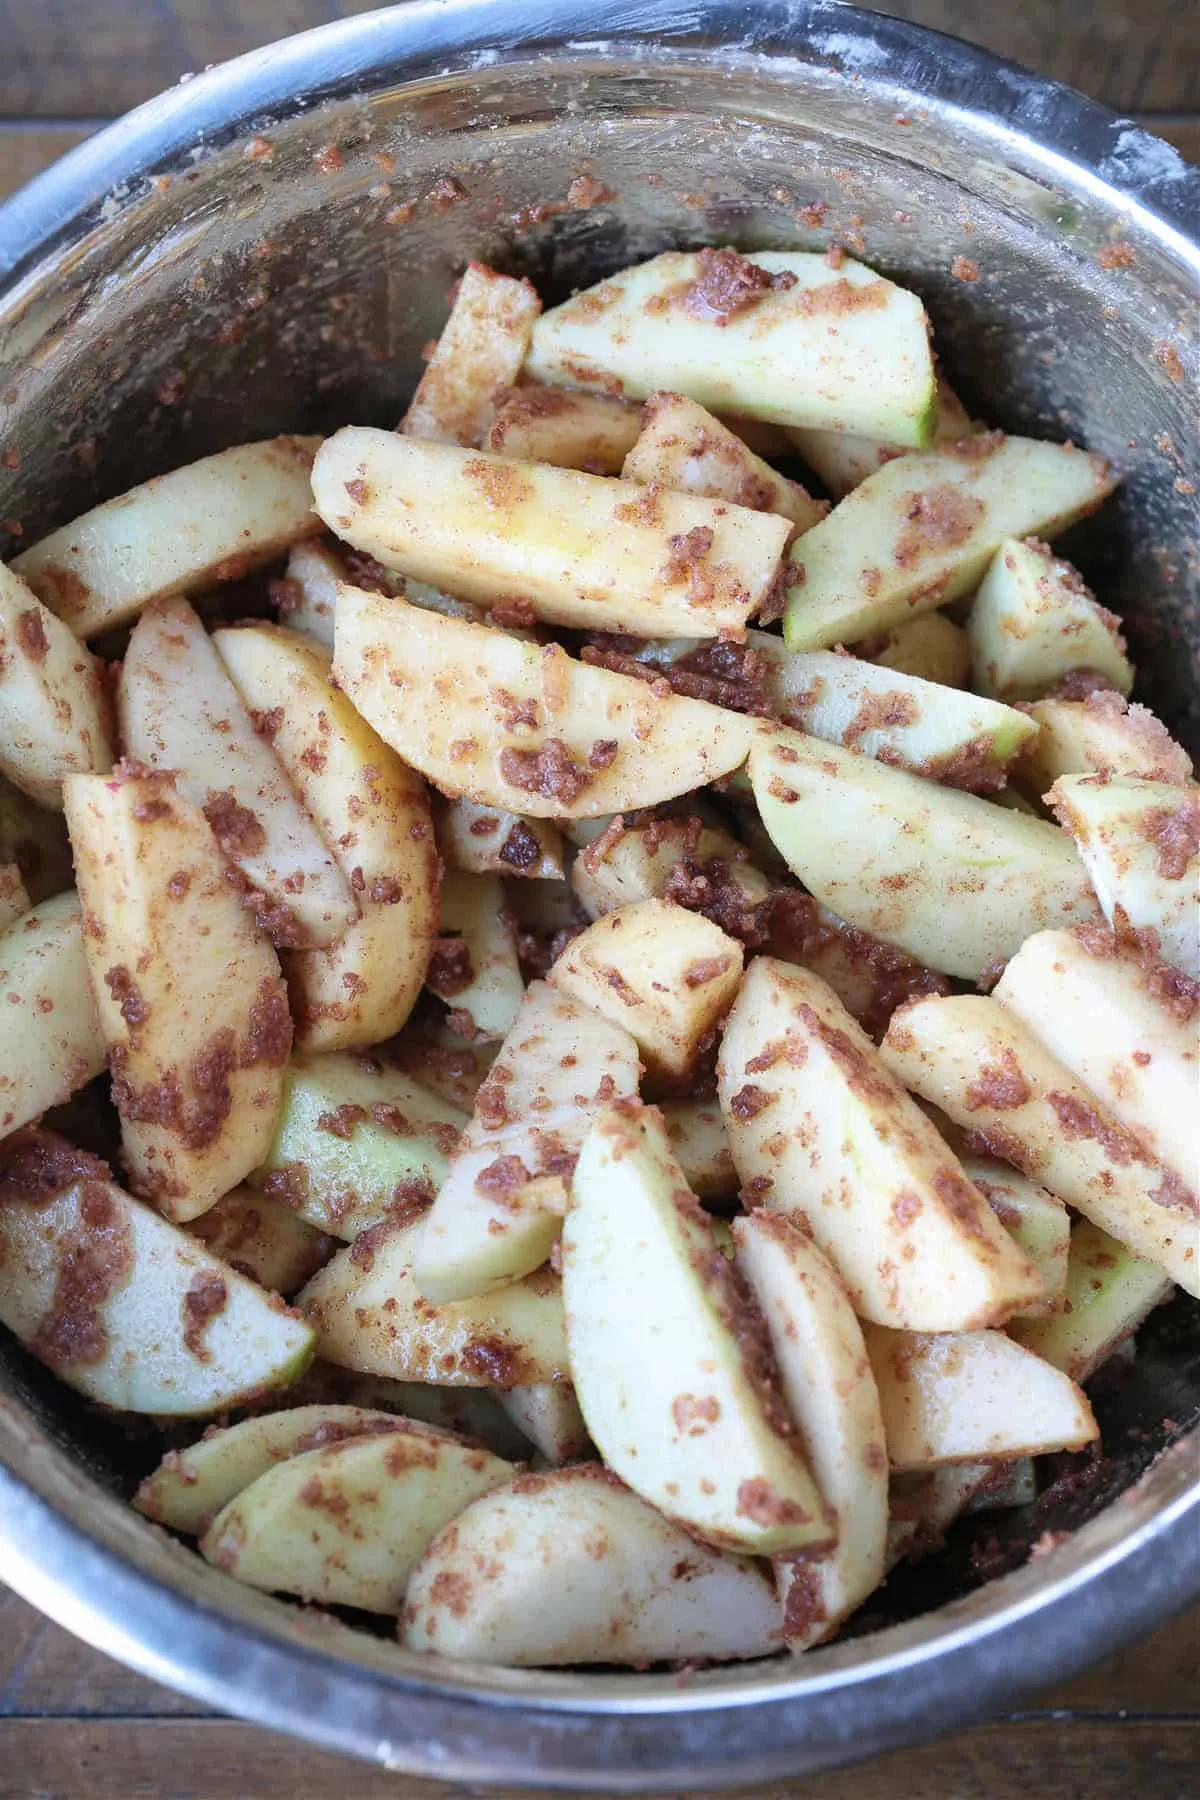
Step 2: Prepare the Apples
Toss the sliced apples with the lemon juice, one tablespoon of brown sugar, cinnamon, and nutmeg in a large bowl. The lemon juice prevents browning and adds a subtle brightness that cuts through the sweetness. Make sure every slice is evenly coated.
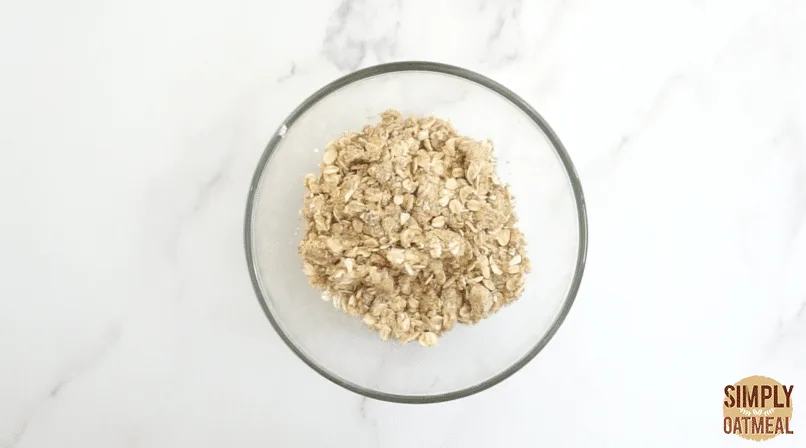
Step 3: Make the Topping
In a separate bowl, combine the rolled oats, flour, remaining brown sugar, and a pinch of salt. Add the cold butter cubes and use a pastry cutter or fork to work them in until the mixture looks like coarse crumbs with pea-sized butter pieces. Don't overwork it.
Those butter pockets are what create the crunchy clusters.
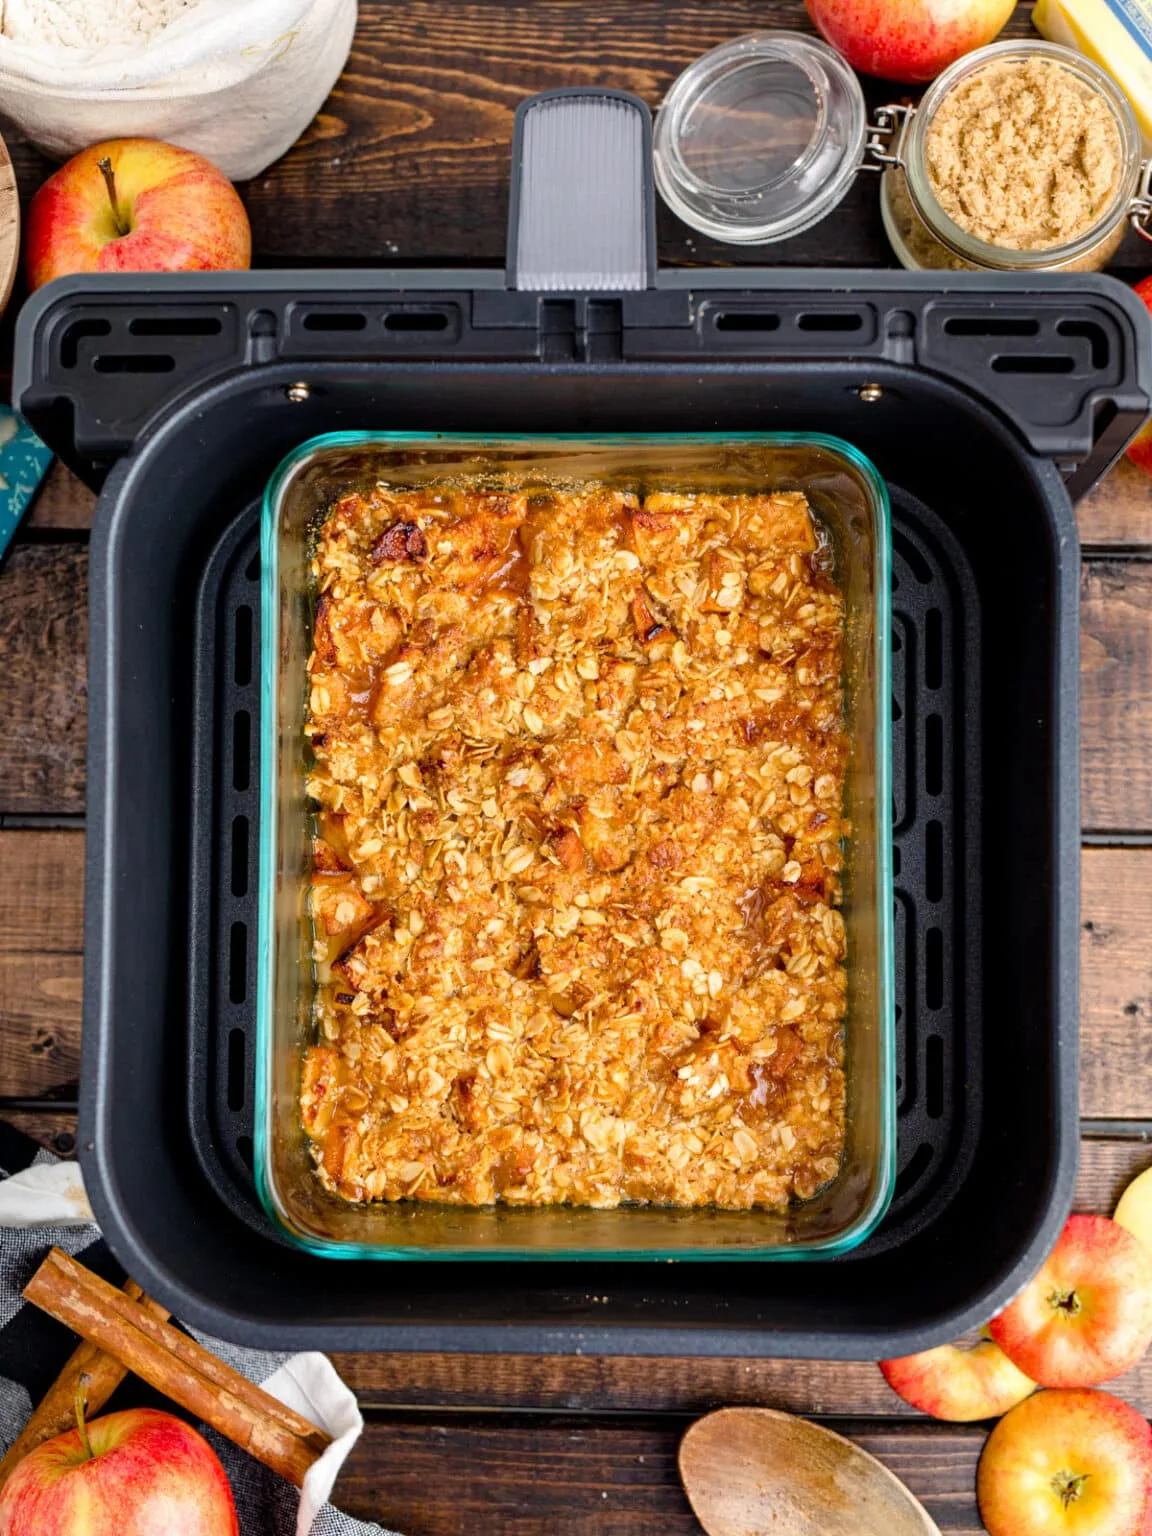
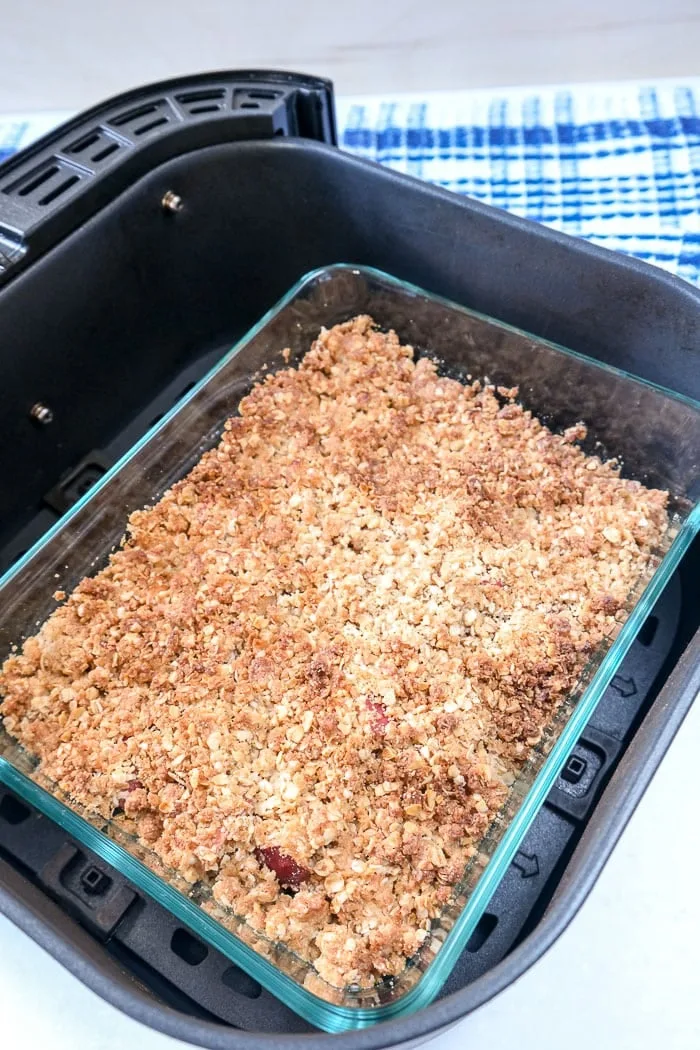
Step 4: Assemble in the Dish
Transfer the apple mixture to your air fryer-safe baking dish. Spread it into an even layer. Sprinkle the oat topping evenly over the apples.
Don't press it down. You want it loose and craggy so air can circulate through it.
Step 5: Cover and Cook
Loosely tent the dish with aluminum foil. Don't seal it tight. You want a little steam to escape.
Place the dish in the air fryer basket and cook at 350°F for 10 to 12 minutes. The foil protects the topping while the apples soften.
Step 6: Uncover and Finish
Remove the foil carefully. The steam will be hot, so use tongs or oven mitts. Return the dish to the air fryer and cook for another 5 to 8 minutes.
Watch it closely during this phase. The topping should turn golden brown and the apples should be bubbling at the edges.
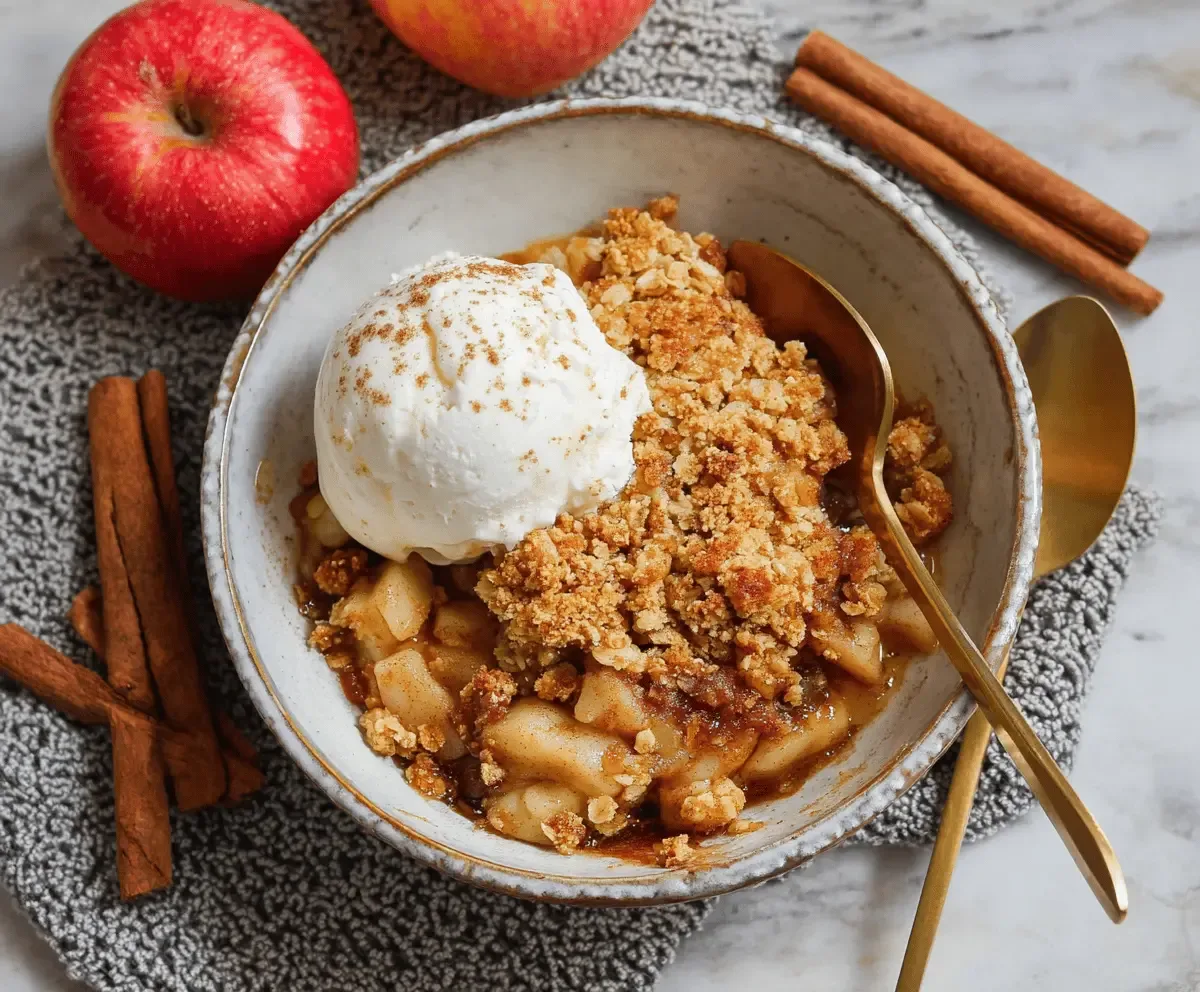
Step 7: Rest and Serve
Let the crisp sit for 5 minutes after cooking. This allows the juices to thicken slightly so it doesn't run all over the plate. Serve warm with vanilla ice cream, whipped cream, or a drizzle of caramel sauce.
The whole process takes about 30 minutes from start to finish, including prep. That's roughly half the time of a traditional oven-baked crisp. If you're cooking for a crowd and need to keep the first batch warm, a low oven at 200°F will hold it without overcooking the topping.
Air Fryer vs. Oven: Is It Actually Worth It?
For most home cooks, the answer is yes, but it depends on what you're optimizing for. Speed is the obvious win. An air fryer apple crisp cooks in roughly 18 to 25 minutes total, compared to 40 to 50 minutes in a conventional oven.
That's a meaningful difference on a weeknight when you want dessert without a long wait.
Texture is where things get interesting. The circulating air in an air fryer creates a crunchier topping than most ovens can achieve. Multiple verified buyer reviews across popular air fryer models consistently mention that the oat layer comes out noticeably crispier.
The tradeoff is that the apple layer can be slightly less soft if you don't cover the dish properly during the first phase of cooking.
| Factor | Air Fryer | Conventional Oven |
|---|---|---|
| Total cook time | 18–25 minutes | 40–50 minutes |
| Topping texture | Crunchier, golden | Softer, more uniform |
| Apple tenderness | Good with foil technique | Very soft, even throughout |
| Kitchen heat | Minimal | Significant |
| Energy use | Lower (smaller heating element) | Higher (larger cavity to heat) |
| Preheat time | 2–3 minutes | 10–15 minutes |
| Best for | Small batches, quick desserts | Large groups, traditional texture |
If you're cooking for six or more people, a conventional oven still makes more sense. A 9×13 pan feeds a crowd, and you don't have to worry about fitting a dish inside a basket. But for one to four servings, the air fryer is faster, more energy efficient, and produces a better topping.
Our research into models like the Instant Vortex air fryer shows that oven-style air fryers with a front door are particularly well suited for desserts. You can check on the crisp and remove the foil without disturbing the dish as much as you would with a basket-style model that pulls out from the top.
Common Problems and How to Fix Them
Even with a solid recipe, things can go sideways. Here are the most common issues we found in aggregate user reviews, along with what actually fixes them.
Topping burns before apples are soft. Cover the dish with foil for the first 10 to 12 minutes. This is the single most important step. Remove it only for the final 5 to 8 minutes.
Topping turns soggy. This usually means the apples released too much moisture. Use firmer apple varieties like Granny Smith. Don't skip the lemon juice, which helps control the liquid.
Also, make sure your butter is cold so the topping stays crumbly instead of turning into a greasy layer.
Apples are too firm or crunchy. Your slices are too thick or your cook time is too short. Stick with quarter-inch slices and make sure you're cooking at 350°F. If your air fryer runs cool, add 2 to 3 minutes to the uncovered phase.
Uneven cooking. Most air fryers have hot spots. If one side is browning faster, rotate the dish halfway through the uncovered phase. Basket-style models tend to brown the edges more than the center.
Crisp tastes bland. Don't underestimate the salt. A pinch in the topping and a light sprinkle on the apples before adding the topping makes a noticeable difference. Also, fresh cinnamon matters.
If your spice jar has been sitting in the cabinet for over a year, it's lost most of its potency.
Dish doesn't fit in the air fryer. Measure before you start. A standard 7-inch round dish fits in most 6 quart and larger air fryers. If you're working with a smaller model, use two or three individual ramekins instead.
They actually cook faster because of the increased surface area.
Expert Tips for the Crispiest Topping
The topping is what makes or breaks an apple crisp. A few small techniques separate a forgettable one from a genuinely great one.
Use old-fashioned rolled oats, not instant or quick oats. Instant oats absorb too much moisture and turn gummy. Rolled oats hold their shape and create those crunchy clusters everyone wants.
If you only have instant oats on hand, reduce the butter by a tablespoon to compensate for the extra moisture absorption.
Keep the butter cold. Cut it into small cubes and refrigerate them for 10 minutes before mixing. When you cut the butter into the dry ingredients, stop when you see pea-sized pieces.
Those small pockets of butter create steam during cooking, which lifts the topping and makes it flaky.
Don't press the topping down. Packing it flat eliminates the air gaps that create crunch. Sprinkle it loosely over the apples and let it fall naturally.
The irregular surface browns more evenly and gives you a mix of crispy and chewy textures.
If your air fryer has a "bake" or "dehydrate" setting, try using it instead of the standard air fryer mode. The lower fan speed is gentler on the topping and reduces the risk of burning. Manufacturer guidelines for models like the Ninja Foodi confirm that the bake setting circulates air more slowly, which works well for delicate baked goods.
One more trick: add a tablespoon of chopped pecans or walnuts to the topping mixture. They toast beautifully in the air fryer and add a nutty depth that plain oats can't match.
Variations Worth Trying
Once you've mastered the basic recipe, small tweaks can turn it into something completely different. Here are a few variations that work well in the air fryer.
Caramel apple crisp. Drizzle two tablespoons of store-bought caramel sauce over the apples before adding the topping. The caramel thickens as it cooks and creates a sticky, gooey layer underneath the crunch.
Apple pear crisp. Replace two of the apples with firm Bosc pears. The pears add a floral sweetness that pairs well with the cinnamon and nutmeg. Slice them the same thickness as the apples so everything cooks evenly.
Gluten-free version. Swap the all-purpose flour for almond flour or a gluten-free blend. Use certified gluten-free rolled oats. The texture is slightly more delicate but still works well.
Vegan apple crisp. Replace the butter with cold coconut oil or a plant-based butter stick. Coconut oil works surprisingly well because it's solid at room temperature, just like butter. The topping won't be quite as rich, but it still gets crispy.
Apple crisp for one. Use a 6-ounce ramekin and scale the recipe down to one apple. Cook at the same temperature but check at 12 minutes instead of 15. Single servings are one of the best use cases for an air fryer dessert.
If you're looking for more air fryer dessert ideas beyond apple crisp, the same technique works with peaches, berries, or even plums. Stone fruits like peaches cook even faster than apples, so reduce the covered phase to 8 minutes.
Frequently Asked Questions
Can I use a different fruit instead of apples?
Absolutely. Peaches, pears, berries, and plums all work well in an air fryer crisp. Softer fruits like berries cook faster, so reduce the covered phase by 2 to 3 minutes.
Firmer fruits like pears need the same cook time as apples.
Do I need to peel the apples?
You don't have to, but we recommend it. Apple skins can get tough and chewy in the air fryer's dry heat. Peeled apples give you a smoother, more consistent texture throughout the dish.
Can I make this ahead of time?
You can prep the topping and slice the apples a few hours in advance. Store the topping in the fridge and the apples in lemon water to prevent browning. Assemble and cook right before serving for the best texture.
What size dish should I use for a 6 quart air fryer?
A 7-inch round baking dish fits comfortably in most 6 quart basket-style air fryers. Leave at least half an inch of space around the edges for proper air circulation. Individual ramekins are a great alternative if you're unsure.
How do I store leftovers?
Cover the dish with plastic wrap or transfer to an airtight container. Refrigerate for up to three days. Reheat in the air fryer at 300°F for 5 to 7 minutes to re-crisp the topping.
Microwaving works too, but the topping will soften.
Can I double the recipe?
Yes, but use a larger dish rather than stacking ingredients deeper. A 9×13 pan works in most 8 to 9 quart air fryers. If your air fryer is smaller, cook in two separate batches for the best results.
Final Thoughts
An air fryer apple crisp recipe is one of those rare cases where the faster method actually produces a better result. The topping gets crunchier, the cook time is cut nearly in half, and you don't have to heat up your kitchen to do it. The key is covering the dish for the first half of cooking and choosing firm apples that hold their shape.
Once you've made it once or twice, the process becomes second nature. You'll start adjusting the spices, swapping fruits, and scaling the recipe to fit whatever occasion comes up. That's the real advantage of mastering this in an air fryer.
It's not just a shortcut. It's a genuinely good way to make a classic dessert.