The air fryer bone in chicken thighs recipe that actually delivers crispy skin and juicy meat comes down to a handful of specific techniques. Get the temperature, timing, and prep right, and you'll have a weeknight dinner that rivals any restaurant. Miss a few key steps, though, and you're looking at rubbery skin or meat that's still pink near the bone.
Our research into aggregate user reviews, air fryer manufacturer guidelines, and USDA poultry standards shows that bone-in thighs are consistently one of the top-rated cuts for air fryer cooking, as of 2026. The bone acts as a heat conductor and moisture lock, giving you more forgiving results than boneless cuts. Let's walk through exactly how to nail it every time.
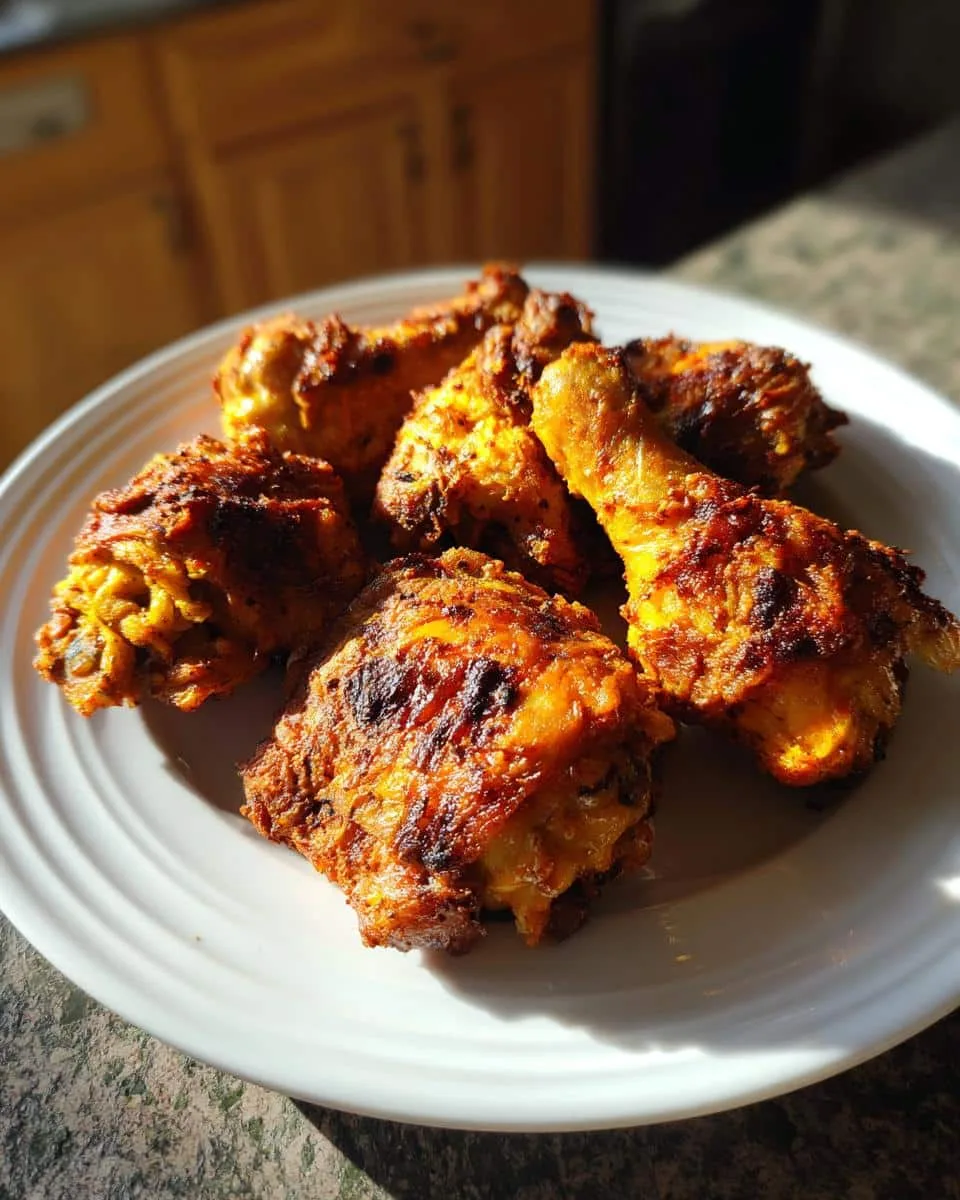
Image source: Bing (Web (fair-use with source credit))
Quick Answer
Air fryer bone in chicken thighs cook at 380°F to 400°F for 22 to 28 minutes. The USDA recommends a minimum internal temperature of 165°F for poultry. For best texture in bone-in thighs, aim for 175°F to 180°F.
Always preheat the air fryer and arrange the thighs in a single layer with space between each piece.
The Biggest Mistakes That Ruin Air Fryer Chicken Thighs
Most failed batches come down to the same handful of errors. Overcrowding the basket is the number one culprit. When thighs are stacked or touching, hot air can't circulate around each piece, and you end up with steamed, soggy skin instead of crispy.
The fix is simple: cook in batches if needed and leave at least half an inch of space between each thigh.
Skipping the preheat is another common mistake. A cold basket means the skin starts cooking slowly, rendering fat without browning it properly. That's how you get pale, flabby results.
Preheat for three to five minutes at your target temperature before the chicken goes in.
Not patting the chicken dry is just as damaging. Surface moisture is the enemy of crispiness. Even if you've rinsed the thighs or pulled them from a marinade, take thirty seconds to blot each one thoroughly with paper towels before seasoning.
Finally, pulling the chicken too early because the outside "looks done" is a food safety risk with bone-in cuts. The bone insulates the surrounding meat, so the exterior can appear golden while the interior is still undercooked. A meat thermometer is non-negotiable here.

Image source: Bing (Web (fair-use with source credit))
What Makes Bone-In Thighs Different From Boneless in the Air Fryer
Bone-in thighs behave differently from boneless in almost every way that matters for air fryer cooking. The bone acts as an internal heat conductor, meaning the meat near the bone takes longer to reach target temperature. That's why boneless thighs can cook in 14 to 18 minutes while bone-in thighs need 22 to 28 minutes at the same temperature.
The bone also helps retain moisture during the longer cook time. Boneless thighs dry out faster because there's nothing slowing down moisture loss from the interior. With bone-in, you get a wider window between "perfectly cooked" and "overcooked," which makes them more forgiving for beginners.
Skin-on bone-in thighs have another advantage: the fat layer under the skin renders slowly during the extended cook, essentially basting the meat from the inside. This is why bone-in, skin-on thighs consistently score higher in texture and flavor across aggregate user reviews compared to boneless, skinless alternatives.
One practical difference worth noting: bone-in thighs are harder to arrange flat in the basket because the bone creates an uneven shape. You may need to angle them or use a small rack to keep them stable. If you're working with a smaller air fryer, like a 5.5-quart model, you might only fit three or four thighs at a time.
For larger families, an 8-quart or 9-quart air fryer gives you room to cook six to eight thighs in a single batch. Our guide to the best 9 qt air fryer for large batches covers top options if capacity is a concern.
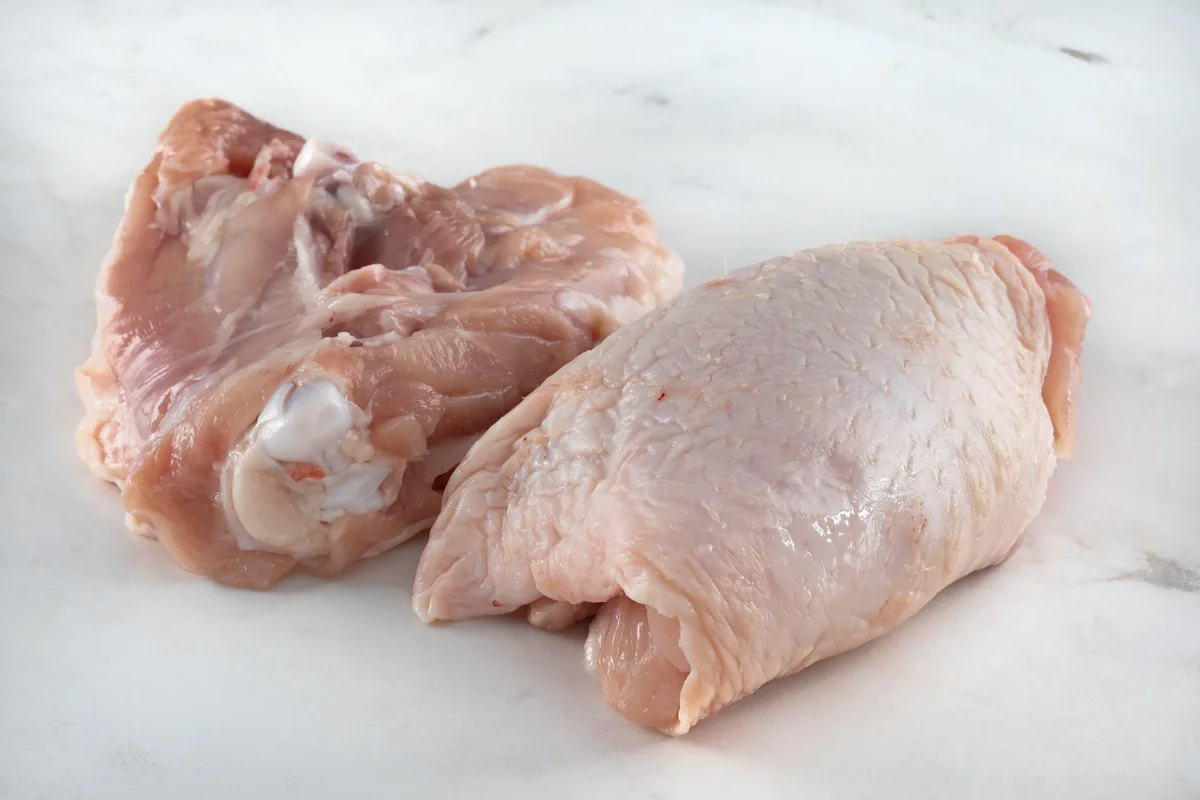
Image source: Bing (Web (fair-use with source credit))
The Best Temperature and Timing for Juicy, Crispy Results
The sweet spot for bone-in, skin-on chicken thighs in the air fryer is 380°F to 400°F (193°C to 204°C). At 380°F, you get slightly more even cooking with less risk of the skin burning before the interior is done. At 400°F, you get faster crisping but need to watch more carefully, especially with larger thighs.
Here's a practical timing guide based on average thigh weight and air fryer wattage:
| Thigh Weight | Temperature | Estimated Cook Time | Flip at |
|---|---|---|---|
| 5 oz (140g) | 380°F | 22–24 min | 12 min |
| 6–7 oz (170–200g) | 380°F | 24–26 min | 13 min |
| 8 oz (225g) | 400°F | 25–28 min | 14 min |
These times assume a standard 1500W to 1700W air fryer. Lower-wattage models, around 1400W, may need an extra two to three minutes. The Instant Vortex and similar models in the 1500W to 1700W range perform consistently within these windows, and our Is Instant Vortex Air Fryer Good breakdown covers how it handles dark meat specifically.
The USDA Food Safety and Inspection Service (FSIS) sets the safe minimum internal temperature for all poultry at 165°F (74°C). However, for bone-in thighs, we recommend targeting 175°F to 180°F (79°C to 82°C). At this higher range, the collagen and connective tissue around the bone have enough time to break down, giving you that tender, pull-apart texture rather than a chewy, rubbery bite near the joint.
Always insert the thermometer into the thickest part of the meat, away from the bone. The bone reads hotter than the surrounding tissue and will give you a false reading if the probe touches it.
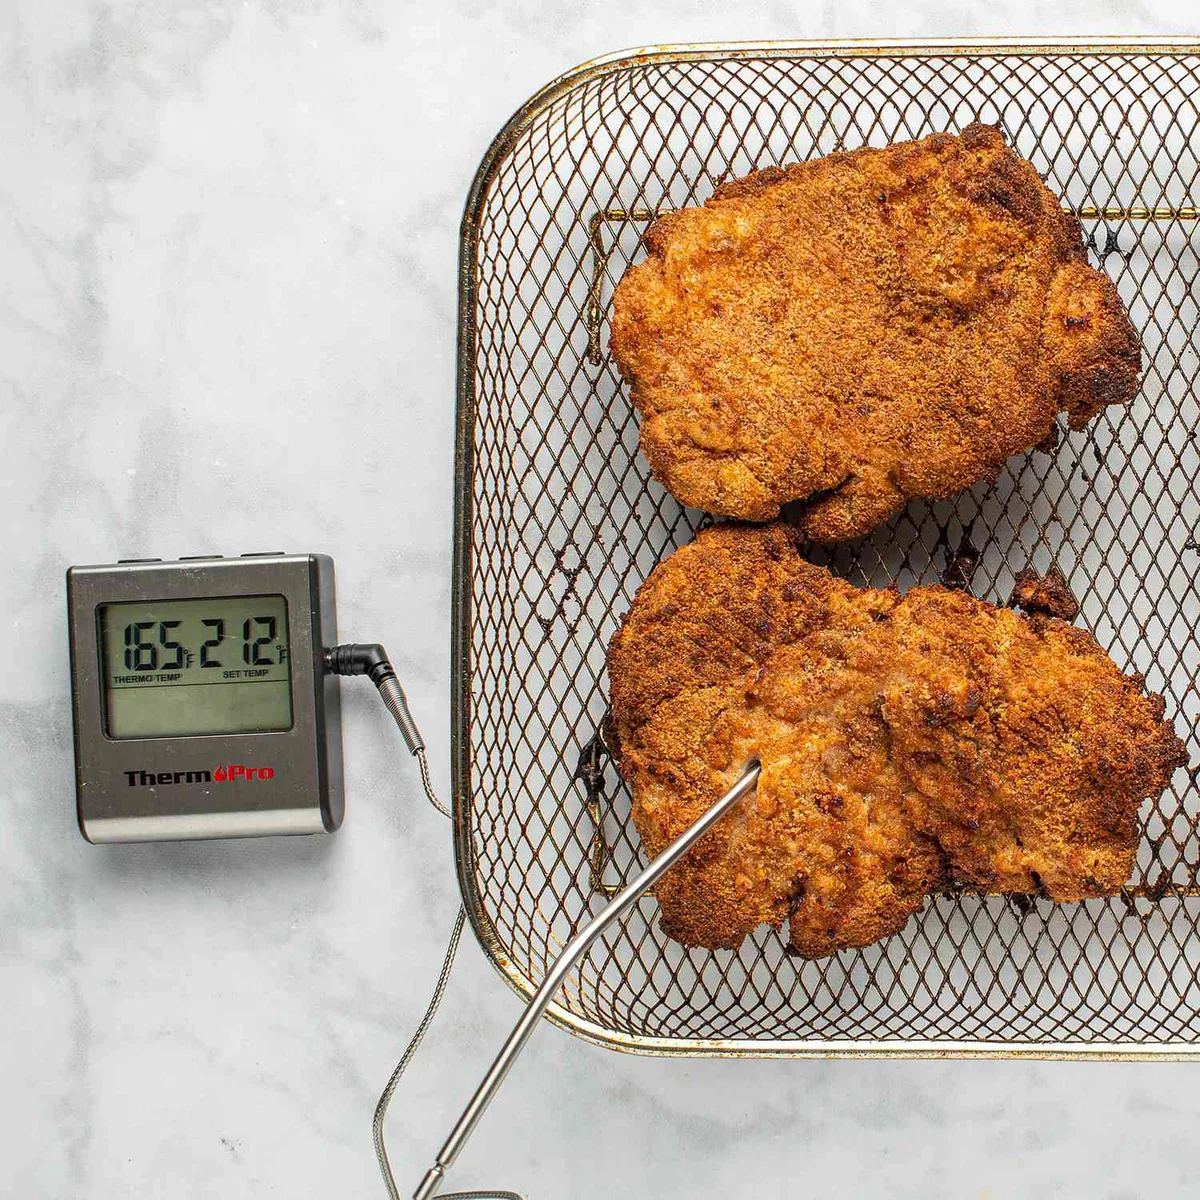
Image source: Bing (Web (fair-use with source credit))
Step-by-Step: How to Cook Perfect Air Fryer Bone-In Chicken Thighs
Prepping the Chicken for Maximum Crispiness
Start by removing the thighs from the refrigerator 20 to 30 minutes before cooking. Letting them come closer to room temperature helps them cook more evenly. While they sit, pat each thigh completely dry with paper towels.
Don't skip this step. Every bit of surface moisture has to evaporate before browning can start, and that delays crisping.
If you're using a marinade, remove the thighs and blot them dry before seasoning. Marinades add flavor but also add surface moisture, so you need to re-dry after marinating. For the best results, marinate for at least 30 minutes or up to overnight in the refrigerator, then pat dry before the chicken goes into the air fryer.
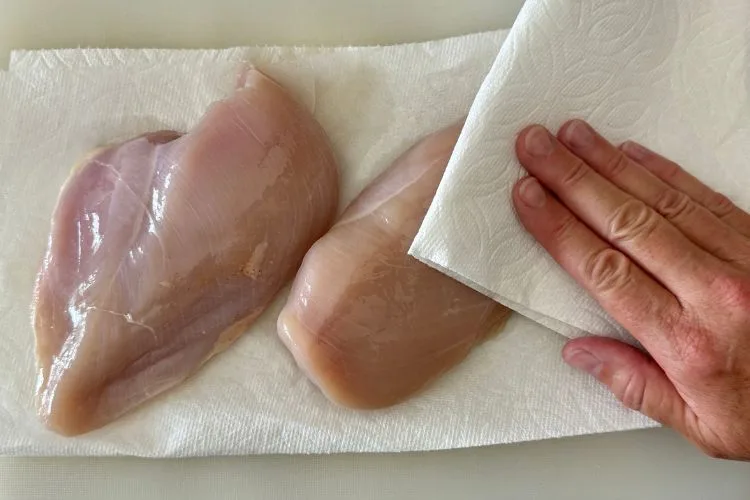
Image source: Bing (Web (fair-use with source credit))
Seasoning Options That Actually Work in an Air Fryer
A dry rub is the most reliable option for air fryer chicken thighs. It adds flavor without introducing excess moisture that fights against crisping. A basic rub might include garlic powder, onion powder, smoked paprika, salt, pepper, and a half-teaspoon of baking powder.
The baking powder is a trick borrowed from food science: it raises the skin's pH, which accelerates browning and helps create a crispier texture through the Maillard reaction.
If you prefer a marinade, stick with oil-based ones rather than water or citrus-heavy mixes. A simple combination of olive oil, soy sauce, minced garlic, and a touch of honey works well. Just remember to pat the thighs dry afterward.
Avoid rubs with a high sugar content, like brown sugar-heavy barbecue blends. Sugar burns at the temperatures air fryers operate at, and you'll end up with charred, bitter spots on the skin. If you want a sweet glaze, brush it on during the last three to four minutes of cooking only.
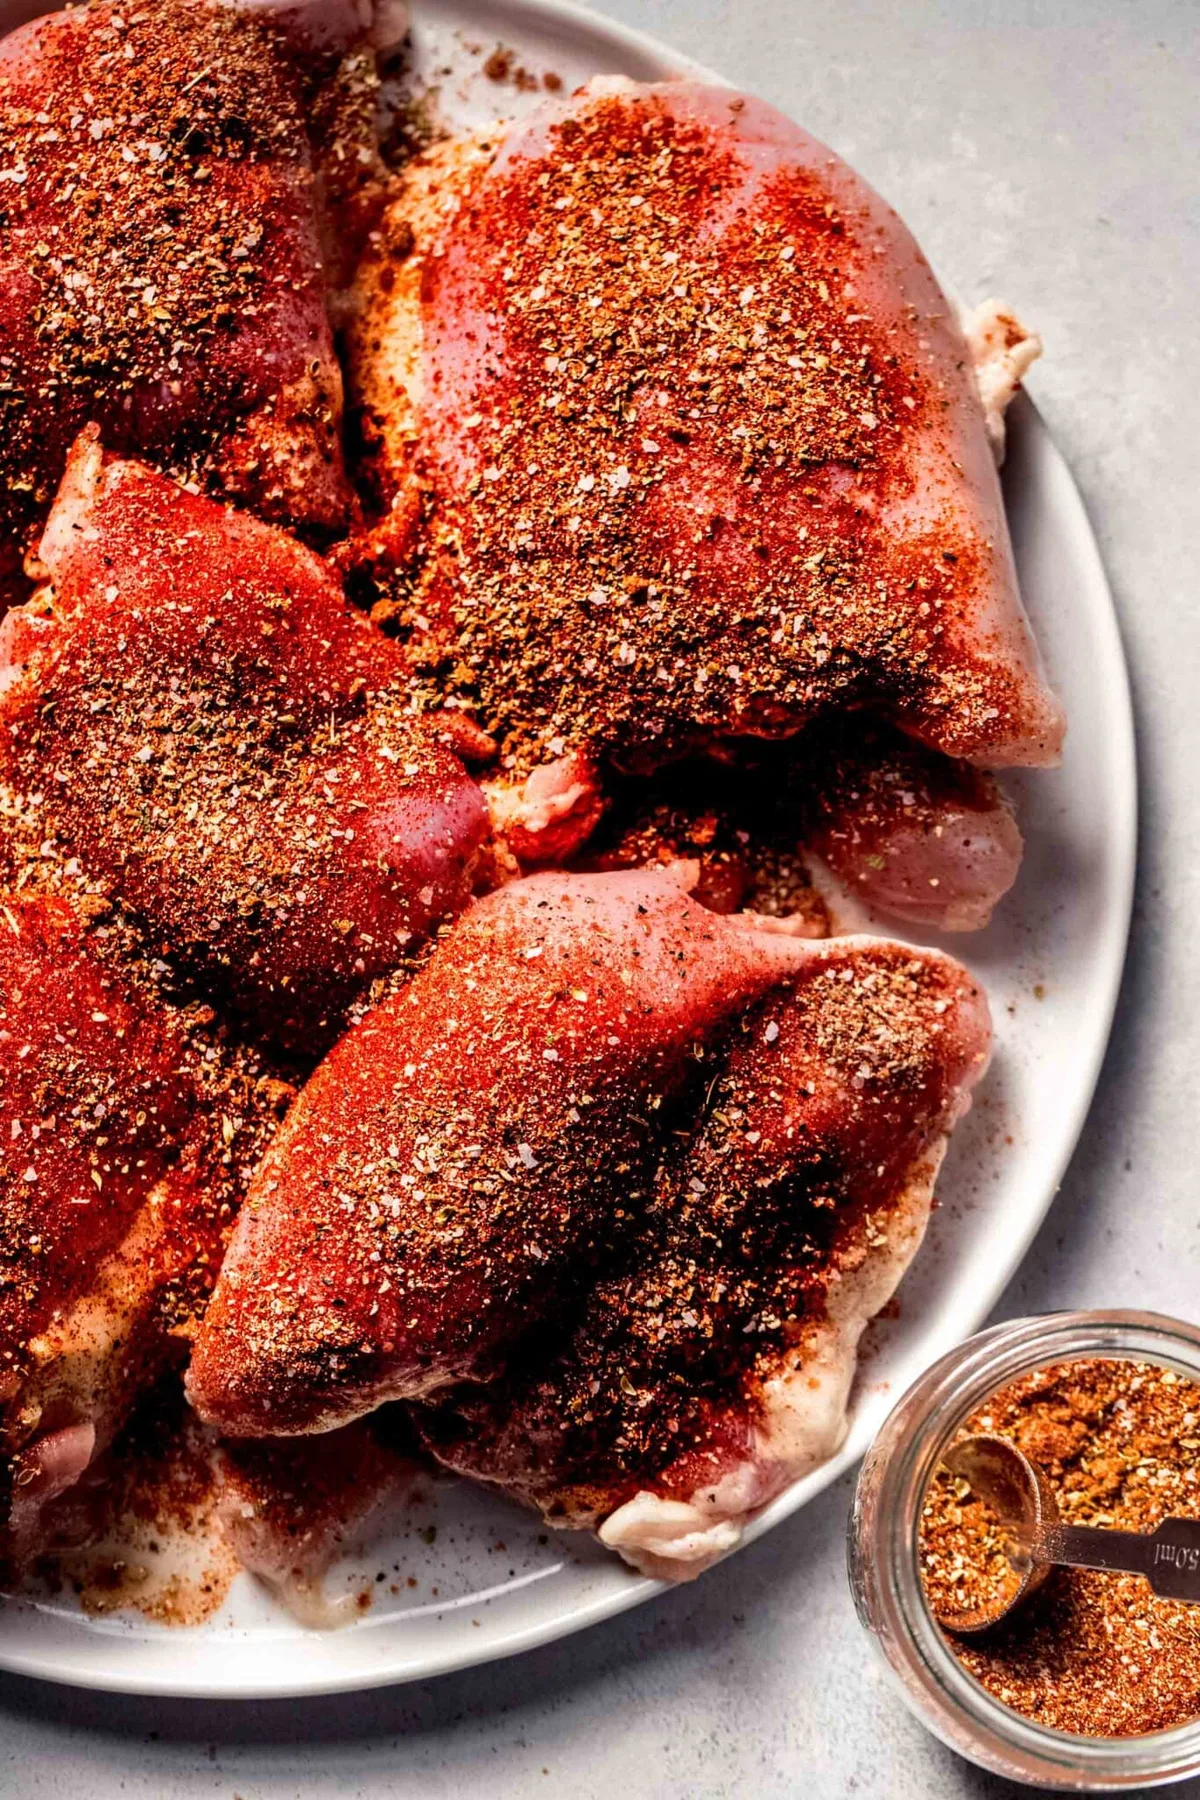
Image source: Bing (Web (fair-use with source credit))
Setting Up Your Air Fryer the Right Way
Preheat the air fryer for three to five minutes at your target cooking temperature. This ensures the basket and the air inside are hot from the first second the chicken goes in. Most modern air fryers, including the Instant Vortex line, have a built-in preheat function.
If yours doesn't, just set it to temperature and let it run empty.
Lightly coat the basket with cooking spray or brush it with a thin layer of oil. This prevents the skin from sticking, especially as the fat renders during cooking. Arrange the thighs in a single layer with the thicker, meatier side facing down first.
Leave space between each piece for airflow. If your air fryer has a rack or crisper plate, use it to elevate the thighs slightly for even better air circulation underneath.
For larger batches, resist the urge to stack. Cook in two rounds instead. The second batch will actually cook slightly faster because the air fryer is already hot from the first round, so check it a minute or two early.
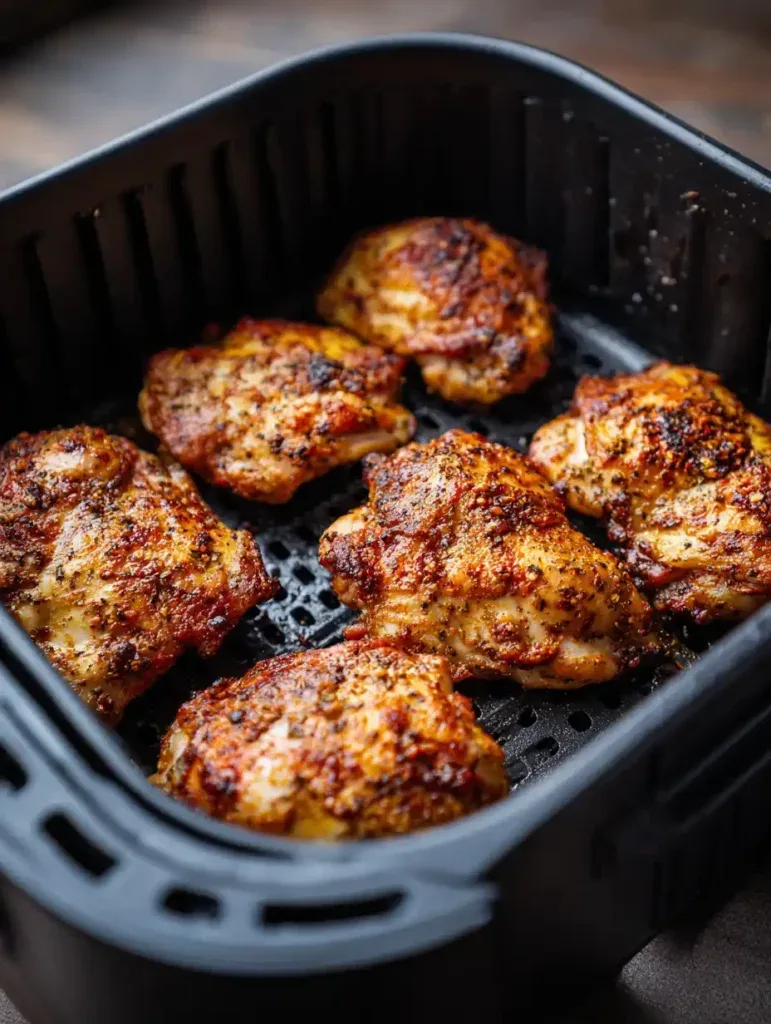
Image source: Bing (Web (fair-use with source credit))
How to Tell When They're Actually Done
The only reliable way to check doneness is with an instant-read meat thermometer. Insert it into the thickest part of the thigh, making sure the probe doesn't touch the bone. You're looking for 175°F to 180°F for the best texture.
At 165°F, the chicken is technically safe to eat, but the meat near the bone may still feel tough and under-rendered.
Visual cues help as a secondary check. The skin should be deep golden brown and visibly crispy. The juices should run clear when you pierce the thickest part with a knife or fork.
If the juices are pink or cloudy, the interior isn't done yet.
Once the thighs hit target temperature, remove them and let them rest on a cutting board or plate for three to five minutes. Resting allows the juices to redistribute through the meat. If you cut into them right away, those juices end up on the board instead of in the chicken, and you lose moisture and flavor.
Dry Rub vs. Marinade: Which Gives Better Results
For air fryer bone-in chicken thighs, a dry rub consistently outperforms a marinade when it comes to skin texture. The reason is straightforward: marinades introduce moisture to the surface, and that moisture has to evaporate before browning can begin. In the enclosed space of an air fryer, that steam lingers around the chicken, softening the skin.
A dry rub, on the other hand, sits on the surface without adding water. It promotes faster browning and helps create that shatteringly crisp exterior most people are after. If you want the best of both worlds, use a marinade for flavor and then pat the chicken completely dry before applying a light dry rub just before cooking.
That said, marinades still have their place. An oil-based marinade with soy sauce, garlic, and herbs can penetrate deeper into the meat over several hours, building flavor that a surface rub can't match. If you go this route, marinate in the refrigerator for at least two hours or overnight, then blot the thighs thoroughly before they hit the basket.
Here's a quick comparison to help you decide:
| Factor | Dry Rub | Marinade |
|---|---|---|
| Skin crispiness | Excellent | Good (if dried thoroughly) |
| Flavor depth | Surface level | Penetrates deeper |
| Prep time | Immediate | 2–24 hours |
| Best for | Weeknight dinners | Weekend meal prep |
| Mess level | Low | Moderate |
Air Fryer vs. Oven vs. Deep Fryer: How Bone-In Thighs Compare
Each cooking method produces a noticeably different result with bone-in thighs. The air fryer sits in a practical middle ground: faster than an oven, healthier than a deep fryer, and capable of crispiness that rivals frying.
Air fryer: Circulates hot air rapidly around the chicken, rendering fat and crisping skin in 22 to 28 minutes. Uses little to no added oil. The compact chamber means intense heat exposure, which is great for browning but requires attention to avoid overcooking.
Conventional oven: Takes 40 to 50 minutes at 400°F for comparable results. The larger cavity means less intense air circulation, so the skin doesn't crisp as aggressively. You can get around this by using a wire rack over a sheet pan to improve airflow, but it still won't match the air fryer's speed.
Deep fryer: Delivers the crispiest, most evenly cooked result in about 12 to 15 minutes at 350°F. The oil conducts heat more efficiently than air, so the interior cooks faster while the exterior browns. The trade-off is significantly more fat absorption and a much messier cleanup.
For most home cooks, the air fryer offers the best balance of speed, texture, and convenience. If you're cooking for a crowd, the oven still wins on batch size. For special occasions where maximum crispiness matters, nothing beats a deep fryer.
Troubleshooting Common Problems (Soggy Skin, Uneven Cooking, Smoke)
Soggy skin is the number one complaint, and it almost always traces back to one of three causes: the chicken wasn't patted dry, the basket was overcrowded, or the air fryer wasn't preheated. Fix all three and you'll see an immediate improvement. If the skin still isn't crisping, try increasing the temperature by 15°F for the last three minutes of cooking.
Uneven cooking happens when thighs vary significantly in size or when they're arranged with the thin edges facing the heating element. Try to select thighs that are roughly the same weight. Arrange them so the thicker, meatier side faces down first, since that side is farther from the heating element and needs the head start.
Smoke is common with bone-in, skin-on thighs because they release more fat than leaner cuts. The fat drips onto the heating element or the bottom of the basket and starts to smoke. To minimize this, trim any excess skin or fat before cooking.
You can also add a tablespoon of water to the bottom of the basket drawer (below the mesh) to cool the drippings and reduce smoke. If your air fryer has a splatter guard or a small tray that fits underneath, use it.
Skin sticking to the basket is another frequent issue. A light coating of cooking spray on the basket before adding the chicken prevents most sticking. If the skin still tears when you flip, let the chicken cook an extra two minutes before attempting the flip.
The rendered fat naturally releases the skin as it cooks.
Expert Tips Most Recipes Leave Out
Start with the thighs skin-side down for the first half of cooking. This submerges the skin in the rendered fat pooling at the bottom of the basket, essentially shallow-frying it from below. Then flip skin-side up for the second half so the skin finishes crisping in the direct airflow.
This two-stage approach produces noticeably crispier results than cooking skin-side up the entire time.
Add a half-teaspoon of baking powder to your dry rub. It's not the same as baking soda. Baking powder is milder and won't leave a metallic taste, but it still raises the skin's pH level, which speeds up browning and helps create tiny bubbles in the skin for extra crunch.
This technique is well-documented in food science literature and is used by professional kitchens for roasted chicken.
Don't flip more than once. Every time you open the basket, you lose heat and extend the total cook time. One flip at the halfway point is all you need.
Trust the process and resist the urge to peek.
If you're cooking from frozen, add about eight to ten minutes to the total cook time and use a lower starting temperature of 360°F for the first ten minutes. This gives the interior time to thaw before the exterior overcooks. Then increase to 400°F for the remaining time to crisp the skin.
Finally, let the chicken rest for three to five minutes after cooking. It's tempting to dig in immediately, but that short wait makes a real difference in juiciness. The internal temperature will also carry over by a few degrees during resting, which helps finish any meat near the bone that might have been slightly under target.
Storing, Reheating, and Meal Prepping Air Fryer Chicken Thighs
Cooked bone-in chicken thighs keep well in the refrigerator for up to four days. Store them in an airtight container once they've cooled to room temperature. Don't leave them out for more than two hours after cooking, as per FDA Food Code guidelines.
If your kitchen runs warm, that window shrinks to one hour.
For longer storage, freeze the thighs in a single layer on a baking sheet, then transfer them to a freezer bag once solid. They'll keep for up to three months. Label the bag with the date so you know when they were cooked.
Reheating in the air fryer is the best way to restore crispiness. Set the temperature to 350°F and reheat for four to six minutes until the internal temperature reaches 165°F. The microwave works in a pinch, but it will soften the skin significantly.
If you must use a microwave, cover the thighs loosely and heat in 30-second intervals to avoid overcooking.
Meal prepping works particularly well with bone-in thighs because they hold up better to reheating than boneless cuts. Cook a batch on Sunday, portion them into containers with your preferred sides, and you've got lunches for most of the week. They pair well with roasted vegetables, rice, or a simple salad.
For more air fryer recipe ideas to round out your meal prep rotation, check out our air fryer banana chips recipe for a quick snack option.
Frequently Asked Questions
Can I use frozen bone-in chicken thighs in the air fryer?
Yes, you can cook them from frozen. Add eight to ten minutes to the standard cook time and start at 360°F for the first ten minutes, then increase to 400°F. Always verify the internal temperature reaches at least 165°F before serving.
Should I use bone-in or skin-on thighs for the air fryer?
Bone-in, skin-on thighs give the best results. The bone keeps the meat moist during the longer cook time, and the skin crisps up beautifully. Boneless, skinless thighs work but tend to dry out faster and won't develop the same texture.
What is the best temperature for air fryer chicken thighs?
380°F to 400°F is the ideal range. Lower temperatures around 360°F work for frozen thighs or if you want more even cooking with less monitoring. Higher temperatures above 400°F risk burning the skin before the interior is done.
How many chicken thighs fit in a standard air fryer?
A 5.5-quart air fryer typically holds three to four bone-in thighs in a single layer. An 8-quart or 9-quart model can handle six to eight. Our best 8 qt air fryer for roasting chicken guide covers models with the capacity for larger batches.
Do I need to flip chicken thighs in the air fryer?
Yes, flipping once at the halfway point ensures even cooking and browning on both sides. Start skin-side down for the first half, then flip skin-side up so the skin finishes in the direct airflow.
Why is my air fryer chicken thigh skin not crispy?
The most common causes are excess surface moisture, overcrowding the basket, or not preheating. Pat the thighs dry, leave space between each piece, and always preheat for three to five minutes before cooking.