Unlock the full potential of your NuWave air fryer with this comprehensive guide. Learn essential tips for setup, operation, and creating delicious, crispy meals. From prepping your food to cleaning your appliance, this guide makes air frying simple and enjoyable. Master your NuWave air fryer and impress yourself and your family with perfectly cooked dishes every time.
Welcome to your ultimate guide on how to work a NuWave air fryer! If you’ve just unboxed your new kitchen marvel or are looking to get more out of it, you’ve come to the right place. Air fryers have revolutionized home cooking, offering a healthier way to achieve that coveted crispy texture without deep frying. NuWave, a well-respected brand, offers fantastic air fryers that are intuitive and efficient.
This guide will walk you through everything you need to know, from the initial setup to cleaning and troubleshooting. We’ll cover how to use the controls, prepare your food for optimal results, and explore some general cooking tips. Get ready to transform your weeknight meals and weekend treats with your NuWave air fryer!
Key Takeaways
- Understand Your NuWave Model: Familiarize yourself with the specific features and controls of your particular NuWave air fryer model for optimal use.
- Proper Food Preparation is Key: Learn how to prepare ingredients, including oiling and seasoning, to achieve the best crispy results in your air fryer.
- Master Temperature and Time: Discover the importance of selecting the correct temperature and cooking time for different food types to avoid under or overcooking.
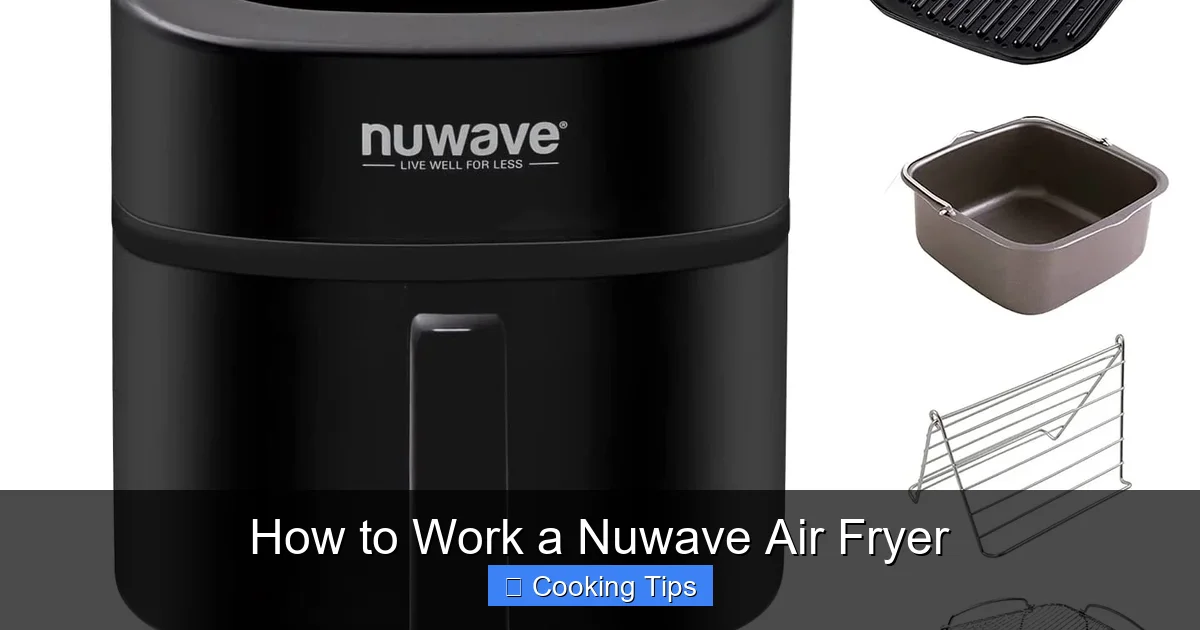
- Utilize Accessories Effectively: Explore how to use any included accessories, like racks or pans, to maximize your cooking space and versatility.
- Shake or Flip for Even Cooking: Understand the necessity of shaking your basket or flipping food halfway through the cooking process for consistent crispiness.
- Safe and Easy Cleaning: Learn the recommended methods for cleaning your NuWave air fryer to maintain its performance and longevity.
- Troubleshooting Common Issues: Be prepared to address minor problems with practical solutions to keep your air fryer running smoothly.
Getting Started with Your NuWave Air Fryer
Before you can start air frying delicious meals, it’s important to get acquainted with your new appliance.
Unpacking and Initial Setup
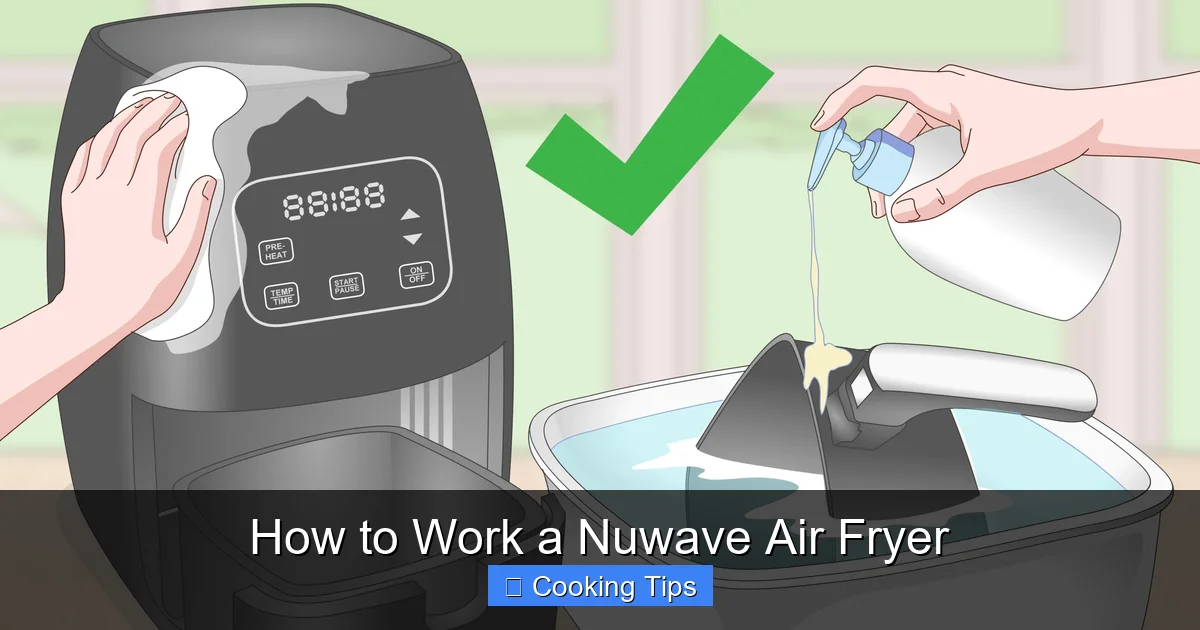
Carefully unpack your NuWave air fryer. Remove all packaging materials, stickers, and any protective films. Check that all parts are present according to the user manual. Most NuWave models come with the main air fryer unit, a basket, and sometimes a rack or other accessories. Before the first use, it’s a good practice to wipe down the exterior and interior with a damp cloth. Many manufacturers recommend running the air fryer for a few minutes on a high setting (without food) to burn off any residual manufacturing odors. Refer to your specific model’s manual for exact instructions.
Understanding the Controls
NuWave air fryers typically feature user-friendly controls. Depending on your model, you might find:
- Digital Display: This shows the selected temperature and cooking time.
- Temperature Controls: Buttons or a dial to adjust the cooking temperature. Common temperatures range from around 100°F to 400°F.
- Time Controls: Buttons or a dial to set the cooking duration. Most air fryers have a timer that can go up to 60 minutes or more.
- Preset Programs: Some NuWave models come with pre-programmed settings for common foods like fries, chicken, or fish. These presets automatically set the temperature and time, simplifying the cooking process.
- Power Button: To turn the unit on and off.
- Basket Release Button: A button to safely release the air fryer basket.
Take a moment to press the buttons and familiarize yourself with how they respond. Your user manual will be the best resource for understanding the specific functions of your model.
Preparing Your Food for Air Frying
The magic of air frying is in achieving that crispy exterior while keeping the inside moist and tender. Proper preparation is key.
The Role of Oil
While air fryers use hot air circulation to cook food, a small amount of oil is often beneficial. Oil helps to crisp up the food’s surface, enhance flavor, and prevent sticking. You generally only need 1-2 tablespoons of oil for most recipes, significantly less than traditional frying.
Visual guide about How to Work a Nuwave Air Fryer
Image source: wikihow.com
- Type of Oil: Use oils with a high smoke point, such as vegetable oil, canola oil, avocado oil, or peanut oil. Olive oil can be used, but extra virgin olive oil has a lower smoke point and can burn at higher air fryer temperatures.
- Application: You can toss your food directly in a bowl with oil, or use an oil spray for even distribution. Avoid using aerosol cooking sprays that contain propellants, as these can damage the non-stick coating of your air fryer basket over time. Opt for a pump spray or an oil mister.
Seasoning and Marinades
Seasoning your food generously before air frying is crucial for flavor. Salt, pepper, garlic powder, onion powder, paprika, and herbs are all great choices. Marinades also work wonderfully in an air fryer, infusing your food with delicious tastes. For marinated items like a marinated pork tenderloin, ensure excess marinade is drained off before placing the food in the basket to prevent excessive dripping and smoking.
Cutting and Size
For best results, aim for uniform piece sizes. This ensures that all your food cooks evenly. For example, when making French fries, cut them all to a similar thickness. If you’re cooking a whole item like a chicken or a roast, consider the size of your air fryer basket to ensure proper air circulation.
How to Cook with Your NuWave Air Fryer: Step-by-Step
Now that you’re familiar with your NuWave air fryer and how to prepare your food, let’s get cooking!
Step 1: Preheat Your Air Fryer
Just like a conventional oven, preheating your NuWave air fryer is often recommended for best results. Preheating ensures that your food starts cooking immediately at the correct temperature, leading to a crispier exterior and more evenly cooked interior.

Visual guide about How to Work a Nuwave Air Fryer
Image source: storables.com
- Set your NuWave air fryer to the desired temperature.
- Let it run for 3-5 minutes.
- Some models may have a specific preheat function; check your manual.
Step 2: Prepare Your Food
This is where your food preparation comes into play. Ensure your food is seasoned, lightly oiled (if desired), and cut into uniform pieces for even cooking.
Step 3: Place Food in the Basket
Carefully pull out the air fryer basket. Arrange your food in a single layer as much as possible. Overcrowding the basket is one of the most common mistakes that leads to uneven cooking and soggy food. If you’re cooking a large batch, it’s better to cook in multiple batches.
- Tip: For foods like chicken wings or fries, you can use the included rack (if applicable) to create a second layer, allowing for better air circulation.
Step 4: Set Temperature and Time
Refer to your recipe or a reliable air fryer cooking chart for the recommended temperature and time. If you’re unsure, start with a lower time and check your food. It’s easier to add more cooking time than to fix overcooked food.
- Enter the desired temperature using the control panel.
- Set the cooking time using the time controls.
Step 5: Start Cooking and Shake/Flip Midway
Once the settings are locked in, press the start button. For most foods, especially smaller items like fries, nuggets, or vegetables, it’s essential to shake the basket or flip the food halfway through the cooking time. This ensures all sides get evenly exposed to the hot air, resulting in consistent crispiness.
- Listen for the air fryer’s alert for the halfway point, or manually check the time and pause the unit to shake the basket.
- If cooking larger items like a piece of fish or a pork steak, use tongs to carefully flip them over. For instance, when cooking a pork steak in the air fryer, flipping ensures both sides develop a beautiful crust.
Step 6: Check for Doneness
When the timer goes off, carefully remove the basket and check if your food is cooked through and has reached your desired level of crispiness. Use a food thermometer for meats to ensure they are cooked to a safe internal temperature. If your food isn’t quite ready, simply slide the basket back in and add a few more minutes to the cooking time.
Step 7: Serve and Enjoy
Once your food is perfectly cooked, carefully remove it from the basket and serve immediately. Enjoy the delicious, healthy results from your NuWave air fryer!
Practical Tips for Using Your NuWave Air Fryer
To get the most out of your NuWave air fryer, keep these practical tips in mind.
Don’t Overcrowd the Basket
As mentioned before, this is crucial. Air needs to circulate freely around your food. Overcrowding leads to steaming rather than crisping, and you’ll end up with unevenly cooked, soggy results. If you need to cook a larger quantity, it’s always best to cook in batches. This applies to everything from waffle fries to a batch of chicken tenders.
Visual guide about How to Work a Nuwave Air Fryer
Image source: m.media-amazon.com
Experiment with Presets (If Available)
If your NuWave air fryer has preset cooking programs, don’t be afraid to try them. They are designed to take the guesswork out of cooking common items like fries, chicken, or fish. You can then adjust the time and temperature based on your experience.
Use Accessories Wisely
If your model comes with racks or other accessories, understand their purpose. Racks can help you cook more food at once by creating multiple layers, but ensure there’s still enough space for air to circulate.
Consider Food Type
Different foods require different cooking approaches. For example, delicate items like fish or eggs might require lower temperatures or shorter cooking times compared to dense items like root vegetables or a pork roast. Researching specific cooking times and temperatures for the type of food you’re preparing is always a good idea.
Adjust for Frozen Foods
Frozen foods often require slightly longer cooking times than fresh foods. You may also need to adjust the temperature. Refer to the packaging instructions for guidance, but be prepared to add a few extra minutes if needed.
Cleaning is Key
Regular cleaning prevents buildup and ensures your air fryer runs efficiently. Clean the basket and any removable parts after each use. Wipe down the interior and exterior periodically. We’ll cover this in more detail shortly.
Cleaning and Maintenance of Your NuWave Air Fryer
Proper cleaning and maintenance will keep your NuWave air fryer in top condition and ensure delicious results for years to come.
After Each Use
- Cool Down: Always allow your air fryer to cool down completely before cleaning.
- Basket and Tray: Most NuWave air fryer baskets and trays are dishwasher safe. Check your user manual to confirm. If washing by hand, use warm, soapy water and a non-abrasive sponge or cloth.
- Wipe Down: Wipe the interior and exterior of the air fryer with a damp cloth. Pay attention to any food residue on the heating element area, being careful not to damage it.
- Dry Thoroughly: Ensure all parts are completely dry before reassembling or storing the air fryer.
Deep Cleaning
Periodically, you might need to do a deeper clean, especially if you notice stubborn residue.
- Soaking: For a greasy basket, you can soak it in warm, soapy water for 10-15 minutes before washing.
- Baking Soda Paste: For tougher spots, a paste made of baking soda and water can be gently applied and scrubbed with a soft brush or sponge.
- Heating Element: Never immerse the main unit in water. Use a soft brush or a slightly damp cloth to gently clean the area around the heating element. Ensure it is completely dry afterward.
Troubleshooting Common NuWave Air Fryer Issues
Even with the best appliances, occasional hiccups can occur. Here are some common issues and their solutions.
Food is Not Crispy
- Cause: Overcrowded basket, not enough oil, or cooking time too short.
- Solution: Ensure food is in a single layer. Use a little oil if needed. Increase cooking time slightly and shake the basket more frequently. Make sure you’re not trying to cook too much at once, especially if you’re aiming for crispy results like with boneless chicken wings.
Food is Burning
- Cause: Temperature too high, cooking time too long, or oil has a low smoke point and is burning.
- Solution: Reduce the temperature or cooking time. Ensure you are using an oil with a high smoke point. Try placing a small piece of bread at the bottom of the basket to absorb excess oil and prevent smoking.
Uneven Cooking
- Cause: Food pieces are different sizes, basket is overcrowded, or food wasn’t shaken/flipped.
- Solution: Cut food into uniform pieces. Don’t overcrowd the basket. Always shake or flip food halfway through the cooking cycle.
Appliance Not Turning On
- Cause: Not plugged in, power surge, or internal issue.
- Solution: Ensure the power cord is securely plugged into a working outlet. Try plugging in another appliance to test the outlet. If the issue persists, consult your NuWave manual for troubleshooting or contact customer support.
Smoke Coming from the Air Fryer
A little smoke might be normal with fatty foods, but excessive smoke is a problem.
- Cause: Food particles or grease buildup in the basket or on the heating element, or using an oil with a low smoke point.
- Solution: Clean the air fryer thoroughly, especially the basket and the area around the heating element. Ensure you’re using an appropriate oil and not overheating it. For fatty foods like bacon, you might see some smoke; cleaning thoroughly afterward is essential.
Conclusion
Congratulations! You’ve now got a comprehensive understanding of how to work your NuWave air fryer. From the initial setup and understanding its controls to expertly preparing your food, cooking it to perfection, and keeping your appliance clean, you’re well on your way to becoming an air frying pro. Remember that practice makes perfect. Don’t be afraid to experiment with different recipes and settings. Your NuWave air fryer is a versatile tool that can help you create healthier, delicious meals with ease. Happy air frying!