Keeping your air fryer clean is essential for delicious, healthy meals and extending its lifespan. This guide provides a simple, step-by-step process for washing your air fryer, from disassembling it to reassembling and storing it. By following these tips, you’ll ensure your appliance remains in top condition for all your culinary adventures.
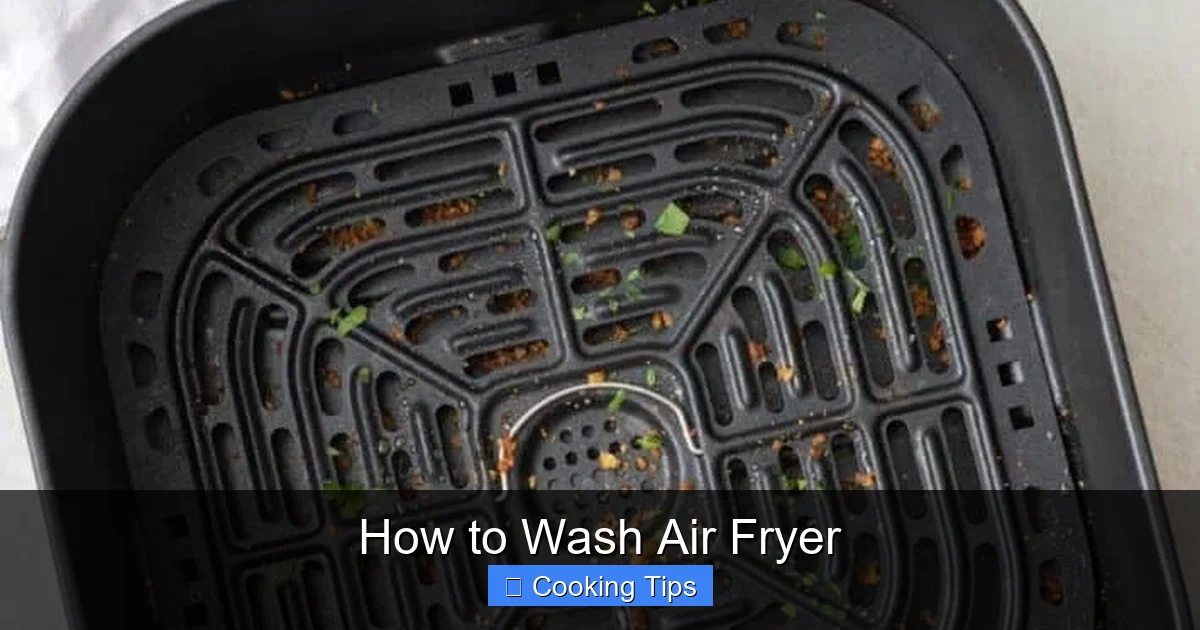
How to Wash Air Fryer
Welcome to the ultimate guide on keeping your beloved air fryer in pristine condition! You’ve probably discovered how amazing air fryers are for cooking everything from crispy fries to perfectly cooked chicken. But with great cooking comes the inevitable need for cleaning. A clean air fryer not only looks better but also cooks more efficiently and safely.
Many people wonder, “How do I actually wash my air fryer?” It might seem daunting, but cleaning your air fryer is straightforward with the right steps. This guide will walk you through everything you need to know, from a quick wipe-down to a thorough deep clean. You’ll learn how to tackle grease, food bits, and anything else that might cling to your appliance. By the end, you’ll have a sparkling clean air fryer ready for your next delicious meal.
Key Takeaways
- Always unplug and ensure the air fryer is cool: Safety first! Never attempt to clean a hot appliance.
- Disassemble removable parts: The basket and tray are usually dishwasher safe or can be hand-washed separately.
- Gentle cleaning is key: Avoid harsh abrasives or metal scouring pads that can damage the non-stick coating.
- Regular cleaning prevents buildup: Wiping down the interior and exterior after each use makes deep cleaning easier.
- Address stubborn residue with soaking: For baked-on grease, allow parts to soak in warm, soapy water.
- Dry thoroughly before reassembly: Moisture can lead to rust or mold, so ensure all parts are completely dry.
Why Cleaning Your Air Fryer Matters
Before we dive into the cleaning process, let’s quickly touch on why it’s so important to keep your air fryer clean.
Food Quality and Taste
When food residue builds up, it can burn and impart an unpleasant taste to your next meal. Imagine cooking a batch of delicious waffle fries and having them taste faintly of last night’s bratwurst. Not ideal!
Hygiene and Safety
Food particles left behind can become a breeding ground for bacteria, which isn’t good for your health. A clean appliance is a hygienic appliance.
Appliance Longevity
Regular cleaning prevents grease and grime from hardening and becoming difficult to remove, which can damage the non-stick surfaces and heating elements over time, ultimately shortening your air fryer’s lifespan.
Efficiency
A clean air fryer operates more efficiently. Grease buildup can insulate the heating element, making it work harder and longer to achieve the desired cooking temperature.
Step-by-Step Guide to Washing Your Air Fryer

Visual guide about How to Wash Air Fryer
Image source: viragosushi.com
Now, let’s get down to the nitty-gritty of cleaning your air fryer. It’s a simple process that can be divided into a few key stages.
Step 1: Safety First – Unplug and Cool Down
Visual guide about How to Wash Air Fryer
Image source: feelgoodfoodie.net
This is the most crucial step, and it’s non-negotiable.
Unplug the Appliance
Always disconnect your air fryer from the power outlet before you begin any cleaning. This prevents any accidental power surges or the machine turning on unexpectedly.
Ensure It’s Completely Cool
Air fryers get hot! Allow your air fryer to cool down completely after use. This usually takes about 30-60 minutes, depending on its size and how long it was running. Cleaning a hot appliance is not only dangerous but can also damage its components.
Step 2: Disassemble the Removable Parts

Visual guide about How to Wash Air Fryer
Image source: effortlessfoodie.com
Most air fryers have removable baskets and trays that collect most of the food debris.
Remove the Basket and Tray
Gently pull out the basket and any drip tray or crisper plate. These are the parts that will need the most attention.
Check Your Manual
It’s always a good idea to refer to your air fryer’s user manual. It will specify which parts are dishwasher-safe and provide any unique cleaning recommendations for your specific model. Many baskets and trays are top-rack dishwasher safe, but hand-washing often prolongs their life.
Step 3: Clean the Removable Parts
This is where the bulk of the cleaning happens. You have a couple of options here: hand-washing or using the dishwasher.
Option A: Hand-Washing (Recommended for Longevity)
Hand-washing is generally the best method to preserve the non-stick coating and ensure all nooks and crannies are reached.
Sub-step: Prepare Your Cleaning Station
Fill your sink with warm water. Add a few drops of mild dish soap. Avoid using harsh detergents or abrasive cleaners, as they can strip the non-stick coating.
Sub-step: Scrub Gently
Use a soft sponge or a non-abrasive dish brush to scrub the basket and tray. Pay attention to any stuck-on food particles. For tougher spots, you can use a plastic scraper or an old toothbrush to gently dislodge them.
Sub-step: Deal with Stubborn Grease
If you’ve been air frying fatty foods like bacon or chicken thighs, you might encounter stubborn grease. For these, try soaking the parts in warm, soapy water for 10-20 minutes before scrubbing. Baking soda paste (baking soda mixed with a little water) can also be an effective gentle abrasive for greasy areas.
Sub-step: Rinse Thoroughly
Once you’ve scrubbed away all the residue, rinse the parts thoroughly under warm running water to remove all soap.
Option B: Dishwasher Cleaning
If your manual states the parts are dishwasher safe, this is a convenient option.
Sub-step: Place in Dishwasher
Place the basket and tray in the top rack of your dishwasher. Avoid placing them near the heating element at the bottom.
Sub-step: Use Mild Detergent
Use a standard, mild dishwashing detergent.
Sub-step: Run a Normal Cycle
Run your dishwasher on a normal cycle. Be aware that repeated high-heat cycles in a dishwasher can eventually degrade the non-stick coating faster than hand-washing.
Step 4: Clean the Interior of the Air Fryer
While the basket and tray are usually the dirtiest, the inside of the air fryer also needs attention.
Wipe Down the Heating Element (If Accessible and Cool)
Some air fryer models have easily accessible heating elements at the top. *Only if your manual permits and it’s completely cool*, you can gently wipe this with a damp cloth or a soft brush to remove any loose crumbs or splatters. Never spray water or cleaning solutions directly onto the heating element. For most models, it’s best to avoid direct contact with the heating element unless specifically instructed by the manufacturer.
Clean the Interior Cavity
Use a damp, non-abrasive cloth or sponge to wipe down the inside walls of the air fryer. Again, use warm water and a little mild dish soap if needed, but ensure you don’t oversaturate the cloth. You want to wipe, not soak.
Remove Loose Crumbs
Turn the air fryer upside down over a trash can to shake out any loose crumbs that might have accumulated.
Step 5: Clean the Exterior of the Air Fryer
Don’t forget the outside! A clean exterior makes your appliance look brand new.
Wipe with a Damp Cloth
Use a soft, damp cloth to wipe down the exterior surfaces. For stubborn marks or fingerprints, you can use a mild all-purpose cleaner sprayed onto the cloth (never directly onto the air fryer).
Clean the Control Panel
Be extra gentle around the control panel or digital display. Use a slightly damp cloth and avoid getting moisture into any buttons or seams.
Step 6: Dry Everything Thoroughly
This is a critical step often overlooked. Moisture can lead to rust or mold.
Air Dry or Towel Dry
Ensure all the removable parts (basket, tray) and the interior cavity are completely dry before reassembling or storing. You can let them air dry completely or gently towel dry them with a soft, clean cloth.
Check All Crevices
Make sure you dry any nooks and crannies where water might have collected.
Step 7: Reassemble and Store
Once everything is dry, reassemble your air fryer.
Put It Back Together
Carefully place the dry basket and tray back into the air fryer.
Store Properly
Store your clean air fryer in a dry place. If you store food items inside, ensure they are also dry and not likely to cause condensation.
Quick Cleaning Tips for After Every Use
To make deep cleaning less frequent and easier, incorporate these quick cleaning habits after each use:
- Wipe Down the Basket and Tray: After removing your food, give the basket and tray a quick wipe with a damp cloth or paper towel while they are still warm (but not hot). This prevents food particles from hardening.
- Shake Out Crumbs: Turn the basket upside down over the bin to remove any loose crumbs.
- Wipe the Interior: A quick wipe of the interior cavity can catch any immediate splatters.
Troubleshooting Common Air Fryer Cleaning Issues
Sometimes, you might encounter specific cleaning challenges. Here are a few common ones and how to tackle them:
Issue: Burnt-on Food Residue on the Basket/Tray
Solution: Soak the parts in hot, soapy water for at least 30 minutes, or even overnight. You can also try a paste of baking soda and water, letting it sit for an hour before scrubbing gently. For very tough spots, some people have success with a nylon scrubber or a specialized air fryer cleaner, but always test on an inconspicuous area first.
Issue: Smelly Air Fryer
Solution: A persistent smell usually indicates leftover grease or food particles. Perform a thorough cleaning as described above. You can also try running the air fryer empty for a few minutes with a bowl of water and lemon slices or white vinegar inside. The steam helps loosen odors. Ensure the appliance is completely dry afterwards.
Issue: Non-stick Coating is Peeling
Solution: If your non-stick coating is peeling, it might be a sign that it has been damaged by abrasive cleaning tools, harsh detergents, or excessive high heat in the dishwasher. Unfortunately, this is usually irreversible. It’s best to contact the manufacturer for advice or consider replacing the basket/tray if it’s a separate component.
Conclusion
Washing your air fryer might seem like a chore, but it’s a vital part of ensuring you get the best performance and the healthiest results from this amazing kitchen appliance. By following these simple steps, you can keep your air fryer clean, hygienic, and ready to create delicious meals for years to come. Remember, consistent, gentle cleaning is the key to a long-lasting and efficient air fryer. So, unplug, cool down, disassemble, clean, dry, and reassemble – it’s that easy! Happy air frying!