Discover the secret to making perfectly crispy and golden-brown fried squash using your air fryer! This comprehensive guide provides a simple, step-by-step process to achieve that satisfying crunch without the excess oil. Whether you’re a beginner or an experienced cook, you’ll learn how to prepare and cook your squash for a healthy and delicious side dish. Enjoy guilt-free fried squash with this easy air fryer method!
How to Cook Fried Squash in Air Fryer
Craving that satisfying crunch of fried squash but want to keep it a little healthier? You’ve come to the right place! In this guide, we’ll show you exactly how to cook incredibly delicious and crispy fried squash using your air fryer. Say goodbye to greasy pans and hello to a simple, healthy, and incredibly tasty way to enjoy this seasonal favorite.
Air frying has revolutionized home cooking, allowing us to achieve fantastic textures with a fraction of the oil. Fried squash is no exception. We’ll walk you through everything from selecting the best squash to getting that perfect golden-brown finish. By the end of this guide, you’ll be a pro at making air fryer fried squash that will impress your family and friends. Let’s get started!
Key Takeaways
- Easy & Healthy Alternative: Air frying offers a significantly healthier way to enjoy fried squash by drastically reducing the amount of oil needed, resulting in a crispy texture with fewer calories and less fat.
- Perfectly Crispy Texture: Mastering the coating and air frying technique is key to achieving that irresistible crunchy exterior and tender interior that mimics traditional frying.
- Versatile Preparation: This guide covers selecting the best squash, preparing it properly for frying, and offers various seasoning suggestions to customize your dish.
- Simple Step-by-Step Process: Follow clear, numbered instructions for coating, preheating the air fryer, and cooking times to ensure consistent, delicious results every time.
- Troubleshooting Common Issues: Learn how to address potential problems like soggy squash or uneven browning, ensuring a successful outcome even if it’s your first time.
- Serving Suggestions: Get ideas on how to best enjoy your air-fried squash, whether as a standalone snack or a versatile side dish for various meals.
Why Air Fry Your Squash?
Before we dive into the “how,” let’s talk about the “why.” Traditional frying involves submerging food in hot oil, which leads to that desirable crispiness but also adds a significant amount of fat and calories. Air frying, on the other hand, circulates hot air at high speeds around the food. This process effectively dehydrates the outer layer of the food, creating a crispy exterior much like frying, but with dramatically less oil.
This means you can enjoy that classic fried squash taste and texture with fewer calories and less unhealthy fat. It’s a win-win for your taste buds and your well-being! Plus, air fryers are generally quicker to preheat and easier to clean up than a deep fryer or a stovetop frying pan.
Choosing and Preparing Your Squash
The type of squash you choose can impact the final texture and flavor. For fried squash, firm, less watery varieties work best.
Best Squash Varieties for Frying
- Yellow Squash (Summer Squash): This is a very popular choice. It has a mild flavor and a tender texture that crisps up beautifully. Look for firm, unblemished squash.
- Zucchini (Summer Squash): Similar to yellow squash, zucchini is readily available and works well. Again, choose firm specimens.
- Butternut Squash (Winter Squash): While more effort to prepare due to its thicker skin and seeds, butternut squash offers a slightly sweeter flavor and a delightful caramelized edge when air fried. However, it can take a bit longer to cook.
Prepping Your Squash
Proper preparation is crucial for achieving the best results.
Step 1: Wash and Trim
Thoroughly wash your squash under cool running water to remove any dirt or debris. Trim off the stem and blossom ends. For zucchini and yellow squash, you can leave the skin on if it’s thin and tender, which adds to the texture. If the skin is tough, you can peel it.
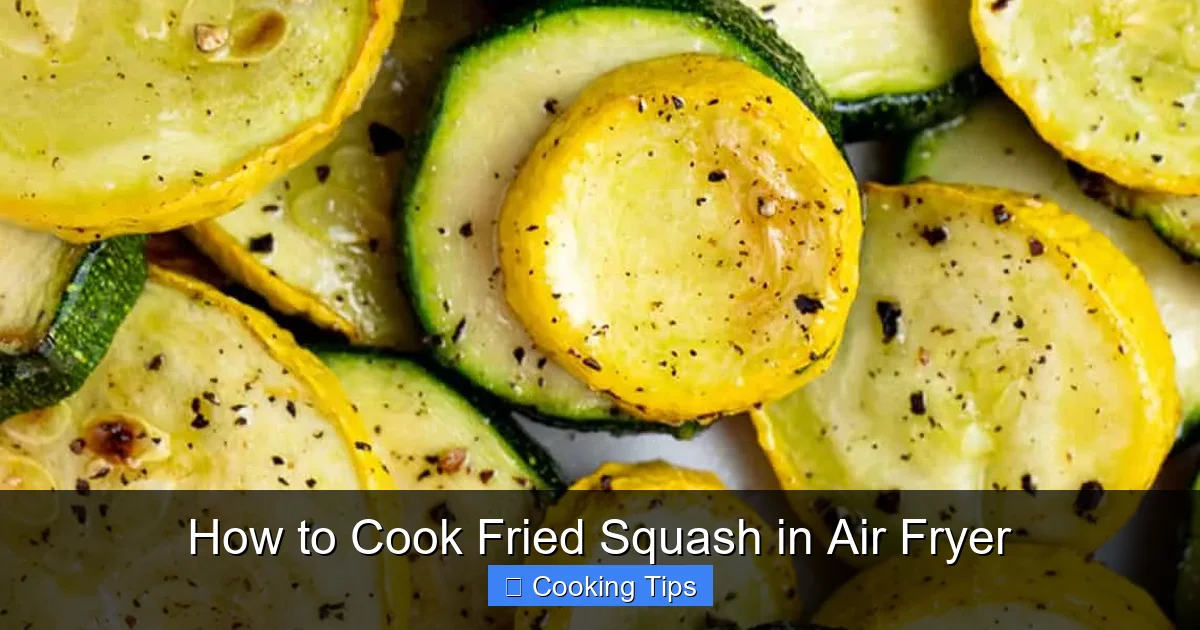
Visual guide about How to Cook Fried Squash in Air Fryer
Image source: easyhealthyrecipes.com
Step 2: Slice the Squash
The thickness of your slices will affect cooking time and crispiness. Aim for slices that are about 1/4 to 1/2 inch thick. Too thin, and they might burn or become too brittle. Too thick, and they might not get crispy enough.
- For Zucchini and Yellow Squash: You can slice them into rounds or cut them lengthwise into planks. Planks can be easier to handle and coat.
- For Butternut Squash: You’ll need to peel it, scoop out the seeds, and then slice it into uniform pieces, similar in thickness to zucchini or yellow squash slices.
Step 3: Remove Excess Moisture (Optional but Recommended)
Squash, especially zucchini, contains a lot of water. Removing some of this moisture will help your squash get crispier. You can do this by laying the sliced squash on paper towels and gently patting them dry. For an even better result, you can salt the slices and let them sit for about 15-30 minutes. This draws out more moisture. If you salt them, be sure to rinse them thoroughly and pat them completely dry afterward to avoid salty squash.
Creating the Perfect Crispy Coating
The coating is what gives fried squash its signature crunch. We’ll use a simple but effective three-step breading process.
Ingredients for the Coating
- All-purpose flour (about 1/2 cup)
- Eggs (2 large)
- Breadcrumbs (about 1 cup). Panko breadcrumbs are highly recommended for extra crispiness. You can also use regular breadcrumbs, cornmeal, or a mixture.
- Seasonings of your choice (see below)
Step-by-Step Breading Process
You’ll need three shallow dishes or bowls for this process.
Step 1: The Flour Dredge
In the first dish, combine your all-purpose flour with your chosen seasonings. This is where you can add flavor! Common choices include salt, black pepper, garlic powder, onion powder, paprika, or even a pinch of cayenne for a little heat. Ensure the seasonings are well mixed into the flour. Lightly coat each squash slice in the seasoned flour, shaking off any excess. This layer helps the egg adhere.
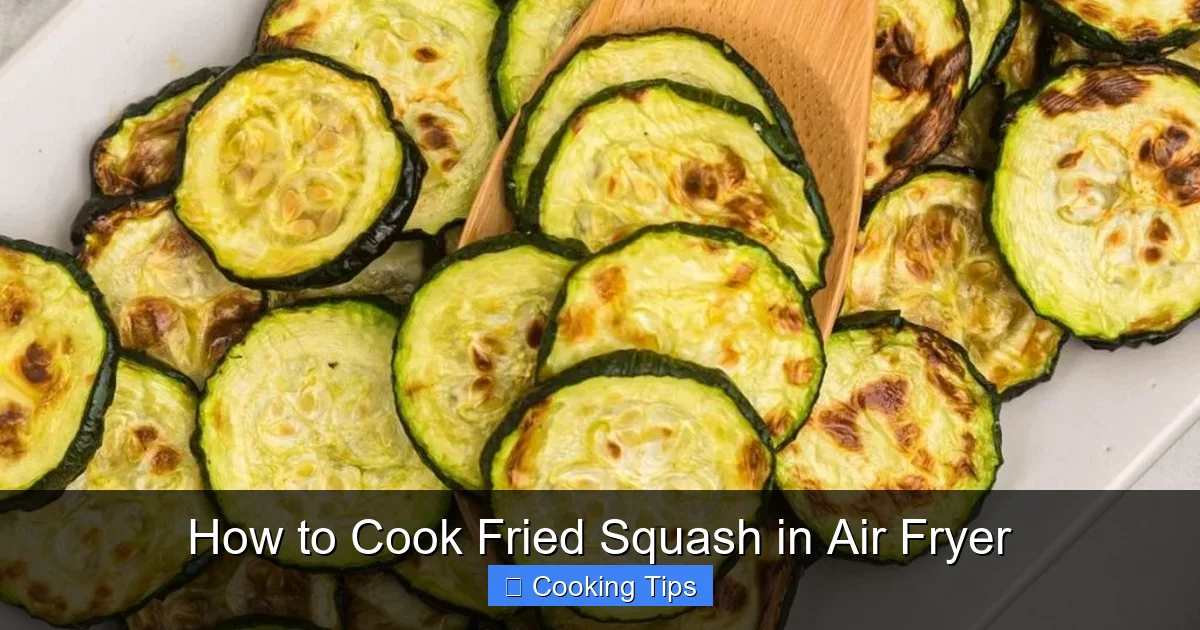
Visual guide about How to Cook Fried Squash in Air Fryer
Image source: airfryingfoodie.com
Step 2: The Egg Wash
In the second dish, whisk your eggs until they are well beaten. Dip each floured squash slice into the beaten egg, making sure it’s fully coated. Let any excess egg drip off.
Step 3: The Breadcrumb Coating
In the third dish, place your breadcrumbs. If you’re using Panko, you’ll get fantastic crunch. You can also add a little more seasoning to your breadcrumbs if you like. Gently press each egg-coated squash slice into the breadcrumbs, ensuring it’s thoroughly coated on all sides. Press down firmly to help the breadcrumbs stick.
Air Frying Your Squash
Now for the exciting part – cooking! It’s important to preheat your air fryer and not overcrowd the basket for the best results.
Preheating Your Air Fryer
Preheating is a crucial step for almost any air fryer recipe. It ensures your food cooks evenly and gets crispy from the start. Preheat your air fryer to 375°F (190°C) for about 3-5 minutes. This brings the air fryer up to the correct temperature, mimicking the environment of a hot oven.
Arranging the Squash in the Air Fryer Basket
This is where avoiding overcrowding comes into play. For the crispiest fried squash, you need to give each piece enough space for the hot air to circulate around it. This means cooking in batches. Arrange the breaded squash slices in a single layer in the air fryer basket. Do not stack them. If you have a lot of squash, you might need to do 2-3 batches.
Cooking the Squash
Once your air fryer is preheated and the squash is arranged, it’s time to cook!
Cooking Time and Temperature
Place the basket with the squash into the preheated air fryer. Air fry at 375°F (190°C) for approximately 8-12 minutes. The exact time will depend on the thickness of your squash slices and your specific air fryer model.
Flipping for Even Browning
About halfway through the cooking time (around 4-6 minutes), carefully open the air fryer basket and flip each squash slice using tongs. This is essential for ensuring both sides get evenly golden brown and crispy. Continue air frying until the squash is tender and the coating is golden and crisp.
Checking for Doneness
You’ll know your fried squash is ready when it’s golden brown, looks crispy, and is tender when pierced with a fork. If you’re unsure, you can always test a piece.
Tips for Extra Crispy Fried Squash
Want to elevate your air fryer fried squash to the next level? Here are a few tips:
- Use Panko Breadcrumbs: As mentioned earlier, Panko breadcrumbs are your best friend for ultimate crispiness. Their flaky texture creates a lighter, crunchier coating than regular breadcrumbs.
- Don’t Skip the Flour Dredge: The flour layer acts as a binder, ensuring the egg and breadcrumbs stick properly.
- Single Layer is Key: Seriously, don’t overcrowd the basket! This is the most common mistake leading to soggy results.
- A Light Spray of Oil: While you’re drastically reducing oil, a very light spray of cooking oil (like olive oil or avocado oil) over the breaded squash before air frying can enhance crispiness and browning. Hold the can about 6-8 inches away and spray lightly.
- Shake the Basket Mid-Cooking: For smaller pieces like squash rounds, a gentle shake of the basket about halfway through cooking can help redistribute them for more even crisping.
Flavor Variations and Seasoning Ideas
Don’t be afraid to get creative with your seasonings! Beyond the basic salt and pepper, consider these flavor boosters:
- Italian Herb Blend: Add dried oregano, basil, thyme, and rosemary to your flour or breadcrumbs.
- Parmesan Garlic: Mix grated Parmesan cheese into your breadcrumbs along with garlic powder.
- Spicy Kick: Add a pinch of cayenne pepper or smoked paprika to the flour or breadcrumbs.
- Smoked Paprika: Adds a lovely smoky depth of flavor.
- Lemon Pepper: A classic combination that brightens up the squash.
- Cajun or Creole Seasoning: For a bold, zesty flavor.
Experiment to find your favorite combination!
Troubleshooting Common Issues
Even with the best intentions, sometimes things don’t turn out perfectly. Here are some common problems and how to fix them:
My squash is soggy, not crispy.
Cause: This is usually due to overcrowding the air fryer basket, not removing enough moisture from the squash, or not preheating the air fryer properly.
Solution: Ensure you are cooking in single layers and in batches. Make sure to pat your squash slices very dry before breading, and consider the salting method if you have time. Always preheat your air fryer.
The breading is falling off.
Cause: The squash slices weren’t properly coated with flour, or the egg didn’t adhere well.
Solution: Ensure each slice is thoroughly dredged in flour first, then fully coated in egg, and finally pressed well into the breadcrumbs. You might need to experiment with the consistency of your egg wash; sometimes adding a tiny bit of water can help it coat more evenly.
The squash is burning on the outside but not cooked on the inside.
Cause: The temperature might be too high, or the slices are too thin.
Solution: Lower the air fryer temperature slightly (try 350°F/175°C) and increase the cooking time. If your slices are very thin, this is more likely to happen. Next time, aim for slightly thicker slices.
My air fryer is smoking.
Cause: This can happen if there are food particles or excess oil buildup in the air fryer.
Solution: Ensure your air fryer is clean. For breaded items, sometimes a small amount of oil spray is okay, but excessive oil can drip down and burn. Make sure any excess oil is wiped from the basket and the bottom tray.
Serving Your Air Fryer Fried Squash
Air fryer fried squash is wonderfully versatile. It can be enjoyed as:
- A Healthy Snack: Serve with your favorite dipping sauces like ranch, honey mustard, or a spicy aioli.
- A Side Dish: It pairs beautifully with grilled chicken, fish, burgers, or a hearty salad.
- Part of a Platter: Include it on a vegetable platter for parties or gatherings.
Conclusion
You’ve now learned how to achieve perfectly crispy, golden-brown fried squash right in your air fryer! It’s a simple, healthy, and incredibly rewarding way to enjoy this delicious vegetable. By following these steps, choosing the right squash, mastering the breading technique, and paying attention to preheating and batch cooking, you’re well on your way to air fryer fried squash perfection.
So grab your favorite squash, preheat that air fryer, and get ready to be amazed by the crispy goodness you can create with minimal oil. Enjoy this healthier take on a classic comfort food!