Discover the easiest way to cook delicious, crispy chicken in your Cosori air fryer! This guide covers everything from preparation to achieving perfect results. You’ll learn about selecting the right chicken cuts, seasoning techniques, and precise cooking times and temperatures to ensure your chicken is tender, juicy, and perfectly cooked every single time. Get ready for healthier, faster, and more flavorful chicken meals.
How to Cook Chicken in Cosori Air Fryer
Welcome to the ultimate guide on how to cook chicken in your Cosori air fryer! If you’ve been looking for a way to get perfectly cooked, juicy, and crispy chicken without all the fuss and extra oil, you’ve come to the right place. The Cosori air fryer is a fantastic kitchen tool that can transform your weeknight dinners.
In this guide, we’ll walk you through everything you need to know, from selecting the best chicken cuts to seasoning them just right, and then achieving that perfect cook every single time. Get ready to impress yourself and your family with delicious, healthy chicken that tastes like it came from a gourmet restaurant, but was made right in your kitchen!
Key Takeaways
- Achieve Crispy Skin and Juicy Meat: The Cosori air fryer’s circulating hot air creates a fantastic crispy exterior while keeping the chicken moist inside.
- Versatility for All Cuts: Whether you’re cooking whole chickens, breasts, thighs, or wings, this guide provides the general principles and tips for success.
- Simple Seasoning is Key: Basic salt, pepper, and oil are often enough, but experimenting with marinades and rubs can elevate your chicken dishes.
- Don’t Overcrowd the Basket: Proper air circulation is crucial for even cooking. Cook chicken in a single layer without overlapping for the best crispy results.
- Use a Meat Thermometer: For food safety and perfect doneness, always check the internal temperature of your chicken. It should reach 165°F (74°C).
- Preheating is Recommended: Just like with a conventional oven, preheating your Cosori air fryer helps ensure consistent cooking from the moment you start.
Why Use Your Cosori Air Fryer for Chicken?
Before we dive into the “how-to,” let’s quickly touch on why the Cosori air fryer is such a game-changer for cooking chicken. Unlike deep frying, air frying uses hot air circulation to cook your food. This means you get that satisfying crispy texture with significantly less oil, making your chicken a healthier choice.
The Cosori air fryer is known for its efficiency, even cooking, and ease of use. It’s perfect for busy weeknights, small batch cooking, or simply when you want to enjoy delicious chicken without the mess and extra fat.
Choosing Your Chicken and Preparation
The first step to perfect air fryer chicken is choosing the right cut and preparing it properly. The Cosori air fryer is incredibly versatile and can handle various chicken parts.
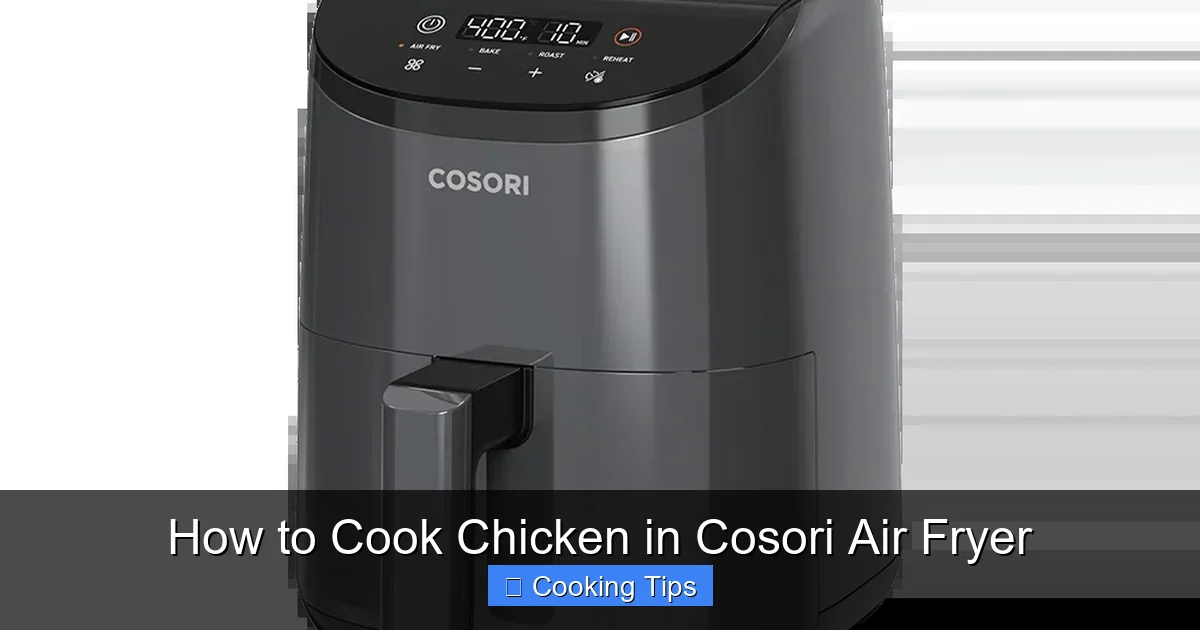
Visual guide about How to Cook Chicken in Cosori Air Fryer
Image source: cosori.com
Chicken Cuts for Air Frying
- Chicken Breasts: Boneless, skinless chicken breasts are a popular choice. They cook quickly and are very lean. For extra flavor and moisture, consider leaving the skin on or marinating them. If you’re cooking bone-in chicken breasts, they will take longer but can be incredibly juicy. You can find more specific tips on how to cook bone-in chicken breast in the air fryer here.
- Chicken Thighs: Chicken thighs, whether bone-in or boneless, skin-on or skinless, are more forgiving than breasts due to their higher fat content. They tend to stay juicier and develop a fantastic crispy skin. For bone-in thighs, this guide can help: how to cook bone-in chicken thighs in air fryer.
- Chicken Wings: Air fryers are legendary for making crispy chicken wings. Whether you prefer traditional or boneless wings, the air fryer delivers. Check out our guide on how to cook boneless chicken wings in air fryer for specific advice.
- Whole Chicken: While it requires more time and might need to be a smaller bird, you can absolutely air fry a whole chicken in larger Cosori models.
Seasoning Your Chicken
This is where you can get creative! The Cosori air fryer allows marinades to caramelize beautifully and dry rubs to create a delicious crust.
Simple Seasoning Ideas
- The Classic: Salt, black pepper, garlic powder, onion powder, and a drizzle of olive oil or avocado oil.
- Herbs and Spices: Paprika (for color and mild flavor), chili powder (for a kick), Italian seasoning, rosemary, thyme, or lemon pepper.
- Marinades: Soy sauce, honey, garlic, ginger, lemon juice, yogurt-based marinades, or BBQ sauce work wonderfully. Marinate for at least 30 minutes, or up to a few hours in the refrigerator.
- Dry Rubs: Mix your favorite spices together and coat the chicken evenly. This is great for creating a crispy bark.
Pro Tip: For the crispiest skin, especially on thighs and wings, pat your chicken completely dry with paper towels before seasoning. This helps remove excess moisture, allowing the skin to crisp up better.
Step-by-Step Guide to Air Frying Chicken
Now, let’s get to the cooking! Follow these steps for perfectly cooked chicken in your Cosori air fryer.
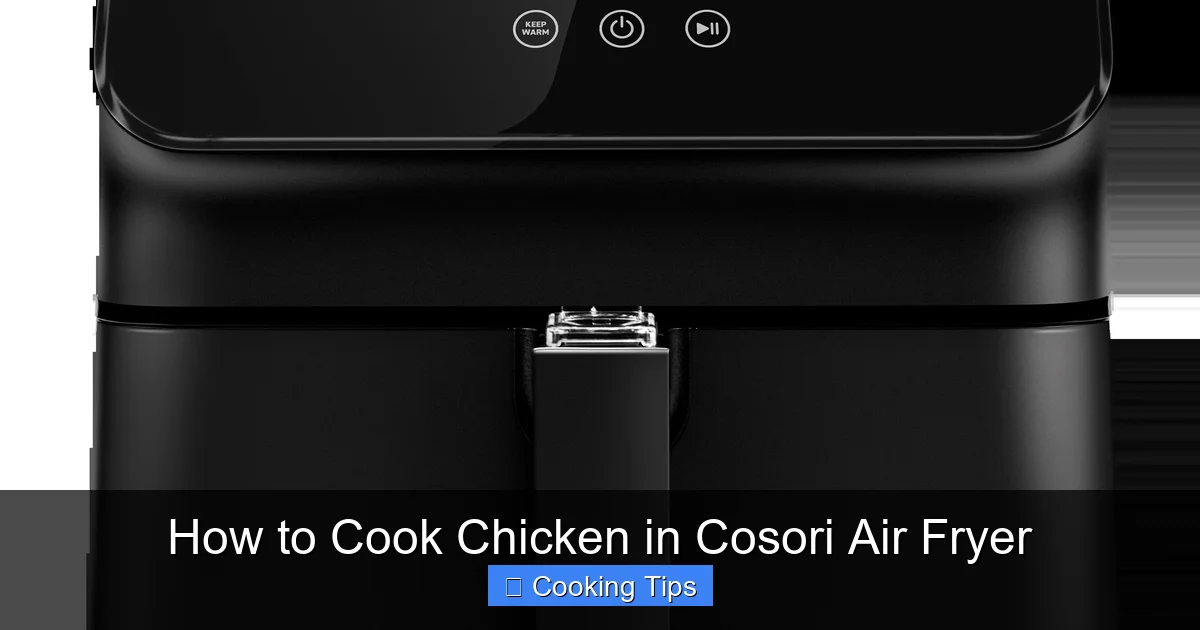
Visual guide about How to Cook Chicken in Cosori Air Fryer
Image source: cosori.com
Step 1: Preheat Your Cosori Air Fryer
Preheating is an important step, just like with a conventional oven. It ensures that your chicken starts cooking immediately and evenly, leading to better results. Most Cosori air fryer models have a preheat function, or you can simply set the temperature and let it run for a few minutes.
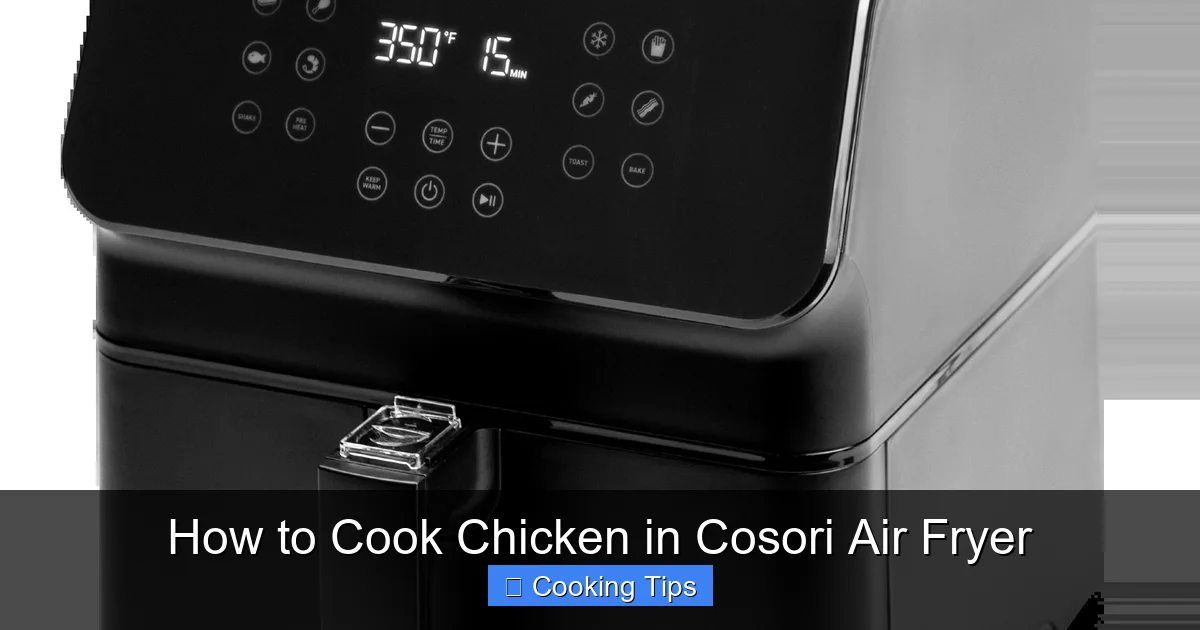
Visual guide about How to Cook Chicken in Cosori Air Fryer
Image source: cosori.com
Recommendation: Preheat your Cosori air fryer to the desired cooking temperature for about 3-5 minutes.
Step 2: Prepare and Season the Chicken
As discussed earlier, choose your chicken cut and season it generously. Ensure the chicken is dry before applying any marinades or rubs for optimal crispiness.
Example: For chicken breasts, toss them in a bowl with 1-2 tablespoons of olive oil, 1 teaspoon of salt, 1/2 teaspoon of black pepper, 1/2 teaspoon of garlic powder, and 1/2 teaspoon of paprika.
Step 3: Arrange Chicken in the Air Fryer Basket
This is a critical step for achieving even cooking and crispiness. Place your seasoned chicken pieces in a single layer in the air fryer basket. Do not overcrowd the basket!
Why is this important? Air needs to circulate around each piece of chicken to cook it evenly and make the skin or coating crispy. If you stack or cram too much in, you’ll end up with unevenly cooked, soggy chicken.
Tip: If you’re cooking a larger batch, it’s better to cook in two separate batches than to overcrowd the basket. You can keep the first batch warm in a low oven (around 200°F or 95°C) while you cook the second.
Step 4: Set Temperature and Time
The temperature and time will vary depending on the type and thickness of your chicken cut. Here are some general guidelines:
General Cooking Temperatures and Times
Boneless, Skinless Chicken Breasts:
- Temperature: 370°F (185°C)
- Time: 16-20 minutes. Flip halfway through.
Bone-in, Skin-on Chicken Breasts:
- Temperature: 380°F (190°C)
- Time: 25-30 minutes. Flip halfway through. (See our detailed guide on how to cook bone-in chicken breast in air fryer for more information.)
Boneless, Skinless Chicken Thighs:
- Temperature: 400°F (200°C)
- Time: 14-18 minutes. Flip halfway through.
Bone-in, Skin-on Chicken Thighs:
- Temperature: 400°F (200°C)
- Time: 22-26 minutes. Flip halfway through. (For more on thighs, check out how to cook bone-in chicken thighs in air fryer.)
Chicken Wings:
- Temperature: 400°F (200°C)
- Time: 20-25 minutes. Shake the basket halfway through or flip them. (For boneless wings, the timing might be slightly less.)
Note: These are starting points. Thicker pieces will take longer. Always check for doneness.
Step 5: Cook and Shake/Flip
Place the basket into the preheated Cosori air fryer and start the cooking cycle. For best results, it’s important to shake the basket or flip the chicken halfway through the cooking time. This ensures that all sides of the chicken get exposed to the hot air, leading to even browning and crispiness.
Cosori Specific Tip: Many Cosori models have a “shake” reminder function. If yours does, pay attention to it! If not, simply set a timer for the halfway point and remove the basket to shake or flip your chicken.
Step 6: Check for Doneness
This is the most crucial step for food safety and deliciousness. Chicken is cooked through when it reaches an internal temperature of 165°F (74°C). The juices should run clear, and the meat should be opaque white, not pink, in the thickest part.
Tool Recommendation: Invest in an instant-read meat thermometer. It’s the easiest and most accurate way to ensure your chicken is perfectly cooked without drying it out.
How to Check: Insert the thermometer into the thickest part of the chicken, avoiding any bones. If it reads 165°F (74°C), it’s done.
Step 7: Rest Your Chicken
Once your chicken reaches the desired internal temperature, remove it from the air fryer basket. It’s tempting to cut into it right away, but letting it rest for 5-10 minutes is essential. This allows the juices to redistribute throughout the meat, making it more tender and moist.
How to Rest: Place the cooked chicken on a clean plate or cutting board and loosely tent it with foil. This keeps it warm while allowing the juices to settle.
Troubleshooting Common Air Fryer Chicken Issues
Even with the best instructions, sometimes things don’t turn out perfectly. Here are a few common issues and how to fix them:
My Chicken is Dry
Cause: Overcooked or the wrong cut used.
Solution: Use a meat thermometer to avoid overcooking. For breasts, consider brining them or marinating them beforehand. Thighs are naturally more forgiving and less prone to drying out.
My Chicken Skin Isn’t Crispy
Cause: Too much moisture, overcrowding the basket, or not enough cooking time at a high enough temperature.
Solution: Pat the chicken very dry before seasoning. Ensure you’re not overcrowding the basket and that air can circulate freely. Try increasing the temperature slightly for the last few minutes of cooking, or cook in batches.
My Chicken is Unevenly Cooked
Cause: Not shaking the basket or flipping the chicken, or overcrowding.
Solution: Always remember to shake or flip your chicken halfway through cooking. Make sure there’s space between the pieces in the basket.
My Chicken is Still Pink Inside
Cause: Undercooked.
Solution: Return the chicken to the air fryer for a few more minutes. Check the internal temperature with a meat thermometer. Thicker cuts may require longer cooking times.
Tips for Delicious Cosori Air Fryer Chicken
- Don’t be afraid to experiment with different spices and marinades.
- Use a little oil (olive oil, avocado oil, or a cooking spray) to help spices adhere and promote crispiness.
- Keep an eye on smaller pieces like wings or tenders, as they can cook faster.
- Clean your air fryer basket regularly to ensure optimal performance and prevent residue buildup.
- Consider using parchment liners for easier cleanup, but ensure they don’t block the air vents.
Conclusion
Cooking chicken in your Cosori air fryer is a straightforward process that yields incredibly delicious results. By following these simple steps, paying attention to temperature and time, and ensuring proper air circulation, you can consistently achieve perfectly cooked, juicy, and crispy chicken every time. Whether you’re a seasoned home cook or just starting out, mastering chicken in your Cosori air fryer will become a go-to method for healthy and flavorful meals.
Enjoy your perfectly air-fried chicken!