Cooking chicken in an air fryer toaster oven is surprisingly simple and yields delicious results. This guide walks you through preparing, cooking, and perfecting your chicken for a crispy exterior and juicy interior. Discover the ease of achieving restaurant-quality chicken in your own kitchen with minimal effort.
How to Cook Chicken in an Air Fryer Toaster Oven
Welcome to the ultimate guide on cooking chicken in your air fryer toaster oven! If you’ve been looking for a way to get perfectly cooked, crispy, and juicy chicken without a lot of fuss, you’ve come to the right place. An air fryer toaster oven is a versatile kitchen appliance that can transform your chicken dishes. It combines the convection power of an air fryer with the functionality of a toaster oven, making it ideal for a wide variety of cooking tasks.
In this comprehensive guide, we’ll walk you through everything you need to know to achieve chicken perfection. We’ll cover selecting the right chicken, preparing it for cooking, the step-by-step cooking process, and even some tips for troubleshooting. Get ready to elevate your chicken game!
Key Takeaways
- Choose the Right Chicken Cut: Boneless, skinless chicken breasts, thighs, wings, or even whole chickens can be cooked effectively. The cooking time will vary based on the size and cut.
- Season Generously: Proper seasoning is key to flavorful chicken. Use your favorite rubs, marinades, or simple salt and pepper for delicious results.
- Preheat Your Oven: Always preheat your air fryer toaster oven to the recommended temperature. This ensures even cooking and helps achieve that desirable crispy texture.
- Don’t Overcrowd the Basket: Ensure good airflow around the chicken pieces for even cooking and maximum crispiness. Cook in batches if necessary.
- Use a Meat Thermometer: The most reliable way to ensure your chicken is cooked through is by checking the internal temperature. Aim for 165°F (74°C) in the thickest part.
- Rest Your Chicken: Allowing the chicken to rest for a few minutes after cooking helps redistribute the juices, making it more tender and flavorful.
Understanding Your Air Fryer Toaster Oven
Before we dive into cooking, it’s helpful to understand how your air fryer toaster oven works its magic. These appliances use a fan to circulate hot air rapidly around the food. This process, known as convection cooking, is what gives chicken that desirable crispy exterior while keeping the inside moist and tender. Unlike a traditional oven where hot air might linger, the continuous movement of air in an air fryer toaster oven cooks food faster and more evenly.
Most air fryer toaster ovens come with various functions, including air fry, bake, toast, broil, and convection bake. For cooking chicken, the “Air Fry” or “Convection Bake” settings are usually your best bet.
Step 1: Selecting Your Chicken
The first step to delicious air fryer chicken is choosing the right cut. The good news is that most types of chicken work wonderfully in an air fryer toaster oven. Here are a few popular choices:
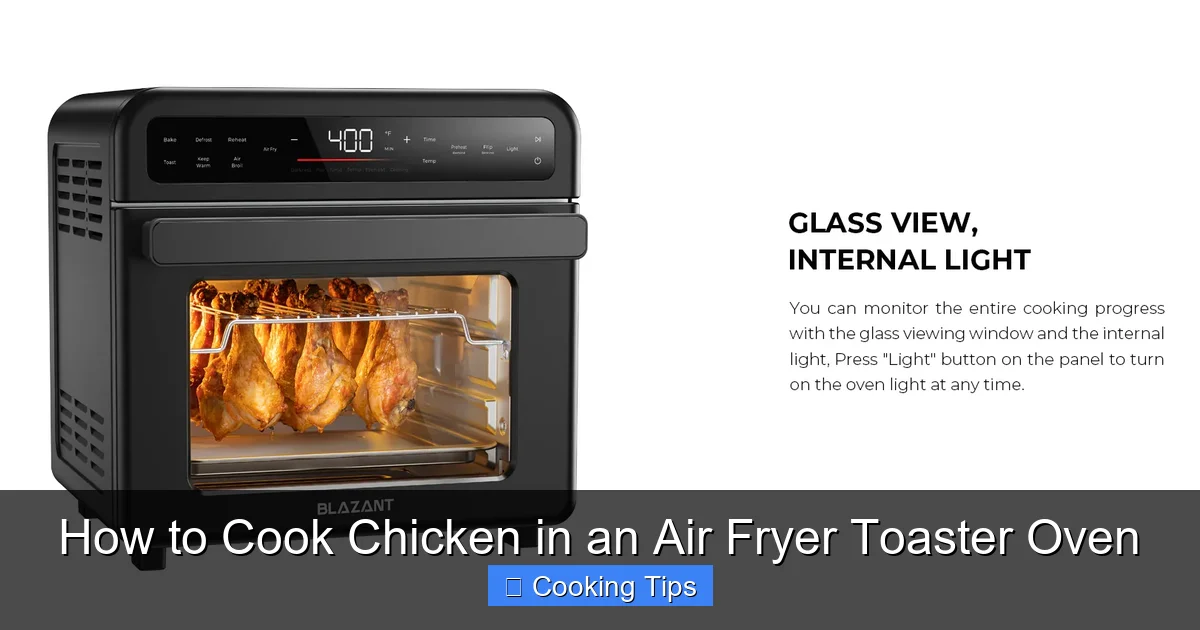
Visual guide about How to Cook Chicken in an Air Fryer Toaster Oven
Image source: cdn.shopify.com
- Boneless, Skinless Chicken Breasts: These are a quick and healthy option. They cook relatively fast and are versatile for various recipes.
- Boneless, Skinless Chicken Thighs: Thighs are naturally more forgiving and tend to stay moister than breasts due to their higher fat content.
- Bone-In Chicken Breasts/Thighs: These can yield very flavorful results, but they will take longer to cook than their boneless counterparts.
- Chicken Wings: Air fryers are famous for their ability to make incredibly crispy chicken wings.
- Chicken Drumsticks/Legs: A classic crowd-pleaser that becomes wonderfully crisp in the air fryer.
- Whole Chicken (smaller size): Some larger air fryer toaster ovens can accommodate a small whole chicken for a Sunday roast experience.
For this guide, we’ll focus on common cuts like chicken breasts and thighs, but the principles can be applied to most chicken pieces.
Step 2: Preparing Your Chicken
Proper preparation is crucial for flavorful and safely cooked chicken. This involves thawing (if frozen), trimming, and most importantly, seasoning.
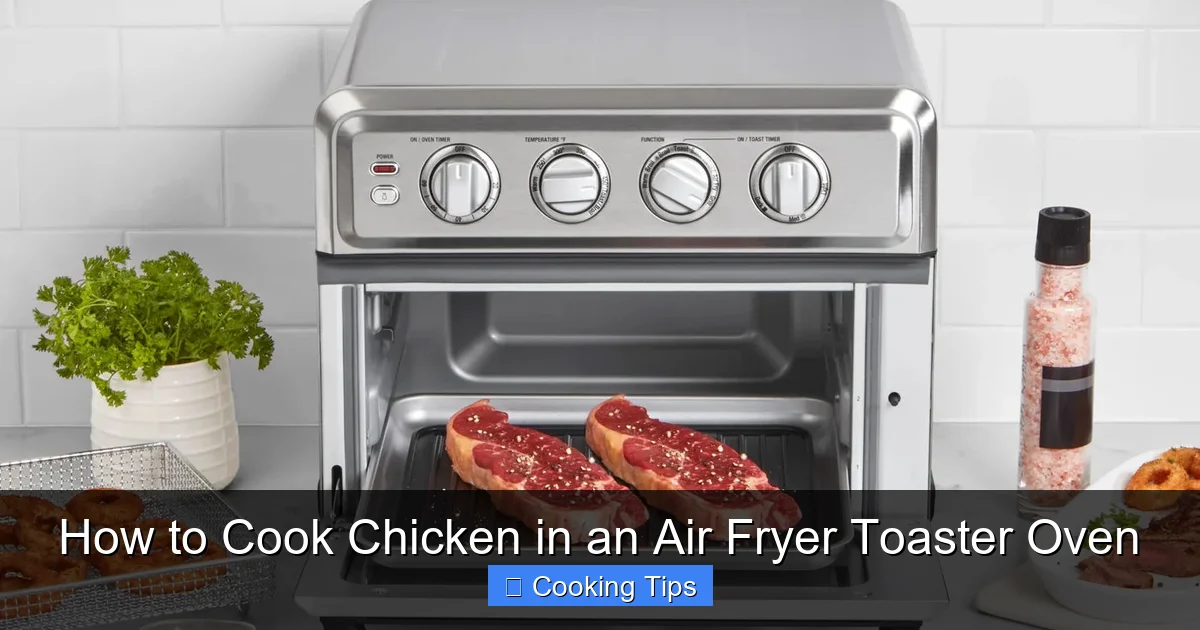
Visual guide about How to Cook Chicken in an Air Fryer Toaster Oven
Image source: storables.com
Thawing Frozen Chicken
If your chicken is frozen, ensure it is fully thawed before cooking. You can thaw it in the refrigerator overnight, or for a quicker method, use the defrost setting on your microwave. Never attempt to cook raw chicken from frozen in an air fryer unless the recipe specifically calls for it (like some frozen nuggets).
Trimming Excess Fat and Skin
For boneless, skinless cuts, trim any visible excess fat. If you’re cooking chicken with skin, you can leave it on for extra crispiness and flavor, but trim away any large, thick pieces of fat that might cause excessive smoking.
Seasoning Your Chicken
This is where you infuse flavor! You have several options:
- Simple Salt and Pepper: A classic for a reason. Ensure the chicken is dry before seasoning so the salt and pepper adhere well.
- Dry Rubs: A blend of spices like paprika, garlic powder, onion powder, cumin, and chili powder can create a delicious crust.
- Marinades: Marinate chicken for at least 30 minutes (or up to a few hours in the refrigerator) for added tenderness and flavor. Common marinades include lemon-herb, soy-ginger, or yogurt-based ones.
- Oils and Sauces: A light coating of olive oil or your favorite sauce (like BBQ sauce) can help seasonings stick and promote browning.
Tip: Pat your chicken dry with paper towels before seasoning. This helps the seasonings stick better and promotes a crispier exterior.
Step 3: Preheating Your Air Fryer Toaster Oven
Just like with a traditional oven, preheating your air fryer toaster oven is essential for even cooking and optimal crispiness. It ensures that once the chicken is placed inside, it immediately starts cooking at the correct temperature.
How to Preheat:
- Select the “Air Fry” or “Convection Bake” setting on your appliance.
- Set the temperature according to your recipe or the general guidelines below. A common starting point is 375°F (190°C) to 400°F (200°C).
- Allow the oven to preheat for 5-10 minutes. Many models will have an indicator light or beep when they reach the set temperature.
Step 4: Arranging the Chicken
The key to crispy, evenly cooked chicken is allowing hot air to circulate around each piece. This means avoiding overcrowding your air fryer basket or tray.
- Single Layer: Arrange the chicken pieces in a single layer on the air fryer rack or basket.
- Spacing: Leave a small amount of space (about ½ inch to 1 inch) between each piece. If your pieces are touching, they will steam rather than crisp up.
- Cooking in Batches: If you have a lot of chicken to cook, it’s better to do it in multiple batches rather than crowding the appliance. This might take a little longer overall, but the results will be far superior.
Step 5: Cooking Your Chicken
Now for the main event! The cooking time will vary significantly depending on the cut, size, and thickness of your chicken, as well as the specific model of your air fryer toaster oven.
General Cooking Guidelines:
Boneless, Skinless Chicken Breasts (about 6-8 oz each):
- Temperature: 375°F (190°C)
- Time: 18-22 minutes
- Instructions: Flip halfway through cooking (around 9-11 minutes).
Boneless, Skinless Chicken Thighs (about 4-6 oz each):
- Temperature: 400°F (200°C)
- Time: 15-20 minutes
- Instructions: Flip halfway through cooking (around 7-10 minutes).
Bone-In Chicken Thighs (about 6-8 oz each):
- Temperature: 380°F (190°C)
- Time: 25-35 minutes
- Instructions: Flip halfway through cooking. Ensure internal temperature reaches 165°F (74°C).
Chicken Wings (whole wings):
- Temperature: 400°F (200°C)
- Time: 20-25 minutes
- Instructions: Shake the basket or flip wings halfway through cooking for even crisping.
How to Cook Chicken in an Air Fryer Toaster Oven: A Detailed Breakdown
- Prepare and Season: Follow Step 2 to thaw, trim, and season your chosen chicken cut.
- Preheat the Oven: Ensure your air fryer toaster oven is preheated to the recommended temperature (see general guidelines above).
- Arrange Chicken: Place the seasoned chicken in a single layer on the air fryer rack or basket, ensuring pieces are not touching.
- Cook: Place the rack or basket into the preheated oven.
- Flip (if necessary): For most cuts, halfway through the cooking time, carefully open the oven and flip each piece using tongs. This promotes even browning and crisping on all sides.
- Check for Doneness: The most crucial step! Use an instant-read meat thermometer to check the internal temperature. Insert it into the thickest part of the chicken, avoiding any bone. Chicken is safely cooked when it reaches an internal temperature of 165°F (74°C). For darker meat like thighs, some prefer to cook them a few degrees higher for extra tenderness.
- Continue Cooking: If the chicken hasn’t reached the desired temperature, continue cooking in 2-5 minute intervals, checking the temperature after each interval.
Example: Cooking Boneless Chicken Breasts
Let’s say you have two boneless, skinless chicken breasts, each about 7 ounces. You’ve seasoned them with a paprika-garlic rub and a drizzle of olive oil.
- Preheat your air fryer toaster oven to 375°F (190°C).
- Once preheated, place the seasoned chicken breasts on the air fryer rack, spaced apart.
- Air fry for 10 minutes.
- Carefully open the oven and flip the chicken breasts.
- Continue air frying for another 8-12 minutes, or until the internal temperature reaches 165°F (74°C) in the thickest part.
- Remove from the oven and let rest.
Note on Bone-In Chicken: When cooking bone-in chicken, like bone-in chicken thighs, the cooking time will be longer. Always prioritize reaching the safe internal temperature of 165°F (74°C).
Step 6: Resting Your Chicken
This is a simple but often overlooked step that makes a big difference. Once your chicken reaches the perfect internal temperature, remove it from the air fryer toaster oven and place it on a clean plate or cutting board. Tent it loosely with aluminum foil and let it rest for 5-10 minutes.
Why rest? Resting allows the juices that have been driven to the center of the meat during cooking to redistribute throughout the chicken. This results in a much juicier and more tender final product. If you cut into chicken immediately after cooking, those delicious juices will run out onto the plate.
Step 7: Serving Your Delicious Chicken
Your perfectly cooked chicken is ready to be enjoyed! Serve it as is, slice it for salads or sandwiches, or use it in your favorite recipes. It pairs wonderfully with a variety of side dishes, such as roasted vegetables (you can even cook vegetables in the air fryer while your chicken rests!) or a fresh salad.
Troubleshooting Common Air Fryer Chicken Issues
Even with the best instructions, sometimes things don’t go exactly as planned. Here are a few common issues and how to fix them:
My Chicken is Dry
- Cause: Overcooked, or the wrong cut of chicken was used (leaner cuts like breasts can dry out faster).
- Solution: Use an instant-read thermometer to avoid overcooking. For boneless breasts, consider marinating them or brining them beforehand. Thighs are naturally more forgiving and less likely to dry out.
My Chicken Isn’t Crispy
- Cause: Oven wasn’t preheated, chicken was overcrowded, or not enough oil was used.
- Solution: Always preheat. Ensure there’s space between chicken pieces for air circulation. A light coating of oil helps with crisping. You can also try increasing the temperature slightly for the last few minutes of cooking, keeping a close eye to prevent burning.
My Chicken is Cooked Unevenly
- Cause: Uneven thickness of chicken pieces, overcrowding, or not flipping the chicken.
- Solution: Try to use chicken pieces of similar size and thickness. Ensure pieces are spaced out and flip them halfway through cooking.
My Air Fryer Toaster Oven is Smoking
- Cause: Too much fat or oil dripping onto the heating elements or into the bottom of the oven.
- Solution: Ensure you’ve trimmed excess fat from the chicken. Use oil sparingly – a light spray or brush is usually sufficient. Clean your air fryer toaster oven regularly, especially the drip tray and heating elements, as recommended by the manufacturer.
Cleaning Your Air Fryer Toaster Oven
After enjoying your delicious chicken, it’s important to clean your appliance to keep it in good working order. Most air fryer toaster ovens have removable racks and baskets that can be washed with warm, soapy water. Wipe down the interior and exterior with a damp cloth.
Always unplug the appliance and ensure it’s cool before cleaning. Consult your owner’s manual for specific cleaning instructions for your model.
Conclusion
Cooking chicken in an air fryer toaster oven is a fantastic way to achieve restaurant-quality results in your own home. With its ability to crisp up the exterior while keeping the inside juicy, it’s a healthier alternative to deep-frying and often faster than traditional oven methods.
By following these simple steps – from selecting and preparing your chicken, to preheating, cooking, and resting – you’ll be well on your way to mastering air fryer chicken. Don’t be afraid to experiment with different seasonings and recipes. Whether you’re making simple weeknight dinners or entertaining guests, your air fryer toaster oven is ready to deliver delicious, crispy, and perfectly cooked chicken every time. Enjoy!