Unlock perfectly cooked chicken with your Instant Pot Air Fryer! This guide provides a comprehensive, step-by-step method for achieving juicy, flavorful chicken with a wonderfully crispy exterior. Discover simple techniques and helpful tips to make chicken a weeknight dinner hero.
Cooking chicken can sometimes feel like a chore. You want it juicy, flavorful, and maybe even a little bit crispy, but it often ends up dry, bland, or takes too long. What if there was a way to get perfectly cooked chicken, with minimal fuss, using a kitchen appliance you might already own? Enter the Instant Pot Air Fryer.
This guide is your ultimate resource for mastering the art of cooking chicken in your Instant Pot Air Fryer. We’ll walk you through everything, from selecting the right chicken pieces to achieving that satisfying crunch. Get ready to say goodbye to dry, boring chicken and hello to delicious, perfectly cooked meals!
You’ll learn how to leverage the unique capabilities of your Instant Pot Air Fryer to create tender, moist chicken with a delightful crispy exterior. We’ll cover different cuts of chicken, simple seasoning ideas, and essential tips to ensure your success every time. Let’s get started!
Key Takeaways
- Effortless Versatility: The Instant Pot Air Fryer lid transforms your pressure cooker into a powerful air fryer, allowing you to cook chicken with incredible speed and ease.
- Crispy Perfection: Achieve restaurant-quality crispy chicken skin and juicy interiors by mastering the combination of pressure cooking (optional) and air frying.
- Flavor Infusion: Learn simple seasoning techniques and marinades to elevate the taste of your chicken, making it a versatile base for countless meals.
- Time-Saving Convenience: This method significantly reduces cooking time compared to traditional oven baking, perfect for busy weeknights.
- Healthy Cooking: Air frying uses significantly less oil than deep frying, making it a healthier way to enjoy your favorite chicken dishes.
Understanding Your Instant Pot Air Fryer
The Instant Pot Air Fryer is a game-changer for home cooks. It combines the speed and convenience of a pressure cooker with the crisping power of an air fryer. This means you can often cook chicken faster and achieve textures that were previously difficult to get in a standard oven. The magic lies in the circulating hot air that cooks food evenly and creates that desirable crispy finish.
Choosing Your Chicken
The beauty of the Instant Pot Air Fryer is its versatility. You can cook almost any cut of chicken, from whole birds to individual pieces. Here are some popular choices and what to expect:
- Whole Chicken: Perfect for a Sunday roast, a whole chicken cooked in the air fryer is incredibly moist inside with crispy skin.
- Chicken Breasts: Boneless, skinless chicken breasts can cook quickly but can also dry out easily. The air fryer helps maintain moisture. For bone-in chicken breast, you’ll find a great guide here.
- Chicken Thighs: Bone-in or boneless, chicken thighs are naturally more forgiving and tend to stay very juicy. This is a fantastic option for beginners. Check out how to cook bone-in chicken thighs for more.
- Chicken Wings: Whether bone-in or boneless, chicken wings are a classic air fryer favorite, and they come out incredibly crispy.
- Chicken Tenders/Strips: Great for quick meals and kid-friendly options.
When selecting your chicken, always opt for fresh, good-quality meat. For the best results with skin-on chicken, choose pieces with the skin intact for maximum crispiness.
Preparation is Key: Seasoning and Marinades
How you season your chicken can make or break the dish. The Instant Pot Air Fryer allows flavors to penetrate the meat beautifully.
Simple Seasoning Blends
You don’t need fancy ingredients. A basic blend of salt, pepper, garlic powder, onion powder, and paprika is a fantastic starting point. You can customize this with herbs like rosemary, thyme, or Italian seasoning, or add a touch of heat with cayenne pepper or chili powder.
The Power of Marinades
Marinades are your best friend for infusing flavor and tenderizing chicken, especially leaner cuts like breasts. Aim for a marinade that includes an acid (like lemon juice, vinegar, or buttermilk), oil, and seasonings. Marinate for at least 30 minutes, or up to 4 hours in the refrigerator for best results. Avoid marinating chicken breasts for too long in highly acidic marinades, as it can make the texture mushy.
Getting the Chicken Ready
Whatever seasoning or marinade you choose, ensure the chicken is patted dry with paper towels before applying. This helps create a crispier exterior. For bone-in pieces, loosen the skin slightly and get some seasoning underneath for extra flavor.
Step-by-Step Guide: Cooking Chicken in Your Instant Pot Air Fryer
This guide will focus on cooking boneless, skinless chicken breasts, as they are a common and versatile choice. We’ll also touch on how to adapt for bone-in pieces.
Step 1: Preheat Your Air Fryer
Preheating is crucial for achieving even cooking and crispy results.
H3: Preheat the Air Fryer
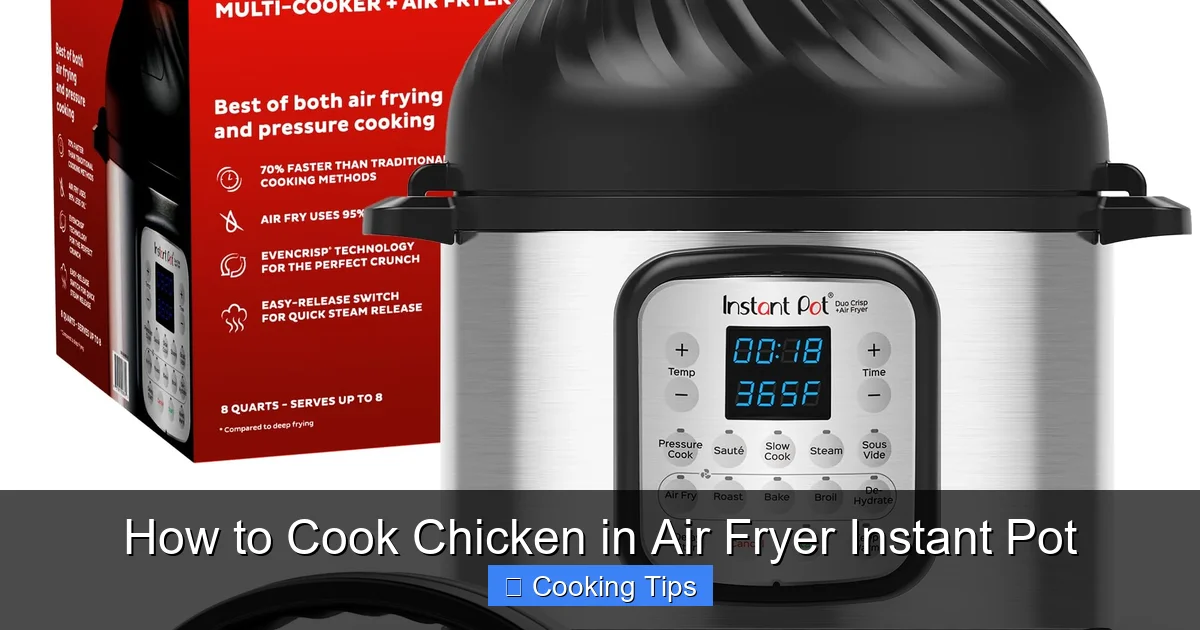
Visual guide about How to Cook Chicken in Air Fryer Instant Pot
Image source: m.media-amazon.com
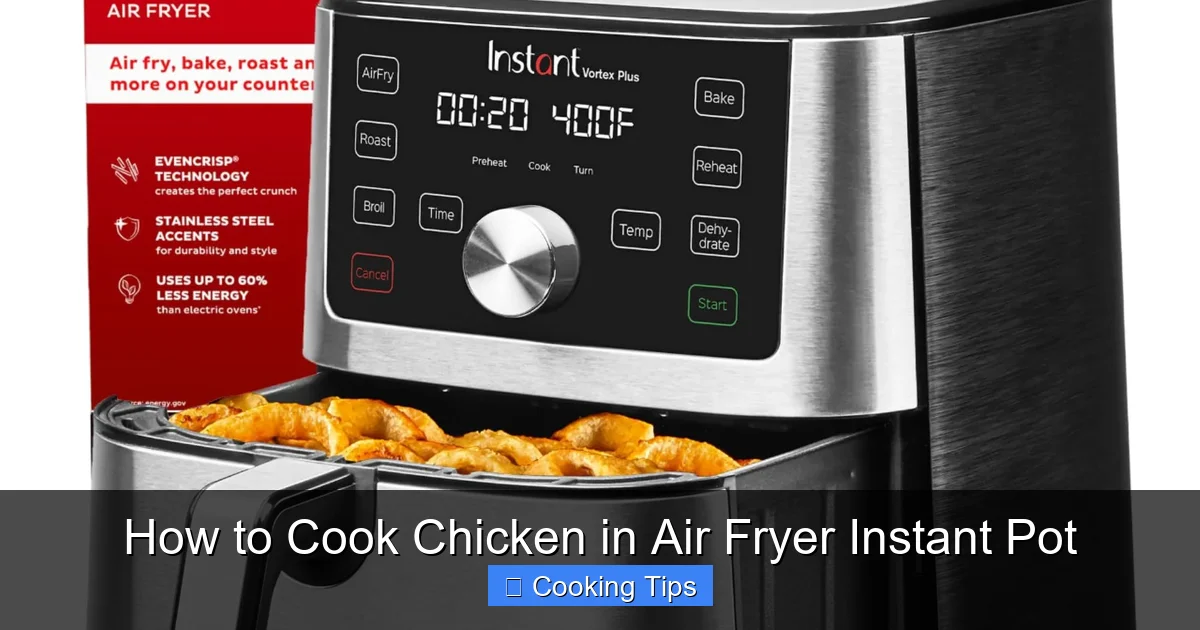
Visual guide about How to Cook Chicken in Air Fryer Instant Pot
Image source: m.media-amazon.com

Visual guide about How to Cook Chicken in Air Fryer Instant Pot
Image source: m.media-amazon.com
- Open your Instant Pot lid and place the air fryer basket or rack into the inner pot.
- Close the air fryer lid.
- Select the “Air Fry” setting.
- Set the temperature to 380°F (190°C).
- Set the time for 5 minutes.
- Press “Start.”
Allow the air fryer to preheat fully. This usually takes about 3-5 minutes.
Step 2: Prepare Your Chicken
While the air fryer is preheating, prepare your chicken.
H3: Season or Marinate Your Chicken
- Take your boneless, skinless chicken breasts (usually 2-4 pieces, depending on size).
- Pat them completely dry with paper towels. This is a critical step for crispiness.
- Season generously with your chosen spice blend or coat them in your prepared marinade. Ensure even coverage.
Step 3: Arrange Chicken in the Air Fryer Basket
Proper arrangement ensures hot air circulates effectively.
H3: Load the Air Fryer Basket
- Carefully open the air fryer lid.
- Place the seasoned chicken breasts in a single layer in the air fryer basket.
- Ensure the pieces are not overlapping. If you are cooking multiple pieces, you may need to cook in batches to avoid overcrowding, which leads to steaming instead of air frying.
Step 4: Air Fry the Chicken
Now for the magic!
H3: Cook the Chicken
- Close the air fryer lid.
- Set the “Air Fry” function.
- Set the temperature to 380°F (190°C).
- Set the initial cooking time to 10 minutes.
- Press “Start.”
Step 5: Flip and Continue Cooking
Flipping ensures even browning and cooking on both sides.
H3: Flip and Finish Cooking
- After 10 minutes, carefully open the air fryer lid.
- Using tongs, flip each chicken breast.
- Close the lid.
- Continue air frying for another 8-12 minutes. The exact time will depend on the thickness of your chicken breasts.
Step 6: Check for Doneness
The most important step is to ensure your chicken is cooked through safely.
H3: Verify Internal Temperature
- Use an instant-read thermometer to check the internal temperature of the thickest part of the chicken breast.
- The chicken is safely cooked when it reaches an internal temperature of 165°F (74°C).
- If it hasn’t reached temperature, continue cooking in 2-minute intervals, checking each time.
Step 7: Rest the Chicken
This step is crucial for juicy results.
H3: Let the Chicken Rest
- Once the chicken reaches 165°F (74°C), carefully remove it from the air fryer basket.
- Place the chicken on a clean plate or cutting board.
- Tent it loosely with foil and let it rest for 5-10 minutes. This allows the juices to redistribute throughout the meat, ensuring it stays moist and tender.
Step 8: Serve and Enjoy!
Your perfectly cooked chicken is ready!
H3: Serve Your Delicious Chicken
- Slice or serve the chicken breasts whole.
- They are now ready to be enjoyed as part of a meal, in salads, sandwiches, or alongside your favorite sides.
Adapting for Other Cuts of Chicken
Bone-In Chicken (Breasts, Thighs, Drumsticks)
Bone-in chicken generally takes longer to cook.
- Preheat as usual.
- Season your bone-in chicken pieces.
- Place in the air fryer basket, ensuring not to overcrowd.
- Air fry at 380°F (190°C) for approximately 20-30 minutes.
- Flip the chicken halfway through cooking (around 10-15 minutes).
- Always check the internal temperature. The thickest part of the meat, not touching the bone, should reach 165°F (74°C). For bone-in chicken thighs, you might want to check our specific guide here.
- Rest as usual.
Whole Chicken
Cooking a whole chicken requires a bit more time and care.
- Preheat the air fryer to 350°F (175°C).
- Season your whole chicken inside and out. You can truss it for more even cooking if desired.
- Place the chicken breast-side up in the air fryer basket.
- Air fry for about 45-60 minutes, depending on the size of the chicken (approx. 15-20 minutes per pound).
- You may need to loosely tent the breast area with foil during the last 15-20 minutes if the skin is browning too quickly.
- The internal temperature should reach 165°F (74°C) in the thickest part of the thigh.
- Rest for at least 10-15 minutes before carving.
Tips for Crispy Chicken Skin
If you’re cooking chicken with the skin on (like thighs or whole chickens), achieving that coveted crispiness is key.
- Pat Dry, Pat Dry, Pat Dry: This cannot be stressed enough. Moisture is the enemy of crispiness.
- Use a Little Oil: A light coating of oil (like olive oil or avocado oil) helps the skin crisp up and prevents sticking.
- High Heat for Finishing: Sometimes, after initial cooking, you can increase the temperature to 400°F (200°C) for the last 5 minutes to really crisp up the skin. Keep a close eye on it!
- Don’t Overcrowd: Ensure there’s plenty of space for air to circulate around the chicken pieces.
Troubleshooting Common Issues
Even with the best guidance, sometimes things don’t go perfectly. Here are a few common issues and how to fix them:
Chicken is Dry
Cause: Overcooked, not rested, or too lean a cut without enough moisture.
Solution: Use an instant-read thermometer to avoid overcooking. Always rest your chicken. Consider using chicken thighs, which are more forgiving. Marinades can also help add moisture.
Chicken is Not Crispy
Cause: Skin was not dry enough, air fryer was overcrowded, or not enough preheating.
Solution: Ensure the skin is thoroughly patted dry. Cook in batches if necessary. Preheat your air fryer properly before adding the chicken.
Uneven Cooking
Cause: Pieces were overlapping, or the air fryer basket was too full.
Solution: Arrange chicken in a single layer with space between pieces. Flip halfway through cooking. For larger batches, cook in multiple rounds.
Chicken Still Pink Inside
Cause: Not cooked long enough, or bone-in pieces need more time.
Solution: Always check the internal temperature with a thermometer. If it’s below 165°F (74°C), continue cooking in short intervals until it reaches the safe temperature.
Serving Suggestions
The possibilities are endless once you have perfectly cooked chicken.
- Serve alongside roasted vegetables, rice, quinoa, or a fresh salad for a complete meal.
- Shred or dice cooked chicken for tacos, fajitas, or quesadillas.
- Use it in pasta dishes, stir-fries, or as a topping for baked potatoes.
- Make delicious chicken sandwiches or wraps.
If you’re looking for more ways to use your air fryer, check out our guide on cooking a pot pie here.
Conclusion
Cooking chicken in the Instant Pot Air Fryer is a fantastic way to get delicious, tender, and often crispy results with remarkable ease and speed. By following these steps and tips, you’ll be well on your way to becoming an air fryer chicken expert.
Whether you’re a seasoned cook or just starting, the Instant Pot Air Fryer offers a convenient and healthy method for preparing chicken that will impress your family and friends. So, dust off that Instant Pot, get your favorite chicken cuts ready, and prepare to enjoy some of the best home-cooked chicken you’ve ever made! Happy cooking!