Learn how to cook incredibly tender and juicy chicken breast tenderloins in your air fryer with this comprehensive guide. We’ll walk you through simple steps, from seasoning to achieving perfect doneness, ensuring you get delicious, restaurant-quality results every time. Get ready for a quick, healthy, and satisfying meal with minimal effort – your air fryer is the key to juicy chicken!
How to Cook Chicken Breast Tenderloins in the Air Fryer
Welcome to your ultimate guide on cooking chicken breast tenderloins in the air fryer! If you’re looking for a quick, healthy, and incredibly delicious way to prepare chicken, you’ve come to the right place. Air frying chicken tenderloins is a game-changer. It’s faster than baking, healthier than deep-frying, and results in perfectly cooked, juicy chicken with a delightful crispy exterior.
In this guide, we’ll walk you through everything you need to know. We’ll cover simple preparation steps, foolproof cooking times and temperatures, and offer tips to ensure your chicken tenderloins turn out perfectly every single time. Get ready to impress yourself and your family with this simple yet elegant cooking method!
- Perfectly Tender and Juicy: Air frying locks in moisture, resulting in incredibly tender and juicy chicken breast tenderloins without drying them out.
- Quick and Easy Preparation: This method is significantly faster than traditional oven or pan-frying, making it ideal for busy weeknights.
- Crispy Exterior: The hot air circulation creates a wonderfully crispy outer layer, even without deep frying.
- Versatile Cooking: Air fryer chicken tenderloins are a blank canvas, perfect for a variety of marinades, seasonings, and dipping sauces.
- Healthy Cooking Method: Air frying uses significantly less oil than deep frying, offering a healthier alternative for enjoying delicious chicken.
- Consistent Results: Following simple temperature and time guidelines ensures reliable, delicious results every time you cook chicken tenderloins.
Why Air Fry Chicken Tenderloins?
Before we dive into the “how,” let’s talk about “why.” Why choose your air fryer for chicken tenderloins?
* **Speed:** Air fryers are incredibly efficient. They preheat quickly and cook food faster than conventional ovens. Chicken tenderloins, being a thinner cut, cook up in minutes.
* **Healthier Cooking:** This is a major win. You get that satisfying crispy texture without the need for excessive oil. A light coating is all you need to achieve a delightful crunch. This is a much healthier option than deep-frying.
* **Juiciness:** The circulating hot air in an air fryer cooks the chicken evenly and quickly, sealing in its natural juices. This means no more dry, overcooked chicken breast!
* **Crispiness:** The magic of the air fryer is its ability to create a crispy, golden-brown exterior that’s simply irresistible.
* **Versatility:** Once cooked, these tenderloins are a blank canvas. Serve them plain, toss them in your favorite sauce, or use them in salads, wraps, or pasta dishes.
Ingredients and Equipment You’ll Need
This recipe is wonderfully straightforward, requiring minimal ingredients and common kitchen tools.
Essential Ingredients:
* Chicken Breast Tenderloins: About 1 to 1.5 pounds (450-680g). Look for good quality, fresh tenderloins.
* Olive Oil or Avocado Oil: About 1-2 tablespoons. This helps with browning and crisping.
* Seasonings: This is where you can get creative! A good starting point includes:
* Salt: 1 teaspoon
* Black Pepper: 1/2 teaspoon
* Garlic Powder: 1 teaspoon
* Paprika: 1 teaspoon (for color and mild flavor)
* Onion Powder: 1/2 teaspoon
* *Optional additions:* Dried herbs like oregano or thyme, chili powder for a kick, or a touch of cayenne.
Essential Equipment:
* Air Fryer: Any standard air fryer will work.
* Mixing Bowl: For seasoning the chicken.
* Tongs: For handling the chicken safely.
* Meat Thermometer: Crucial for ensuring your chicken is cooked to a safe internal temperature.
Step-by-Step Guide to Air Frying Chicken Tenderloins
Let’s get cooking! Follow these simple steps for perfectly air-fried chicken tenderloins.
Step 1: Prepare the Chicken Tenderloins
This is the foundation for delicious chicken.
Trimming Excess Fat and Silverskin
* Inspect your chicken tenderloins. Sometimes, there’s a tough, shiny membrane called silverskin attached. Carefully trim this away with a sharp knife. Also, trim off any visible pieces of excess fat. This ensures a more pleasant eating experience.
Pat Dry
* Use paper towels to thoroughly pat the chicken tenderloins dry. This is a critical step! Moisture on the surface of the chicken will steam rather than crisp up in the air fryer. The drier the chicken, the crispier the exterior will be.
Step 2: Season the Chicken
This is where the flavor comes in!
Coat with Oil
* Place the dried chicken tenderloins in your mixing bowl. Drizzle the olive oil or avocado oil over them. Toss gently with your hands or tongs to ensure each tenderloin is lightly and evenly coated with oil. The oil acts as a binder for the seasonings and helps achieve that golden-brown crispiness.
Add Your Spices
* Sprinkle your chosen seasonings generously over the oiled chicken. Start with the basic salt, pepper, garlic powder, paprika, and onion powder. If you’re feeling adventurous, add your favorite herbs or spices now.
* Toss everything together until the chicken is uniformly coated with the oil and seasoning mixture. Make sure every piece has a good coating – this is where the flavor truly develops.
Step 3: Preheat Your Air Fryer
Preheating is key for even cooking.
Set the Temperature
* Most air fryers recommend preheating for optimal results. Set your air fryer to 400°F (200°C).
* Allow the air fryer to preheat for about 3-5 minutes. You’ll often hear a beep or see a light indicate when it’s ready. Preheating ensures the chicken starts cooking immediately upon entering the basket, leading to a better texture and preventing it from becoming soggy.
Step 4: Arrange the Chicken in the Air Fryer Basket
Proper arrangement ensures optimal airflow.
Single Layer is Key
* Once the air fryer is preheated, carefully place the seasoned chicken tenderloins in a single layer in the air fryer basket.
* Do not overcrowd the basket. This is extremely important! Overcrowding will trap steam and prevent the hot air from circulating around the chicken. This leads to uneven cooking and a lack of crispiness. If you have a large batch, cook in two separate batches. You can keep the first batch warm in a low oven (around 200°F/95°C) while you cook the second.
Step 5: Air Fry the Chicken
This is the main cooking phase.
Set the Cooking Time
* Close the air fryer basket. Set your air fryer to cook at 400°F (200°C).
* The cooking time for chicken breast tenderloins is typically between 10 to 15 minutes. This can vary slightly depending on the thickness of your tenderloins and the specific model of your air fryer.
Shake or Flip Halfway
* About halfway through the cooking time (around the 5-7 minute mark), carefully pull out the air fryer basket.
* Using your tongs, gently flip each chicken tenderloin over. If your air fryer has a fan and you notice some pieces are cooking faster than others, you can also give the basket a gentle shake to rearrange them. This ensures even browning and crisping on all sides.
* Return the basket to the air fryer and continue cooking for the remaining time.
Step 6: Check for Doneness
Safety and deliciousness depend on proper cooking.
Use a Meat Thermometer
* The most reliable way to check if your chicken is cooked through is by using an instant-read meat thermometer. Insert the thermometer into the thickest part of a tenderloin.
* The chicken is safely cooked when the internal temperature reaches 165°F (74°C).
* If the chicken hasn’t reached the target temperature, return the basket to the air fryer and cook for another 2-3 minutes, then check again.
Visual Cues (Use with Caution)
* You can also look for visual cues. The chicken should be opaque throughout, with no pink color remaining. The juices should run clear when pierced with a fork. However, always rely on the thermometer for absolute certainty.
Step 7: Rest and Serve
The final, crucial step for maximum juiciness.
Let it Rest
* Once the chicken tenderloins have reached an internal temperature of 165°F (74°C), carefully remove them from the air fryer basket using tongs.
* Place the cooked tenderloins on a clean plate or cutting board.
* Let them rest for about 5 minutes before cutting or serving. This resting period allows the juices to redistribute throughout the meat, making it even more tender and moist. If you cut into them immediately, the juices will run out, leaving you with drier chicken.
Tips for Perfect Air Fryer Chicken Tenderloins
Elevate your chicken tenderloin game with these helpful tips:
* Don’t Overcook: Chicken breast tenderloins are lean and can dry out quickly. Keep a close eye on them and use a meat thermometer. It’s better to pull them out a minute early and add them back if needed than to overcook them.
* Uniform Size: If possible, try to select tenderloins that are roughly the same size. This helps them cook more evenly. If you have one significantly thicker tenderloin, you might need to cook it slightly longer or cut it into smaller pieces.
* Experiment with Seasonings: Don’t be afraid to get creative! Try different spice blends, rubs, or even marinades. For a delicious option, you could marinate them in Italian dressing or a teriyaki sauce for about 30 minutes before coating with oil and seasonings. If you’re looking for inspiration, check out how to cook a marinated pork tenderloin in the air fryer for ideas on marinades.
* Batch Cooking for Crispier Results: If you’re cooking a larger quantity, cooking in batches ensures proper airflow and maximum crispiness. Resist the urge to cram them all in at once.
* Serving Suggestions: Air fryer chicken tenderloins are incredibly versatile. Serve them with your favorite dipping sauces (honey mustard, BBQ, ranch), over a fresh salad, in wraps or sandwiches, or as part of a family meal with roasted vegetables or air fryer waffle fries.
Troubleshooting Common Issues
Even with the best intentions, sometimes things don’t go perfectly. Here are solutions to common problems:
Problem: Chicken is Dry
* Cause: Overcooking is the most frequent culprit.
* Solution: Use a meat thermometer! Cook to 165°F (74°C) and no higher. Also, ensure you’re resting the chicken for at least 5 minutes after cooking. Try reducing the cooking time by a minute or two next time.
Problem: Chicken is Not Crispy
* Cause: Overcrowding the air fryer basket or not drying the chicken thoroughly.
* Solution: Ensure you’re cooking in a single layer with space between each tenderloin. Pat your chicken very dry before seasoning. You can also try slightly increasing the cooking time by a minute or two, or ensure your air fryer is preheated properly.
Problem: Uneven Cooking
* Cause: Inconsistent thickness of tenderloins or not flipping/shaking the basket.
* Solution: Try to select tenderloins of similar size. Always flip or shake the basket halfway through the cooking process to ensure even exposure to the hot air.
Problem: Chicken is Sticking to the Basket
* Cause: Insufficient oil or a non-stick basket that’s lost its coating.
* Solution: Make sure the chicken is well-coated with oil before cooking. If your basket isn’t non-stick, consider using a small amount of cooking spray or parchment paper designed for air fryers.
Frequently Asked Questions
How long do chicken tenderloins take to cook in the air fryer?
Typically, chicken breast tenderloins take between 10 to 15 minutes to cook in an air fryer at 400°F (200°C). Always check the internal temperature with a meat thermometer to ensure it reaches 165°F (74°C).
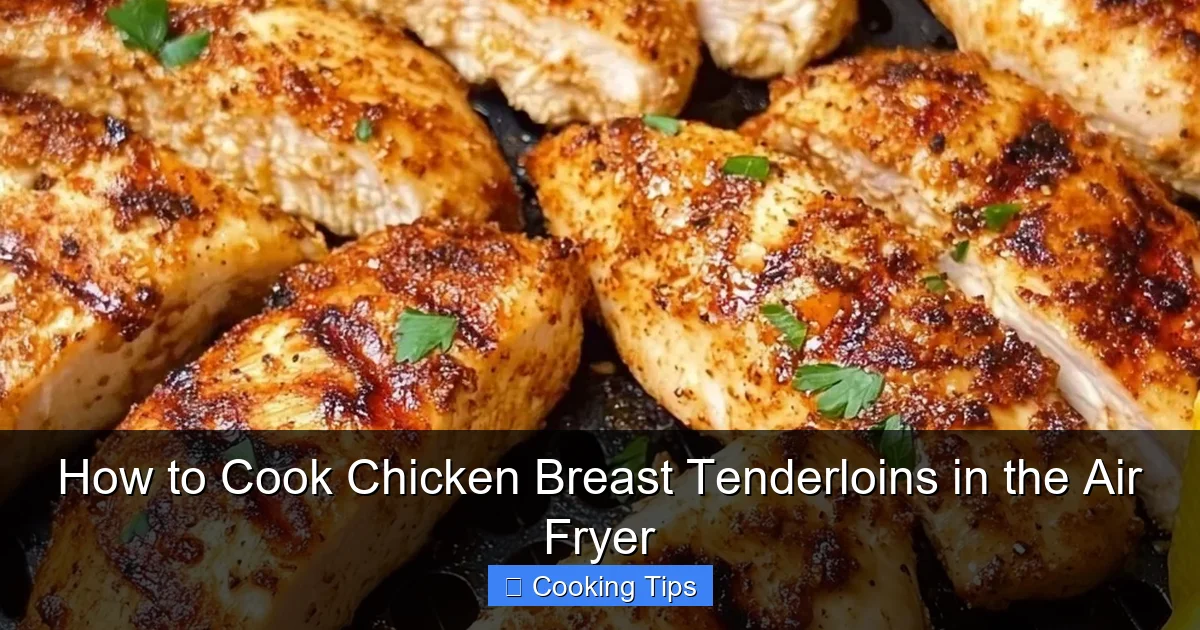
Visual guide about How to Cook Chicken Breast Tenderloins in the Air Fryer
Image source: beestworld.com
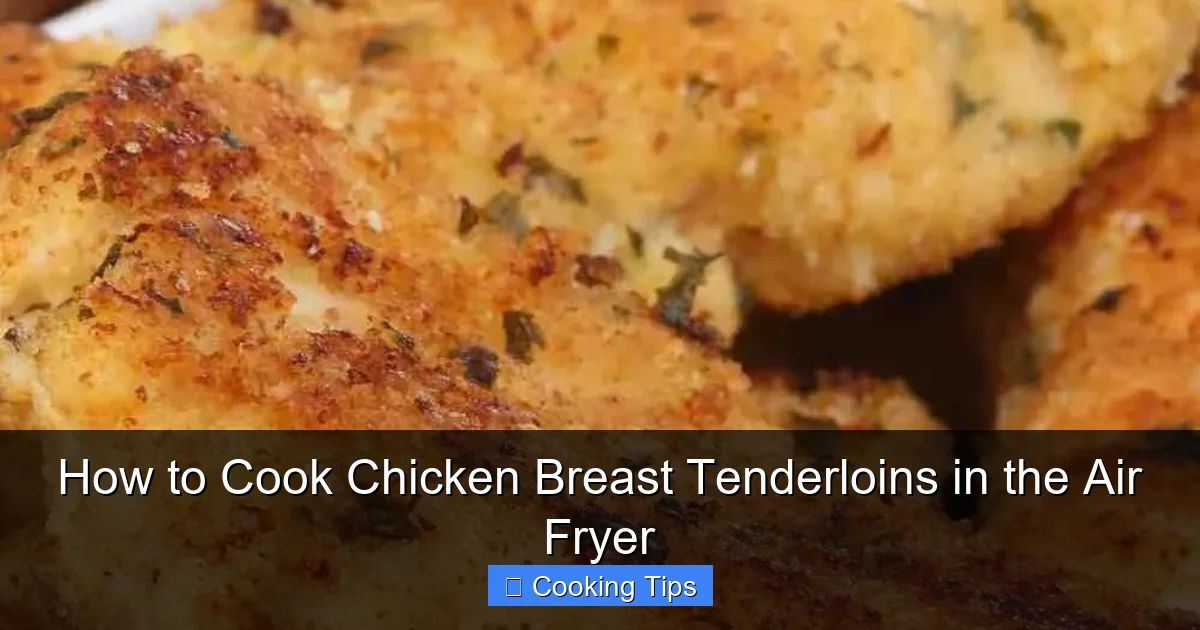
Visual guide about How to Cook Chicken Breast Tenderloins in the Air Fryer
Image source: ecstasycoffee.com
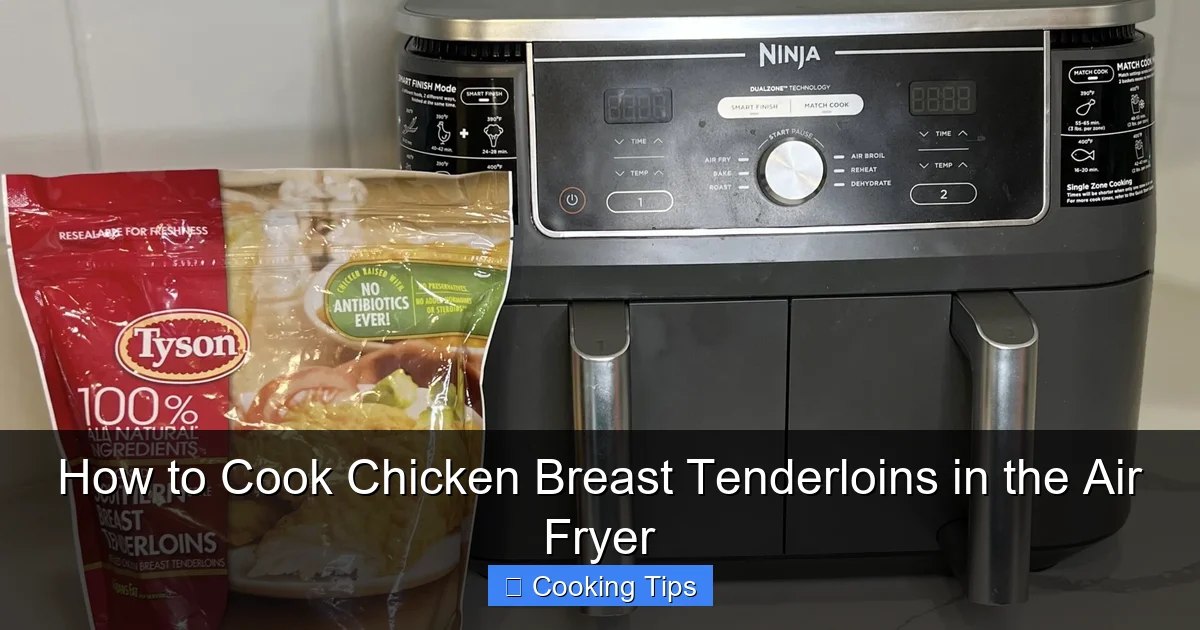
Visual guide about How to Cook Chicken Breast Tenderloins in the Air Fryer
Image source: funfamilymeals.com
Can I cook frozen chicken tenderloins in the air fryer?
Yes, but it will take longer and may result in a less crispy exterior. You’ll need to increase the cooking time by several minutes and flip them more frequently. It’s always best to thaw them first for optimal results.
What is the best temperature to cook chicken tenderloins in the air fryer?
The most common and effective temperature is 400°F (200°C). This temperature promotes quick cooking and a nice crispy exterior.
Do I need to oil the chicken tenderloins?
Yes, a light coating of oil helps the seasonings stick and promotes a crispier, golden-brown finish. It also helps prevent the chicken from sticking.
Can I air fry chicken tenderloins without any seasoning?
While you can, they will be quite bland. Seasoning is highly recommended for flavor. At a minimum, use salt and pepper. For more flavor ideas, consider exploring other air fryer recipes like boneless chicken wings which often have a flavorful coating.
How many chicken tenderloins can I cook at once?
It depends on the size of your air fryer. The most important rule is to cook them in a single layer with space between each tenderloin for proper air circulation. If you overcrowd the basket, they will steam instead of crisping up.
Conclusion
You’ve now got all the knowledge you need to create perfectly cooked chicken breast tenderloins in your air fryer. From simple preparation and seasoning to nailing the perfect cooking time and temperature, this method is a winner for weeknight meals, quick lunches, or meal prepping. Enjoy the ease, health benefits, and delicious results of crispy, juicy chicken tenderloins made right in your kitchen. Happy air frying!