Discover the easiest way to cook chicken breast in your air fryer! This guide provides a simple, step-by-step process for achieving perfectly cooked, juicy, and tender chicken breast every time. You’ll learn about preparation, cooking times, and temperature settings to ensure delicious results for any meal.
How to Cook Chicken Breast on the Air Fryer
Welcome to the ultimate guide on cooking chicken breast in your air fryer! If you’ve ever struggled with dry, rubbery chicken, you’re in the right place. The air fryer is a game-changer for cooking chicken breast, turning this often-tricky protein into a culinary delight. In this guide, we’ll walk you through everything you need to know to achieve perfectly cooked, juicy, and flavorful chicken breast every single time. We’ll cover preparation, the cooking process, handy tips, and even some troubleshooting advice. Get ready to elevate your weeknight meals with this simple and delicious method.
The air fryer circulates hot air around your food, creating a crispy exterior and a tender, moist interior. This technology is particularly excellent for leaner cuts of meat like chicken breast, which can easily become dry if overcooked. By mastering this technique, you’ll unlock a world of possibilities for salads, sandwiches, stir-fries, and more. Let’s get started!
- Perfectly Cooked Chicken: Learn how to achieve tender, juicy, and fully cooked chicken breast without drying it out, thanks to the air fryer’s rapid cooking technology.
- Simple Preparation: This guide breaks down the simple steps of seasoning and preparing chicken breast for the air fryer, making it accessible for beginners.
- Customizable Flavors: Explore various seasoning ideas and marinades to customize your chicken breast to any cuisine or preference.
- Optimal Cooking Times and Temperatures: Get clear guidance on the ideal temperature and cooking duration for different thicknesses of chicken breast.
- Crispy Exterior, Tender Interior: Understand how the air fryer creates a delightfully crispy exterior while keeping the inside moist and flavorful.
- Easy Cleanup: Benefit from the minimal mess associated with air frying, making post-meal cleanup a breeze.
1. Gather Your Ingredients and Equipment
Before you begin, make sure you have everything you need for success.
Ingredients:
- Boneless, skinless chicken breasts (1-2 per person, depending on size)
- Olive oil or avocado oil (or your preferred cooking oil)
- Your favorite seasonings (salt, pepper, garlic powder, paprika, onion powder, dried herbs like rosemary or thyme, etc.)
- Optional: Marinade or sauce for extra flavor
Equipment:
- Air fryer
- Tongs
- Measuring spoons and cups
- Meat thermometer (highly recommended for ensuring perfect doneness)
- Small bowl for mixing seasonings or marinade
- Paper towels
2. Prepare the Chicken Breasts
Proper preparation is key to tender and evenly cooked chicken breast.
Trim Excess Fat
Inspect your chicken breasts and trim off any visible excess fat or connective tissue. This ensures a cleaner presentation and helps the chicken cook more evenly.
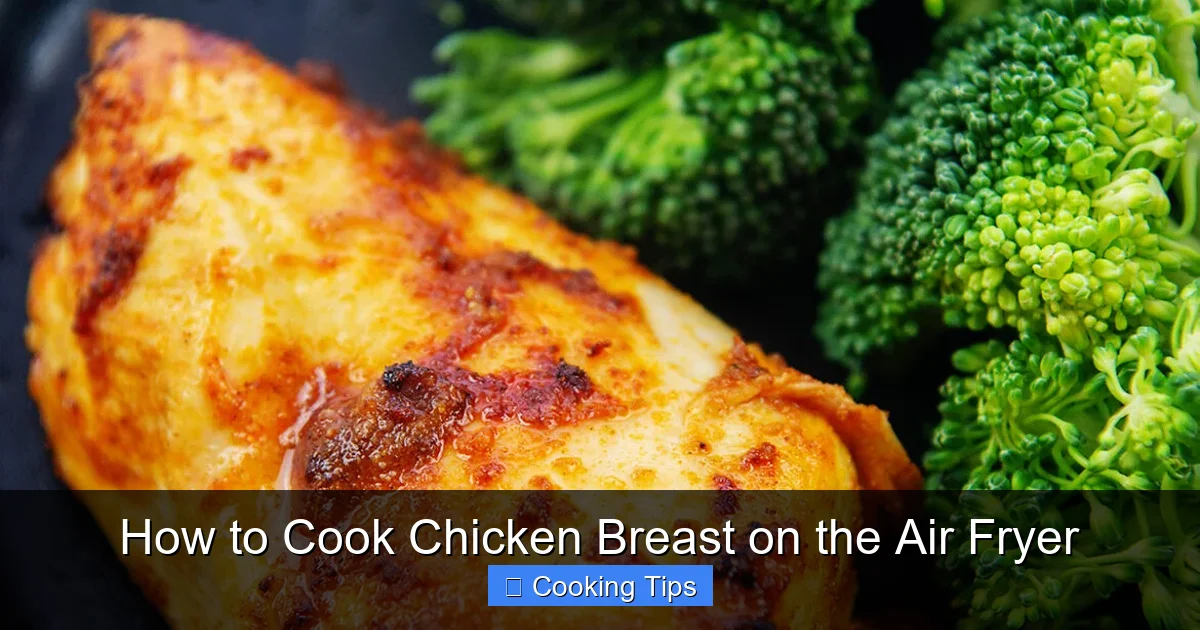
Visual guide about How to Cook Chicken Breast on the Air Fryer
Image source: airfried.com
Pat Dry
This is a crucial step often overlooked! Use paper towels to thoroughly pat the chicken breasts dry on all sides. A dry surface allows the oil and seasonings to adhere better, promoting a nice sear and preventing steam from making the chicken soggy.
Even Thickness is Key
Chicken breasts can vary in thickness. To ensure they cook evenly, you can pound them to a more uniform thickness. Place the chicken breast between two sheets of plastic wrap or parchment paper and use a meat mallet or the flat side of a heavy pan to gently pound it to about ¾ to 1 inch thick. This step is especially important if you have very thick breasts.
3. Season or Marinate the Chicken
Now it’s time to add flavor! You have two main options: seasoning or marinating.
Seasoning Your Chicken
For a quick and flavorful option, simply coat the dried chicken breasts with a thin layer of oil. Then, generously sprinkle your chosen seasonings on all sides. Don’t be shy with the salt and pepper – they are the foundation of great flavor.
Classic Seasoning Blend:
- 1 teaspoon salt
- ½ teaspoon black pepper
- 1 teaspoon garlic powder
- ½ teaspoon onion powder
- ½ teaspoon paprika (smoked paprika adds a nice depth)
- Optional: ¼ teaspoon dried Italian herbs or herbs de Provence
Toss the seasoned chicken in a small bowl or directly on a plate to ensure all sides are coated.
Marinating Your Chicken
Marinating adds moisture and a deeper flavor profile. You can use a store-bought marinade or make your own. A good marinade typically includes an acid (like lemon juice or vinegar), oil, and seasonings.
Simple Lemon Herb Marinade:
- ¼ cup olive oil
- 2 tablespoons lemon juice
- 1 clove garlic, minced
- 1 teaspoon dried oregano
- ½ teaspoon salt
- ¼ teaspoon black pepper
Place the chicken breasts in a resealable bag or a shallow dish, pour the marinade over them, ensuring they are fully coated. Marinate in the refrigerator for at least 30 minutes, or up to 4 hours. Do not marinate chicken for too long in acidic marinades, as the texture can become mushy.
If you are using a marinade, be sure to discard any leftover marinade after cooking. When cooking marinated chicken, you might need slightly less oil in the air fryer basket, as the marinade may have already coated the chicken.
4. Preheat Your Air Fryer
Preheating is a vital step that ensures your chicken cooks evenly and develops a good crust from the moment it goes in.
Most air fryers benefit from preheating. Set your air fryer to the desired temperature (usually around 375°F or 190°C for chicken breast) and let it run for about 3-5 minutes. Some air fryers have a preheat setting; if yours doesn’t, simply set it to the cooking temperature and let it heat up empty.
5. Cook the Chicken Breast
This is where the magic happens! Follow these steps for perfectly air-fried chicken breast.
Arrange Chicken in the Air Fryer Basket
Once preheated, carefully place the seasoned or marinated chicken breasts in a single layer in the air fryer basket. Do not overcrowd the basket. Overcrowding prevents proper air circulation, leading to uneven cooking and a lack of crispiness. If you are cooking more than 2-3 chicken breasts (depending on the size of your air fryer), you will likely need to cook them in batches.
Set the Cooking Time and Temperature
The cooking time will vary depending on the thickness of your chicken breasts and the wattage of your air fryer. A good starting point for boneless, skinless chicken breast, about ¾ to 1 inch thick, is:
- Temperature: 375°F (190°C)
- Time: 16-20 minutes
It’s always better to start with the lower end of the time range and check for doneness, rather than overcooking. If you are cooking thicker breasts, you may need to increase the time slightly, or consider pounding them thinner for more even cooking. For thicker, bone-in chicken breasts, you might want to consult a guide specifically for how to cook bone-in chicken breast in an air fryer.
Flip the Chicken Halfway Through
For optimal browning and even cooking, it’s important to flip the chicken breasts halfway through the cooking time. This usually means around the 8-10 minute mark. Use tongs to carefully turn each chicken breast over.
Check for Doneness
This is the most critical step for ensuring your chicken is safe to eat and perfectly cooked. The internal temperature of cooked chicken breast should reach 165°F (74°C). Use a meat thermometer inserted into the thickest part of the chicken breast. If it hasn’t reached 165°F, continue cooking in 2-3 minute increments, checking the temperature each time.
The juices should also run clear when you pierce the thickest part of the chicken with a fork or knife. If they are pink, it needs more time.
6. Rest the Chicken
Patience is a virtue, especially when it comes to juicy chicken!
Once the chicken reaches the safe internal temperature, remove it from the air fryer basket using tongs. Place the chicken breasts on a clean plate or cutting board and let them rest for 5-10 minutes. This resting period allows the juices to redistribute throughout the meat, resulting in a much moister and more tender chicken breast. If you slice into it immediately, all those delicious juices will run out onto the plate.
7. Slice and Serve
Your perfectly cooked chicken breast is now ready to be enjoyed!
After resting, you can slice the chicken breast against the grain for the most tender result. It’s perfect for slicing and adding to salads, grain bowls, sandwiches, or serving as a main course with your favorite sides. This versatile ingredient can be used in countless dishes. For inspiration on what else you can cook, perhaps you’d be interested in learning how to cook a quesadilla in the air fryer for a quick meal.
Tips for Perfect Air Fryer Chicken Breast
* Don’t Overcrowd: We cannot stress this enough. Air needs to circulate to cook properly. Cook in batches if necessary.
* Use a Meat Thermometer: This is the most reliable way to ensure your chicken is cooked through but not overcooked.
* Experiment with Seasonings: Get creative! Try different spice blends, rubs, or even a light dusting of brown sugar for a subtle sweetness. Consider using pre-made spice blends like taco seasoning or curry powder for quick flavor boosts.
* Marinade Wisely: If marinating, be mindful of acidic ingredients which can break down the protein if left for too long.
* Consider the Thickness: Thicker chicken breasts will take longer to cook. Pounding them to an even thickness is highly recommended for consistent results. If you have very thick chicken breasts, you might consider cooking them at a slightly lower temperature for longer, similar to how you might cook a roast in the air fryer.
* Adjust for Your Air Fryer: Every air fryer is a little different. The first time you make chicken breast, keep a close eye on it and adjust the cooking time as needed. You might find your air fryer runs hotter or cooler than others.
* For Crispier Skin (if applicable): If you happen to be cooking chicken breasts with the skin on, ensure it’s very dry and consider an extra sprinkle of oil and seasonings on the skin for maximum crispiness.
Troubleshooting Common Issues
* Chicken is Dry: This is usually due to overcooking. Use a meat thermometer and pull the chicken out as soon as it reaches 165°F (74°C). Resting the chicken is also crucial.
* Chicken is Pink Inside: The chicken is undercooked. Return it to the air fryer for a few more minutes, checking the temperature frequently. Ensure your air fryer is preheated and you are cooking for the appropriate amount of time for the thickness.
* Uneven Cooking: This is often caused by overcrowding the basket. Ensure chicken is in a single layer with space between pieces. Flipping halfway through also helps.
* Seasonings Burned: If your seasonings are burning before the chicken is cooked, you might be using too much oil, or your air fryer temperature is too high. Try reducing the oil slightly or lowering the temperature by 10-15°F and increasing the cooking time.
Conclusion
Cooking chicken breast in the air fryer is a revelation! It’s a fast, healthy, and incredibly effective way to achieve tender, juicy, and flavorful results that are leagues ahead of many other cooking methods, especially if you’re aiming for that perfect balance of crispy exterior and moist interior. With this guide, you’re well-equipped to master this technique and enjoy delicious homemade chicken breast for any meal. So go ahead, preheat your air fryer, grab your favorite seasonings, and get ready to create culinary magic. Happy air frying!