Learn how to cook chicken breast in an air fryer for a quick, healthy, and delicious meal. This guide covers everything from preparation to achieving that perfect juicy interior and crispy exterior. Master your air fryer and enjoy tender, flavorful chicken breast with minimal effort!
How to Cook Chicken Breast in an Air Fryer
Welcome to the ultimate guide on cooking chicken breast in your air fryer! If you’ve been looking for a way to make incredibly juicy, tender, and flavorful chicken breast with minimal fuss, you’ve come to the right place. The air fryer is a game-changer for cooking chicken breast, transforming what can sometimes be a dry and bland dish into a culinary delight. Forget soggy, overcooked chicken; with these simple steps and tips, you’ll be serving up perfect air-fried chicken breast every single time. Whether you’re a seasoned home cook or just starting, this guide will show you exactly how to achieve restaurant-quality results right in your own kitchen.
Key Takeaways
- Preheat your air fryer: Always preheat your air fryer to ensure even cooking and a good sear on your chicken.
- Don’t overcrowd the basket: Give your chicken breast space for air to circulate, resulting in crispier, more evenly cooked results.
- Use a meat thermometer: The safest and most accurate way to ensure your chicken is cooked through is by using a meat thermometer. Aim for an internal temperature of 165°F (74°C).
- Season generously: Chicken breast can be a blank canvas. Don’t be afraid to experiment with different herbs, spices, and marinades for exciting flavor profiles.
- Rest your chicken: Allowing the chicken to rest after cooking helps redistribute its juices, making it more tender and moist.
- Adjust cooking time based on thickness: Thicker chicken breasts will require longer cooking times than thinner ones. Monitor closely and adjust as needed.
Why Air Fry Chicken Breast?
Before we dive into the “how,” let’s talk about the “why.” Air fryers work by circulating hot air around your food, mimicking the crisping effect of deep-frying but with significantly less oil. This means you get a wonderfully crispy exterior on your chicken breast while keeping the inside incredibly moist and tender. It’s a healthier alternative to traditional frying and much faster than baking. Plus, the cleanup is usually a breeze! This method is fantastic for meal prep or a quick weeknight dinner. If you’re interested in other meats, learning how to cook a porterhouse steak in an air fryer can offer similar speed and deliciousness.
Ingredients and Equipment You’ll Need

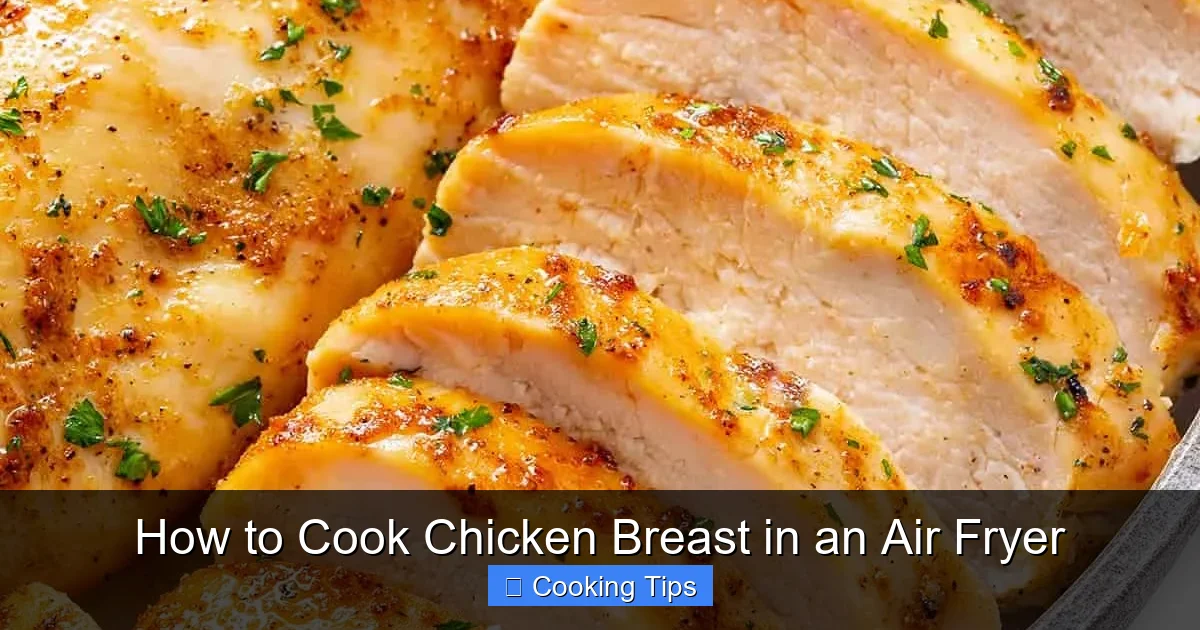
Visual guide about How to Cook Chicken Breast in an Air Fryer
Image source: airfryereats.com
The beauty of air-fried chicken breast lies in its simplicity. You don’t need a lot of fancy ingredients.
For the Chicken Breast:
- Boneless, skinless chicken breasts (about 4-6 ounces each is ideal)
- Olive oil or other cooking oil (like avocado oil or vegetable oil)
- Salt and black pepper
- Your favorite seasonings and spices (e.g., garlic powder, onion powder, paprika, dried herbs like rosemary or thyme)
Equipment:
- Air fryer
- Tongs
- Measuring spoons and cups
- Meat thermometer (highly recommended for best results!)
Step-by-Step Guide to Air Frying Chicken Breast
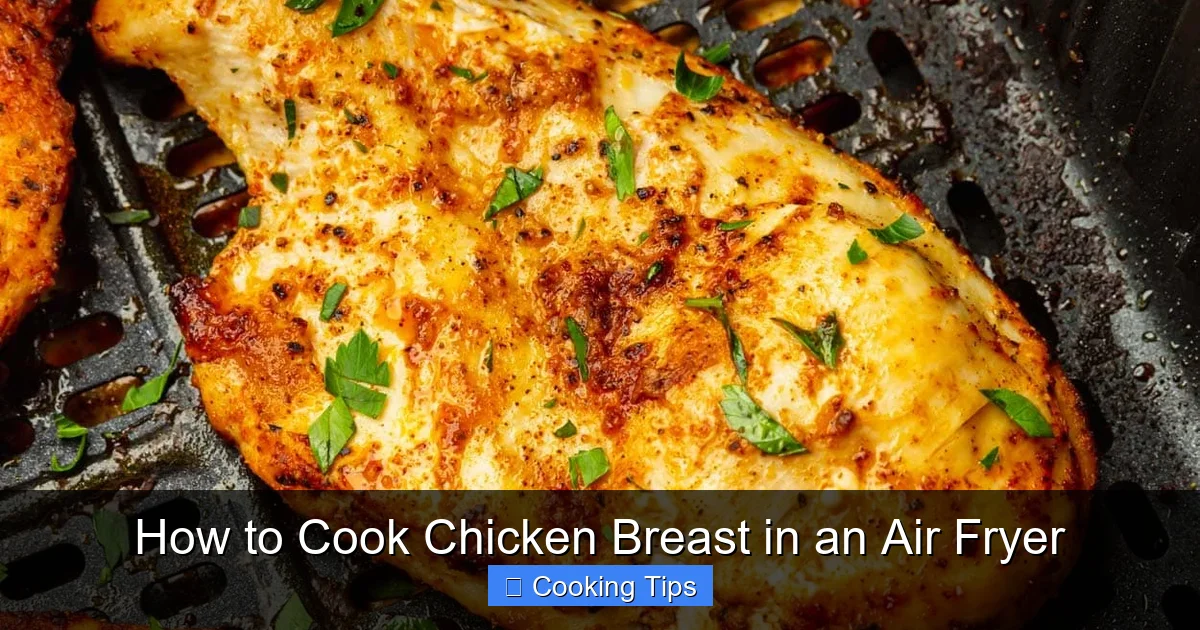
Visual guide about How to Cook Chicken Breast in an Air Fryer
Image source: wholesomeyum.com
Let’s get cooking! Follow these simple steps for perfect air fryer chicken breast.
Step 1: Prepare Your Chicken Breasts
Visual guide about How to Cook Chicken Breast in an Air Fryer
Image source: airfryereats.com
This is where you set the stage for success. Properly preparing your chicken ensures even cooking and maximum flavor.
H3: Trim Excess Fat
If there’s any large pieces of fat on your chicken breasts, trim them off with a sharp knife. This isn’t strictly necessary for flavor, but it helps the chicken cook more evenly and can prevent some smoking in the air fryer.
H3: Pounding for Even Thickness (Optional but Recommended)
Chicken breasts often have a thicker end and a thinner end. For perfectly even cooking, especially if your breasts are on the thicker side, it’s a great idea to pound them to an even thickness.
- Place a chicken breast between two pieces of plastic wrap or inside a large zip-top bag.
- Using the flat side of a meat mallet, a rolling pin, or even the bottom of a heavy pan, gently pound the thicker end of the chicken breast until it’s roughly the same thickness as the thinner end. Aim for about 3/4 to 1 inch thick.
This step is crucial for preventing the thinner parts from drying out while the thicker parts finish cooking.
Step 2: Season Your Chicken
This is where you add flavor! Be creative with your seasonings.
H3: Apply Oil
Lightly coat each chicken breast with your chosen cooking oil. You don’t need a lot, just enough to help the seasonings stick and give the chicken a nice, slightly crispy exterior. About 1 teaspoon per breast is usually sufficient. You can use a brush or your hands to spread the oil.
H3: Season Generously
Sprinkle your chicken breasts generously with salt and pepper. Then, add your favorite blend of spices. Some classic combinations include:
- Italian Seasoning: Garlic powder, onion powder, dried oregano, basil, and a pinch of red pepper flakes.
- Smoky Paprika Rub: Paprika, garlic powder, onion powder, cumin, and a touch of brown sugar for a hint of sweetness.
- Lemon Herb: Dried parsley, dill, garlic powder, and lemon zest (add fresh zest after cooking for more punch!).
Don’t be shy with the seasonings; they are what will make your chicken breast sing! If you’re looking for a different type of chicken, perhaps something breaded, consider how to make Tyson chicken strips in an air fryer for a similar crispy result.
Step 3: Preheat Your Air Fryer
Preheating is a vital step for most air fryer recipes, and chicken breast is no exception.
H3: Set the Temperature
Preheat your air fryer to 380°F (190°C). This temperature is ideal for cooking chicken breast through while achieving a golden-brown exterior.
H3: Allow Time to Heat Up
Let the air fryer preheat for about 3-5 minutes. Most air fryers have an indicator light or will beep when they’ve reached the set temperature. Preheating ensures that your chicken starts cooking immediately and evenly, preventing it from becoming steamed or rubbery.
Step 4: Air Fry the Chicken Breast
Now for the main event! This is where the magic happens.
H3: Arrange Chicken in the Basket
Place your seasoned chicken breasts in the air fryer basket in a single layer. Ensure there’s some space between each piece. Do not overcrowd the basket. If you have too many pieces, cook them in batches. Overcrowding will prevent the hot air from circulating properly, leading to uneven cooking and a less crispy result.
H3: Cook Time and Temperature
Place the basket back into the air fryer.
- Cook at 380°F (190°C) for 15-20 minutes.
The exact cooking time will depend on the thickness of your chicken breasts and the specific model of your air fryer. For thinner breasts (about 3/4 inch thick), start checking around the 15-minute mark. For thicker breasts, you might need the full 20 minutes or even a little longer.
H3: Flipping for Even Cooking
About halfway through the cooking time (around the 8-10 minute mark), carefully open the air fryer and flip each chicken breast using tongs. This ensures that both sides get evenly browned and cooked.
Step 5: Check for Doneness
This is the most critical step to ensure your chicken is safe and delicious to eat.
H3: Use a Meat Thermometer
The most reliable way to check if your chicken breast is cooked is by using an instant-read meat thermometer. Insert the thermometer into the thickest part of the chicken breast, making sure not to touch any bone (if you were cooking bone-in, which you can learn about how to cook bone-in chicken breast in air fryer here).
- Your chicken breast is safely cooked when it reaches an internal temperature of 165°F (74°C).
If your chicken hasn’t reached this temperature yet, put it back in the air fryer for a few more minutes and check again.
H3: Visual Cues (Less Reliable)
If you don’t have a thermometer, you can check for doneness by cutting into the thickest part of the chicken. The juices should run clear, and the meat should be opaque white, with no pinkness. However, this method is less accurate and can lead to overcooking if you’re not careful.
Step 6: Rest Your Chicken
This final step is often overlooked but makes a huge difference in the juiciness of your chicken.
H3: Allow for Resting
Once your chicken reaches the desired internal temperature, carefully remove it from the air fryer basket using tongs. Place the chicken breasts on a clean plate or cutting board.
- Tent loosely with foil and let them rest for 5-10 minutes before slicing or serving.
This resting period allows the juices to redistribute throughout the meat. If you cut into it too soon, all those delicious juices will run out onto the plate, leaving you with dry chicken.
Step 7: Slice and Serve
Your perfectly air-fried chicken breast is ready to enjoy!
H3: Slicing
After resting, you can slice the chicken breast against the grain. This helps to further tenderize the meat.
H3: Serving Suggestions
Air fryer chicken breast is incredibly versatile. Serve it:
- Sliced over salads.
- In sandwiches or wraps.
- Alongside your favorite roasted vegetables (try learning how to make veg in air fryer for a complete meal!).
- As a protein source for pasta dishes.
- With a side of rice or quinoa.
It’s also great for meal prep, as it can be stored in the refrigerator for 3-4 days and reheated.
Tips for Perfect Air Fryer Chicken Breast
Here are some extra tips to elevate your air-fried chicken breast game:
- Marinades: For extra flavor and tenderness, marinate your chicken breasts for at least 30 minutes (or up to a few hours) in your favorite marinade before seasoning and air frying.
- Brining: A quick brine (saltwater solution) can also help keep chicken breasts exceptionally moist.
- Butterfly Thick Breasts: If you have very thick chicken breasts and don’t want to pound them, you can butterfly them by cutting them horizontally almost all the way through and opening them up like a book. This significantly reduces the cooking time.
- Adjusting for Frozen Chicken: While it’s always best to thaw chicken, you can air fry frozen chicken breast. You’ll need to increase the cooking time by about 50% and check the temperature carefully. It’s harder to get a good sear and even cooking when starting from frozen.
- Cleaning Your Air Fryer: Regularly clean your air fryer basket and tray according to the manufacturer’s instructions to ensure optimal performance and prevent food residue buildup.
Troubleshooting Common Air Fryer Chicken Breast Issues
Even with the best instructions, sometimes things don’t go perfectly. Here are a few common issues and how to fix them:
Issue: My chicken breast is dry and overcooked.
Solution:
This usually happens due to overcooking.
- Check temperature earlier: Use a meat thermometer and remove the chicken as soon as it reaches 165°F (74°C).
- Pound to even thickness: Ensure all parts of the chicken breast are the same thickness.
- Don’t over-preheat: While preheating is important, don’t let the air fryer get excessively hot before you add the chicken.
- Resting is key: Make sure you’re letting the chicken rest after cooking.
Issue: My chicken is undercooked in the middle.
Solution:
This is usually due to insufficient cooking time or uneven thickness.
- Cook longer: Continue cooking in 2-3 minute increments until the chicken reaches 165°F (74°C).
- Pound or butterfly: Ensure your chicken is of even thickness.
- Don’t overcrowd: Make sure there’s enough space for air to circulate.
Issue: My chicken is not crispy.
Solution:
Crispiness comes from hot air circulating around the food and a little bit of oil.
- Ensure proper preheating: A hot air fryer helps create crispiness.
- Don’t overcrowd: This is critical for crispiness.
- Use a little oil: Make sure you’ve lightly coated the chicken with oil.
- Increase temperature slightly: If needed, you can increase the temperature by 10-15 degrees Fahrenheit for the last few minutes of cooking to boost crispiness, but watch carefully to avoid burning.
Conclusion
Cooking chicken breast in an air fryer is one of the easiest and most rewarding ways to prepare this lean protein. You get a tender, juicy interior with a wonderfully browned and slightly crispy exterior, all in a fraction of the time and with less mess than traditional methods. By following these steps, from preparing your chicken to checking its internal temperature and letting it rest, you’re well on your way to mastering this technique. So, go ahead, preheat your air fryer, grab your favorite seasonings, and get ready to enjoy delicious, healthy, and perfectly cooked chicken breast! Happy air frying!