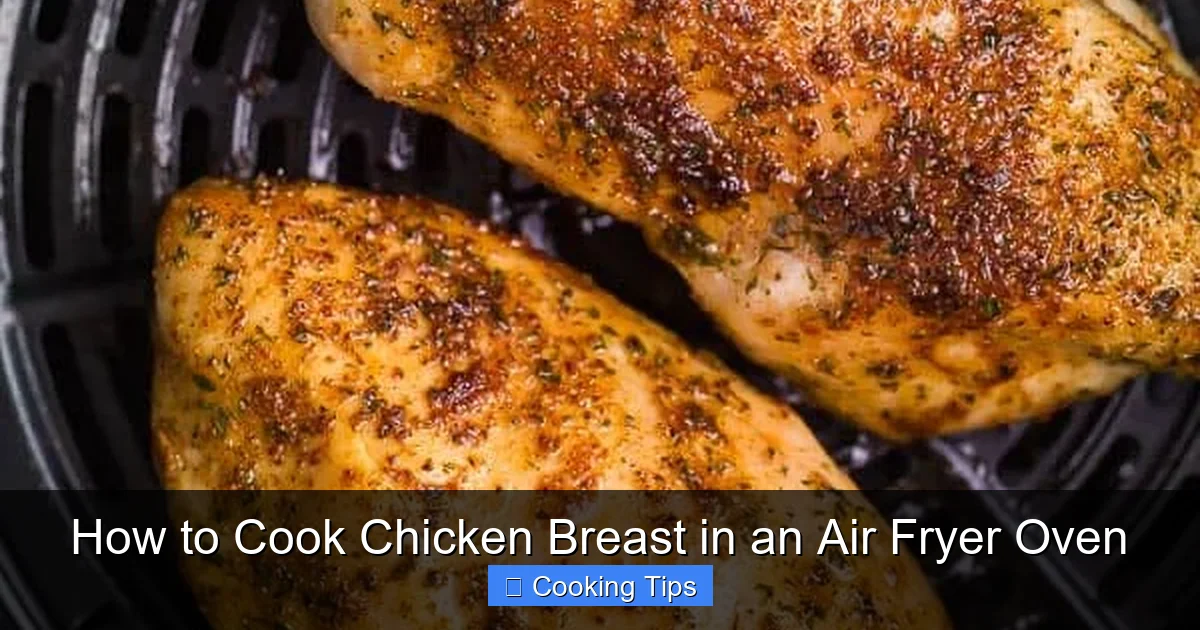
Cooking chicken breast in an air fryer oven is a breeze, yielding incredibly juicy and tender results with minimal effort. This guide provides everything you need to know, from prep to perfect doneness, making it a go-to for quick, healthy meals. You’ll learn the secrets to achieving a delicious, evenly cooked chicken breast every single time.
How to Cook Chicken Breast in an Air Fryer Oven
Welcome to your ultimate guide on how to cook chicken breast in an air fryer oven! If you’re looking for a way to prepare chicken breast that’s incredibly moist, tender, and packed with flavor, you’ve come to the right place. The air fryer oven is a fantastic kitchen appliance that can transform simple chicken breast into a culinary delight. Forget dry, rubbery chicken; with this method, you’ll achieve restaurant-quality results right in your own home.
This guide will walk you through every step, from selecting the best chicken to ensuring it’s perfectly cooked and ready to be devoured. We’ll cover seasoning, temperature, timing, and even offer tips for troubleshooting common issues. Whether you’re a beginner cook or an experienced chef looking to streamline your process, this guide will make air fryer oven chicken breast a staple in your meal rotation. Get ready to impress yourself and your loved ones with perfectly cooked chicken breast, every single time!
Key Takeaways
- Choose the Right Chicken Breast: Opt for uniform, boneless, skinless chicken breasts for even cooking and optimal results.
- Season Generously: Flavor is key! Don’t be shy with your favorite herbs, spices, and marinades to elevate the taste.
- Proper Temperature and Time: Air frying chicken breast requires a specific temperature and cooking time range to ensure it’s cooked through but still moist.
- Use a Meat Thermometer: The most reliable way to guarantee perfectly cooked chicken is to check its internal temperature.
- Resting is Crucial: Allowing the chicken to rest after cooking helps redistribute juices for maximum tenderness.
- Experiment with Variations: Once you master the basics, explore different marinades and spice rubs to create diverse flavors.
Why Cook Chicken Breast in an Air Fryer Oven?
Before we dive into the “how,” let’s talk about the “why.” Air fryer ovens are brilliant for cooking chicken breast for several compelling reasons:
- Speed: Air fryers circulate hot air rapidly, significantly reducing cooking times compared to traditional ovens.
- Juiciness: The high heat and efficient air circulation help to lock in moisture, preventing the chicken from drying out.
- Crispy Exterior: While chicken breast isn’t typically “crispy,” the air fryer can give it a slightly golden and appealing exterior.
- Healthier Option: You use significantly less oil, if any, making it a healthier alternative to pan-frying or deep-frying.
- Versatility: Once cooked, the chicken breast can be sliced for salads, sandwiches, or served as a main course with your favorite sides.
Choosing the Best Chicken Breast

Visual guide about How to Cook Chicken Breast in an Air Fryer Oven
Image source: lowcarbspark.com
The foundation of a great dish starts with quality ingredients. For the best results when cooking chicken breast in an air fryer oven, consider the following:
Boneless and Skinless is Best
For this particular method, boneless and skinless chicken breasts are ideal. They cook more evenly and quickly. While bone-in chicken breast can be cooked in an air fryer oven, it requires different timing and potentially techniques, such as those for how to cook bone-in chicken breast in air fryer.
Uniform Thickness
Try to select chicken breasts that are of similar thickness. If one breast is significantly thicker than another, it will cook at a different rate, potentially leading to one being overcooked while the other is undercooked. You can pound thicker parts of the chicken breast with a meat mallet or the flat side of a heavy pan to ensure a more uniform thickness. Aim for about 1-inch thickness for even cooking.
Preparing Your Chicken Breast
Visual guide about How to Cook Chicken Breast in an Air Fryer Oven
Image source: thereciperebel.com
Proper preparation is key to unlocking flavor and ensuring your chicken breast cooks perfectly.
Pat Dry for Better Searing
Using paper towels, pat the chicken breasts completely dry. This is a crucial step because moisture on the surface of the chicken can steam it rather than allowing it to sear and develop a nice exterior. A dry surface helps your seasonings adhere better and promotes a more appealing finish.
Seasoning is Everything
This is where you can get creative! Chicken breast is a blank canvas, so don’t be afraid to season it well.
Simple Seasoning Blend
A classic and delicious seasoning blend includes:
- Salt
- Black Pepper
- Garlic Powder
- Onion Powder
- Paprika (for color and mild flavor)
You can use these spices as a dry rub. Ensure you coat the chicken breasts evenly on all sides.
Marinades for Extra Flavor and Tenderness
Marinating your chicken breast for at least 30 minutes (or up to 4 hours in the refrigerator) can add incredible flavor and tenderness. Some popular marinade ideas include:
- Lemon Herb: Olive oil, lemon juice, minced garlic, dried oregano, dried thyme, salt, and pepper.
- Balsamic Glazed: Balsamic vinegar, olive oil, honey or maple syrup, minced garlic, salt, and pepper.
- Yogurt Marinated: Plain yogurt, lemon juice, minced garlic, ginger, cumin, coriander, turmeric, salt, and pepper. This is especially good for tenderizing.
If you marinate, remember to pat the chicken dry *after* removing it from the marinade before seasoning if you plan to add a dry rub.
Air Frying Your Chicken Breast: Step-by-Step

Visual guide about How to Cook Chicken Breast in an Air Fryer Oven
Image source: wellplated.com
Now, let’s get to the exciting part – cooking your chicken breast in the air fryer oven!
Step 1: Preheat Your Air Fryer Oven
Preheating is essential for even cooking. Most air fryer ovens perform best when preheated to the desired cooking temperature.
- Set your air fryer oven to 375°F (190°C).
- Allow it to preheat for about 5-10 minutes.
Refer to your specific air fryer oven’s manual for exact preheating instructions.
Step 2: Arrange the Chicken Breast
Place the seasoned chicken breasts in the air fryer basket or on the rack in a single layer.
- Avoid Overcrowding: Ensure there’s space between each piece of chicken. This allows the hot air to circulate freely, which is crucial for even cooking and achieving that desirable texture. If you have too many pieces, cook them in batches.
- Placement: For most air fryer ovens, placing the chicken on the middle rack is ideal for even heat distribution.
Step 3: Cook the Chicken Breast
The cooking time will vary depending on the thickness of your chicken breasts and your specific air fryer oven model.
- Start by cooking the chicken breast for 15-20 minutes.
- Flip Halfway: After about 8-10 minutes, carefully open the air fryer oven and flip the chicken breasts using tongs. This ensures both sides get evenly cooked and browned.
Step 4: Check for Doneness
This is the most critical step to ensure your chicken is perfectly cooked – not undercooked and not overcooked.
- Use a Meat Thermometer: The most reliable way to check is with an instant-read meat thermometer. Insert the thermometer into the thickest part of the chicken breast.
- Target Temperature: Chicken breast is safely cooked when it reaches an internal temperature of 165°F (74°C).
- Adjust Cooking Time: If the chicken hasn’t reached 165°F, continue cooking in 2-3 minute increments, checking the temperature after each interval.
If you don’t have a thermometer, you can check by piercing the thickest part with a fork. The juices should run clear, with no pinkness. However, a thermometer is always the most accurate method.
Step 5: Rest the Chicken
Once the chicken reaches the target temperature, remove it from the air fryer oven immediately.
- Tent with Foil: Place the chicken breasts on a clean plate or cutting board and loosely tent them with aluminum foil.
- Resting Time: Let the chicken rest for 5-10 minutes. This resting period is vital. It allows the juices to redistribute throughout the meat, resulting in a more tender and moist chicken breast. If you cut into it too soon, the juices will run out, leaving the chicken dry.
Tips for Success
Here are some extra tips to make your air fryer oven chicken breast even more spectacular:
- Don’t Open the Air Fryer Too Often: Every time you open the door, you lose heat, which can increase cooking time and affect the evenness of cooking.
- Adjust for Thickness: Thicker breasts will naturally take longer than thinner ones. Always rely on your meat thermometer.
- Experiment with Different Flavors: Try different spice blends or marinades. For example, if you’re a fan of wings, you might enjoy learning how to cook boneless chicken wings in air fryer, which often uses similar flavor profiles.
- Consider a Light Coating of Oil: While not always necessary, a light spray or brush of olive oil can help enhance browning and crispiness, especially if you’re aiming for a slightly more golden exterior.
- Clean Your Air Fryer Oven Regularly: Food debris can affect performance and flavor. Clean the basket and interior after each use.
Troubleshooting Common Issues
Even with the best intentions, sometimes things don’t go perfectly. Here are a few common issues and how to address them:
Chicken is Dry
- Cause: Overcooked or not rested properly.
- Solution: Use a meat thermometer and remove the chicken as soon as it hits 165°F (74°C). Always rest the chicken for at least 5 minutes before slicing. Ensure you aren’t overcooking it by adding more time in 1-minute increments if needed.
Chicken is Undercooked
- Cause: Not cooked long enough, or thickness variation.
- Solution: Always check the internal temperature with a thermometer. If it’s undercooked, pop it back into the air fryer oven for a few more minutes. For future cooks, ensure all chicken breasts are of uniform thickness.
Uneven Cooking
- Cause: Overcrowded basket, or issues with air circulation.
- Solution: Ensure chicken is in a single layer with space between pieces. If your air fryer oven has a fan, make sure it’s functioning correctly. Consider using the recommended rack position.
Delicious Ways to Serve Your Air Fryer Chicken Breast
Once your chicken breast is perfectly cooked and rested, the possibilities are endless!
- Salads: Slice and add to any salad for a protein boost.
- Sandwiches and Wraps: Perfect for chicken salad sandwiches or grilled chicken wraps.
- Stir-fries: Dice and add to vegetable stir-fries.
- With Roasted Vegetables: Serve alongside air-fried vegetables for a complete meal. You might find inspiration for other vegetables by looking at how to make vegetables in an air fryer.
- Pasta Dishes: Dice and toss into pasta for added protein.
Conclusion
Cooking chicken breast in an air fryer oven is a game-changer. It’s a simple, efficient, and healthy way to achieve consistently delicious results. By following these steps – from selecting the right chicken and seasoning it well to monitoring the internal temperature and allowing it to rest – you’ll be well on your way to mastering this technique. Embrace the convenience and versatility of your air fryer oven, and enjoy perfectly cooked, juicy chicken breast for countless meals to come. Happy air frying!