Craving those signature Checkers fries at home? Learn how to achieve that perfect crispy texture in your air fryer with our simple guide. We’ll walk you through the ideal temperature and cooking time, ensuring your Checkers fries are golden brown and delicious every time. Get ready for a healthier, faster, and incredibly satisfying fry experience!
Are you obsessed with those uniquely seasoned, perfectly crispy Checkers fries? Do you find yourself craving them at odd hours but don’t want to make the trip? Well, get ready to unlock the secret to making them right in your own kitchen! This guide will show you exactly how to cook Checkers fries in your air fryer, transforming them into golden, delicious masterpieces with minimal effort and maximum flavor.
Forget soggy, greasy fries. The air fryer is a game-changer for achieving that restaurant-quality crispiness at home, and it’s surprisingly simple. We’ll cover everything from picking the right fries to the ideal temperature and cooking time, plus some handy tips to ensure your Checkers fries are the star of your meal. Get ready to impress yourself and your loved ones with these amazing homemade fries!
Key Takeaways
- Crispy Perfection: The air fryer is your secret weapon for achieving that irresistibly crispy exterior and fluffy interior that makes Checkers fries so beloved.
- Preheating is Key: Always preheat your air fryer to ensure even cooking and maximum crispiness from the start.
- Don’t Overcrowd: Give your Checkers fries enough space in the air fryer basket to allow for proper air circulation, leading to uniform crisping.
- Shake it Up: Shaking the basket midway through cooking is crucial for ensuring all sides of the fries get equally golden and crispy.
- Season Generously: Proper seasoning is vital for that authentic Checkers flavor. Add salt and any other desired seasonings immediately after cooking while they’re still hot.
- Adjust for Your Air Fryer: Cooking times can vary slightly between different air fryer models. Start with the recommended time and adjust as needed.
Why Air Fryer Checkers Fries Are a Game-Changer
Let’s be honest, Checkers fries have a special place in many hearts. Their distinctive seasoned salt and perfectly crinkle-cut shape make them incredibly addictive. But recreating that magic at home can seem daunting. That’s where the air fryer shines!
Air fryers work by circulating hot air around your food at high speed. This mimics the effect of deep frying without submerging your food in oil. The result? Crispy, golden exteriors and tender interiors, using significantly less oil than traditional methods. This means you can enjoy that classic Checkers fry taste with a healthier twist. Plus, it’s so much faster than waiting for a delivery or a trip to the drive-thru. If you’re looking for other quick and delicious air fryer recipes, you might want to check out how to cook a hot dog in the air fryer for a speedy snack.
Choosing the Right Fries for Air Frying
For that authentic Checkers experience, you’ll want to start with the right kind of fries. While you can’t replicate the exact crinkle-cut style without special equipment, you can get pretty close.
Frozen Crinkle-Cut Fries
The easiest and most accessible option is to buy frozen crinkle-cut fries from your local grocery store. Look for brands that offer a good quality potato and a nice crinkle cut. These are designed to crisp up well in cooking appliances. Some brands even have a seasoned coating that can mimic the flavor profile of Checkers fries.
Fresh Potatoes, Your Way
If you’re feeling adventurous, you can try making your own from scratch!
- Potato Selection: Russet potatoes are generally the best choice for fries due to their high starch content, which leads to a crispier fry.
- Cutting Technique: To get that crinkle-cut look, you’ll need a crinkle cutter or a mandoline slicer with a crinkle blade. If you don’t have one, regular straight-cut fries will still be delicious. Aim for fries that are about 1/4 to 1/2 inch thick.
- Soaking and Drying: For the crispiest results, soak your cut potatoes in cold water for at least 30 minutes to remove excess starch. Then, drain them thoroughly and pat them completely dry with paper towels. This step is crucial to prevent steaming and ensure crispiness.
Prepping Your Checkers Fries for the Air Fryer
Once you have your fries ready, a little prep work goes a long way in achieving that perfect Checkers flavor and texture.
Oiling Your Fries
Even though you’re air frying, a light coating of oil is essential for crisping and browning.
- Type of Oil: Use a high smoke point oil like vegetable oil, canola oil, or avocado oil. Olive oil can be used, but be mindful of its smoke point if you tend to air fry at very high temperatures.
- Amount of Oil: You don’t need much! For a standard bag of frozen fries or about 1-2 pounds of fresh fries, 1 to 2 tablespoons of oil is usually sufficient.
- Application: The best way to coat your fries is to place them in a large bowl, drizzle the oil over them, and then toss gently with your hands or a spatula until they are evenly coated. Some people prefer to use a spray bottle for a lighter, more even distribution of oil.
Seasoning for That Checkers Taste
This is where the magic happens! Checkers fries are known for their distinctive seasoned salt. You can buy pre-made seasoned salt, or create your own blend.
DIY Checkers Seasoned Salt Blend (Approximate Recipe):
- 1 tablespoon salt
- 1 teaspoon garlic powder
- 1 teaspoon onion powder
- 1/2 teaspoon paprika
- 1/4 teaspoon black pepper
- (Optional: A pinch of cayenne pepper for a little heat, or a dash of sugar for subtle sweetness)
Mix all ingredients thoroughly. You can adjust the ratios to your preference.
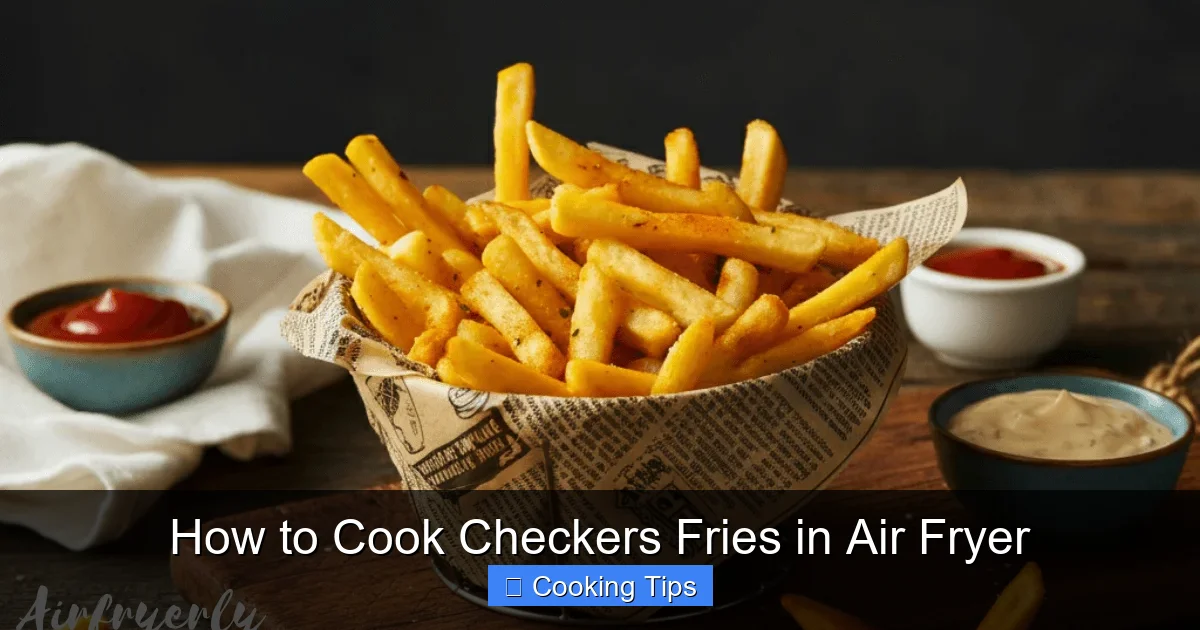
Visual guide about How to Cook Checkers Fries in Air Fryer
Image source: airfryerly.com
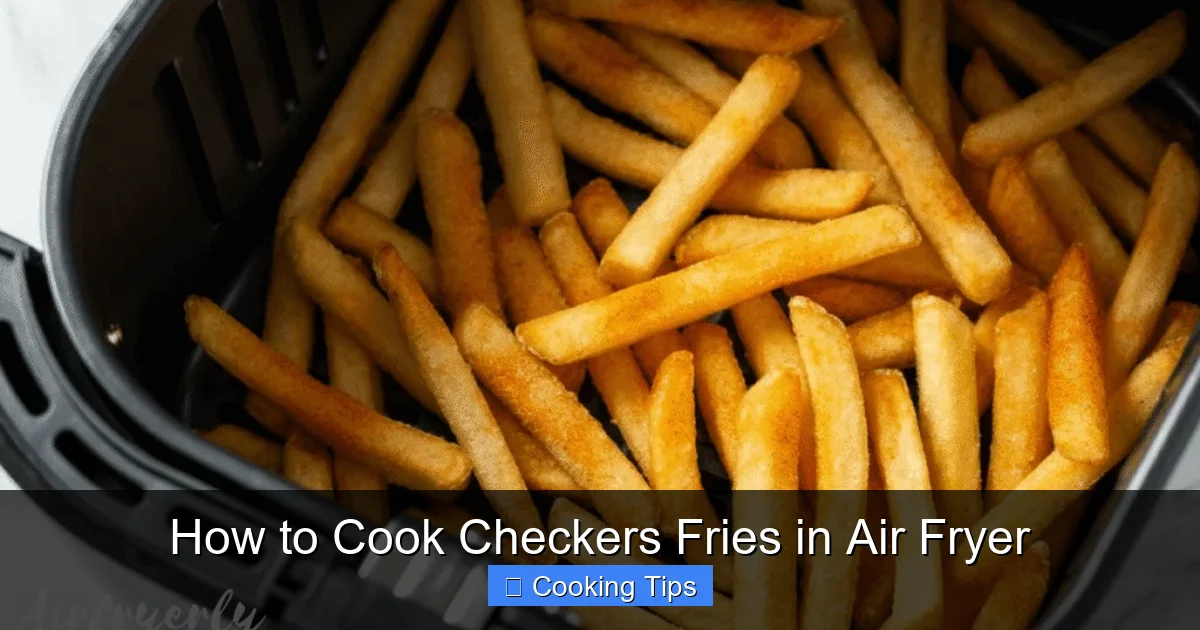
Visual guide about How to Cook Checkers Fries in Air Fryer
Image source: airfryerly.com
When to Season:
- For Frozen Fries: You can either toss them with a little oil and seasoning *before* air frying, or season them immediately *after* they come out of the air fryer. Seasoning after cooking while they’re still hot allows the salt to adhere better.
- For Fresh Cut Fries: It’s generally best to season them *after* they are cooked and hot. This is when the salt will stick best and give you that signature flavor.
The Air Frying Process: Step-by-Step
Now for the main event! Follow these steps for perfectly air-fried Checkers fries.
Step 1: Preheat Your Air Fryer
This is a crucial step that many people skip. Preheating your air fryer ensures that the fries start cooking immediately and evenly.
Recommended Preheat Temperature: 380°F (190°C)
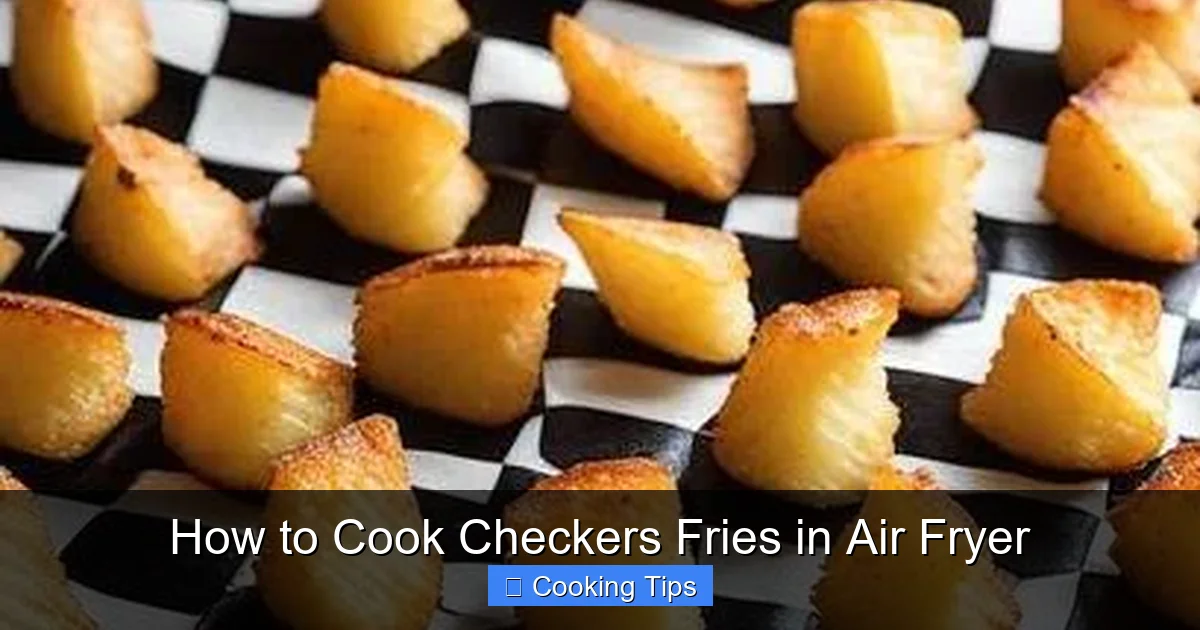
Visual guide about How to Cook Checkers Fries in Air Fryer
Image source: airfryeryummyrecipes.com
Preheat your air fryer for about 3-5 minutes. Your air fryer manual will have specific instructions, but most models have a preheat setting or you can simply set the temperature and let it run for a few minutes before adding food.
Step 2: Load the Air Fryer Basket
Proper loading is key to achieving crispiness.
- Single Layer: Arrange the seasoned fries in a single layer in the air fryer basket. Do NOT overcrowd the basket. If you have a lot of fries, you’ll need to cook them in batches. Overcrowding will lead to steaming rather than crisping, resulting in limp fries.
- Air Circulation: Leave some space between each fry for the hot air to circulate freely. This is vital for even cooking and achieving that delightful crunch.
Step 3: Cook the Fries
This is where the transformation happens!
Recommended Cooking Time: 12-20 minutes (depending on fry thickness and quantity)
Recommended Cooking Temperature: 380°F (190°C)
Place the basket in the preheated air fryer and set the timer. The cooking time will vary based on the thickness of your fries and how full your basket is. Start with the lower end of the time range and check for doneness.
Step 4: Shake the Basket (Crucial for Even Crisping!)
About halfway through the cooking time, it’s time to give your fries a good shake.
- Timing: For a 16-minute cook time, shake around the 8-minute mark.
- Technique: Carefully pull out the air fryer basket and give it a good shake. You can also use tongs to gently toss the fries. This ensures that all sides of the fries are exposed to the hot air, leading to uniformly golden and crispy results.
Step 5: Check for Doneness and Adjust
Once the initial cooking time is up, it’s time to check your fries.
- Visual Check: Your fries should be golden brown and look crispy.
- Taste Test: Carefully remove a few fries and taste them. Are they to your liking?
- Continue Cooking: If they aren’t crispy enough or aren’t as brown as you’d like, return them to the air fryer and cook for an additional 2-5 minutes, checking frequently. You may need to increase the temperature slightly to 400°F (200°C) for the last few minutes to achieve extra crispiness, but watch them closely to prevent burning.
Step 6: Season and Serve Immediately
The final, glorious step!
- Season While Hot: As soon as the fries are done and you’ve removed them from the air fryer basket, transfer them to a serving bowl. Sprinkle them generously with your seasoned salt blend (or just regular salt if you prefer). The heat from the fries will help the seasoning stick.
- Toss Well: Toss the fries in the bowl to ensure they are evenly seasoned.
- Serve Hot: Checkers fries are best enjoyed immediately! Serve them with your favorite dipping sauces like ketchup, mayonnaise, or a special fry sauce.
Tips for Extra Crispy Air Fryer Checkers Fries
Want to take your fries from good to absolutely amazing? Here are some pro tips:
- Don’t Skip the Drying Step (for fresh fries): Moisture is the enemy of crispiness. Pat those potatoes bone dry!
- A Little Oil Goes a Long Way: Too much oil will make your fries greasy, not crispy.
- Work in Batches: It’s better to cook two smaller batches than one overcrowded one. Your air fryer will thank you, and so will your taste buds.
- Consider a Second Shake: If you have a lot of fries, or if you want them exceptionally crispy, give them another shake or toss midway through the additional cooking time.
- Experiment with Temperatures: While 380°F (190°C) is a great starting point, some air fryer users find that starting at 360°F (180°C) for a few minutes and then increasing to 400°F (200°C) for the last half of cooking yields superior crispiness. Always monitor your fries closely.
- Use Parchment Liners (with caution): Air fryer parchment liners can make cleanup a breeze, but ensure they don’t block airflow. Some liners have holes for this purpose.
- Thicker Cut = Longer Cook Time: Thicker fries will naturally take longer to cook than thinner ones. Adjust your time accordingly. If you’re experimenting with different potato cuts, remember that this impacts cooking time. For other types of potato dishes, check out our guide on how to cook bite-size potatoes in the air fryer.
Troubleshooting Common Air Fryer Fry Issues
Even with the best intentions, sometimes things don’t go as planned. Here are some common problems and their solutions:
Problem: My fries are soggy and not crispy.
Solution: This is usually due to overcrowding the basket, not preheating the air fryer, or not using enough oil. Ensure fries are in a single layer, the air fryer is hot, and they have a light coating of oil. Also, make sure you shook the basket halfway through cooking.
Problem: My fries are burnt on the outside and raw on the inside.
Solution: This can happen if the temperature is too high or the fries are too thin. Try reducing the temperature by 10-20°F (5-10°C) and/or increasing the cooking time slightly. Ensure your fries are cut to a consistent thickness. If you’re cooking very thin fries, they’ll cook much faster.
Problem: My fries are unevenly cooked.
Solution: This is almost always a result of not shaking the basket. Make sure you give the basket a thorough shake halfway through the cooking process. Also, ensure you are not stacking the fries in the basket.
Problem: The seasoned salt isn’t sticking.
Solution: For best adhesion, season your fries immediately after they come out of the air fryer while they are still hot and have a slight bit of oil on them. If using fresh fries, ensure they are completely dry before adding oil and seasoning.
Conclusion: Enjoy Your Homemade Checkers Fries!
There you have it – your comprehensive guide to making delicious, crispy Checkers fries in your air fryer! With just a few simple steps and a little bit of attention, you can recreate that beloved flavor and texture at home. So, ditch the drive-thru and embrace the ease and deliciousness of air-fried fries. Whether you’re a seasoned air fryer pro or just starting out, this method is sure to become a staple in your cooking repertoire. Imagine serving these up alongside burgers, sandwiches, or even as a standalone snack. Happy air frying!
If you’re interested in exploring other savory delights you can whip up in your air fryer, consider learning how to make crab cakes or even a hearty pot pie. The possibilities are truly endless!