Unlock the secret to perfectly crispy coconut shrimp with your air fryer! This guide reveals the ideal cooking time and temperature to achieve golden-brown perfection without the mess of deep frying. Learn how to prepare, cook, and enjoy delicious air fryer coconut shrimp every time.
How Long to Cook Coconut Shrimp in Air Fryer
Craving that delightful crunch and tropical flavor of coconut shrimp but want to avoid the grease and mess of deep frying? You’re in luck! The air fryer is your new best friend for achieving perfectly crispy, golden-brown coconut shrimp with minimal effort. Forget soggy bottoms and oil splatters; this guide will walk you through everything you need to know to cook your coconut shrimp to perfection in your air fryer.
Whether you’re using store-bought frozen coconut shrimp or making your own from scratch, mastering the air fryer method is simple. We’ll cover the ideal temperature, cooking time, preparation tips, and even how to troubleshoot if things don’t go exactly as planned. Get ready to impress yourself and your guests with restaurant-quality coconut shrimp made right in your kitchen!
Key Takeaways
- Perfect Time & Temp: The sweet spot for cooking coconut shrimp in an air fryer is typically 375°F (190°C) for 8-10 minutes.
- Don’t Overcrowd: Cook shrimp in a single layer to ensure even crisping and prevent steaming.
- Preheating is Key: Always preheat your air fryer for consistent and optimal cooking results.
- Shake It Up: Shaking the basket halfway through cooking is crucial for uniform browning and crispiness.
- Internal Temperature Matters: Ensure shrimp reach an internal temperature of 145°F (63°C) for food safety and optimal texture.
- Frozen vs. Fresh: Frozen coconut shrimp may require slightly longer cooking times than fresh.
- Check for Doneness: Look for a golden-brown coating and opaque, firm shrimp.
[FEATURED_IMAGE_PLACEHOLDER]
Understanding Your Air Fryer
Before we dive into the specifics of cooking coconut shrimp, it’s helpful to understand how your air fryer works. Air fryers are essentially powerful countertop convection ovens. They circulate hot air at high speeds around your food, creating a crispy exterior that mimics deep-frying without using much oil. This makes them fantastic for achieving that desirable crunch on breaded or battered items.
Different air fryer models can vary slightly in their heating elements and airflow. This means cooking times can sometimes differ between brands and even between specific models of the same brand. This guide will provide a solid starting point, but always keep an eye on your shrimp and be prepared to adjust as needed. If you’re new to air frying, it’s always a good idea to familiarize yourself with the general operation of your specific model. Knowing how to operate an air fryer can make all the difference.
Prepping Your Coconut Shrimp
The preparation steps will depend on whether you’re starting with frozen coconut shrimp or making them from scratch. Both methods are achievable and delicious in the air fryer.
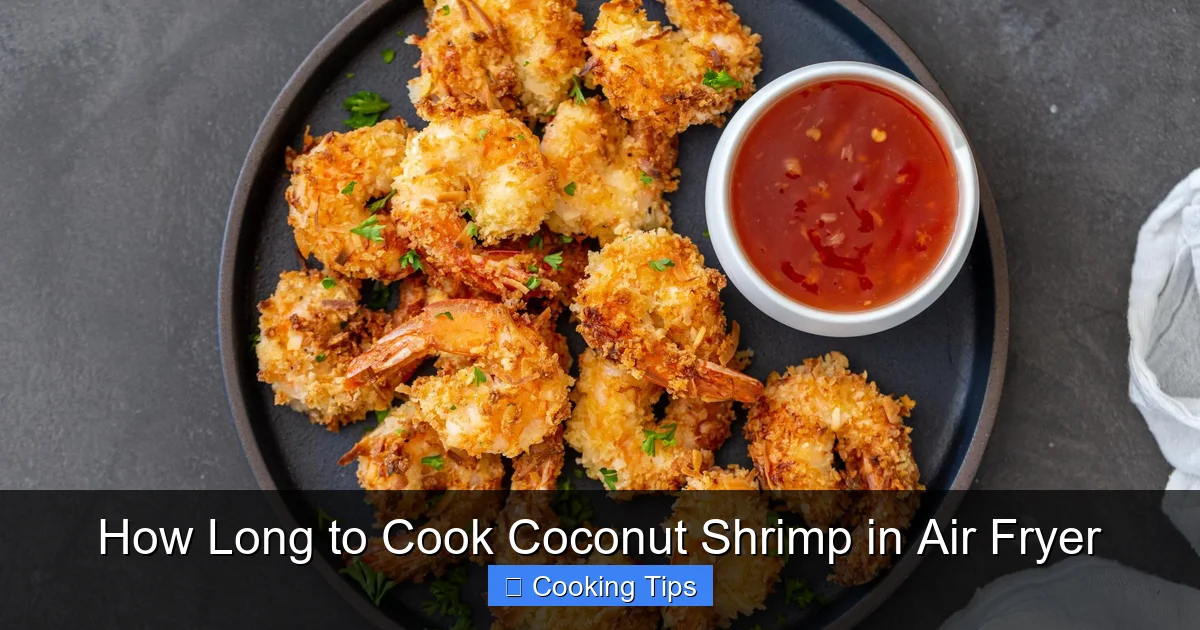
Visual guide about How Long to Cook Coconut Shrimp in Air Fryer
Image source: cdn.momsdish.com
Method 1: Cooking Frozen Coconut Shrimp
This is the easiest and quickest way to enjoy air fryer coconut shrimp. Most store-bought frozen coconut shrimp are already breaded and ready to cook.
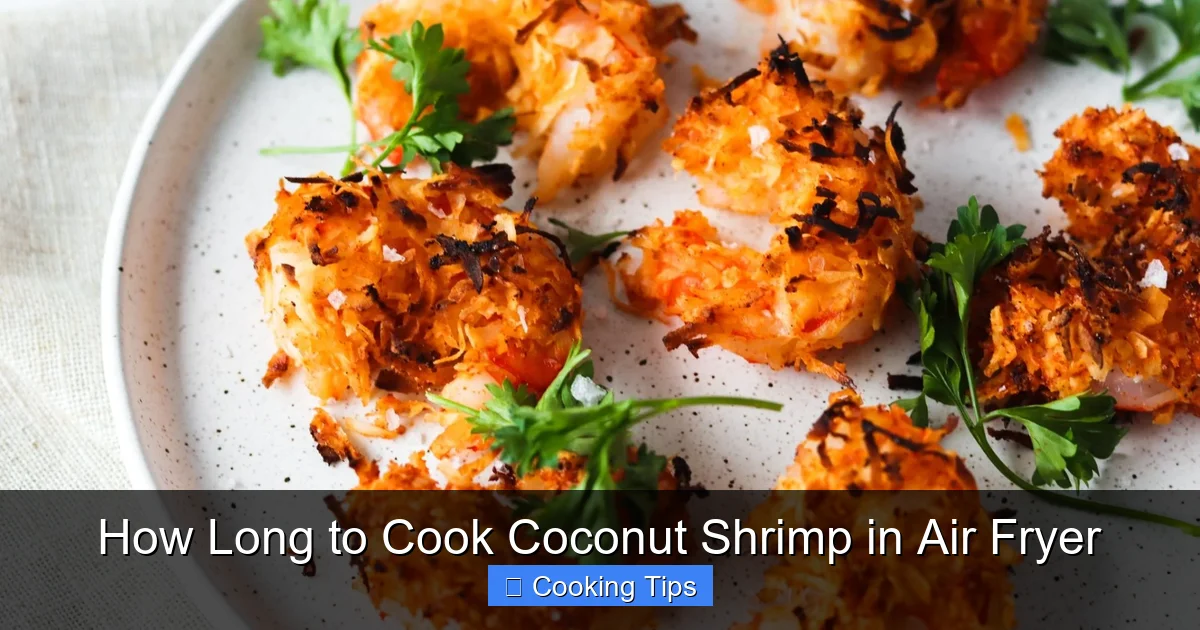
Visual guide about How Long to Cook Coconut Shrimp in Air Fryer
Image source: everydaydishes.com
Step 1: Preheat Your Air Fryer
Preheating is crucial for achieving crispy results. It ensures the air fryer is hot enough to start cooking and crisping immediately upon contact.
- Set your air fryer to 375°F (190°C).
- Allow it to preheat for about 3-5 minutes. Some air fryers have an indicator light or a beep to let you know when they are preheated.
Step 2: Arrange Shrimp in the Basket
This is a critical step to ensure even cooking and crispiness.
- Do NOT thaw the frozen coconut shrimp before cooking.
- Arrange the shrimp in a single layer in the air fryer basket.
- Ensure there is some space between each shrimp. If you overcrowd the basket, the shrimp will steam instead of crisp, and you’ll end up with a less-than-ideal texture. You may need to cook in batches depending on the size of your air fryer and the quantity of shrimp you are preparing.
Step 3: Cook the Shrimp
Now for the magic!
- Place the basket into the preheated air fryer.
- Set the timer for 8-10 minutes.
Step 4: Shake the Basket
Midway through the cooking time, it’s time to give your shrimp a flip (or a shake!).
- At the 4-5 minute mark, carefully pull out the air fryer basket.
- Give the basket a good shake to ensure the shrimp are evenly distributed and to flip them over. This allows for uniform browning on all sides.
- If you prefer, you can use tongs to flip each shrimp individually, but shaking is often more efficient.
Step 5: Check for Doneness
Once the timer goes off, it’s time to check if your coconut shrimp are perfectly cooked.
- The shrimp should be golden brown and appear crispy.
- The coconut coating should be a beautiful golden hue.
- For food safety and optimal texture, the internal temperature of the shrimp should reach 145°F (63°C). You can use an instant-read thermometer to check.
- If the shrimp are not yet golden brown or crispy enough for your liking, you can add an extra 1-2 minutes of cooking time, checking frequently to prevent burning.
Step 6: Serve and Enjoy
Once cooked to perfection, remove the shrimp from the air fryer and serve immediately. They are fantastic with a side of sweet chili sauce, piña colada dipping sauce, or your favorite sweet and savory dip.
Method 2: Making Fresh Coconut Shrimp
Making your own coconut shrimp allows you to control the ingredients and customize the flavor. The process is a bit more involved but incredibly rewarding.
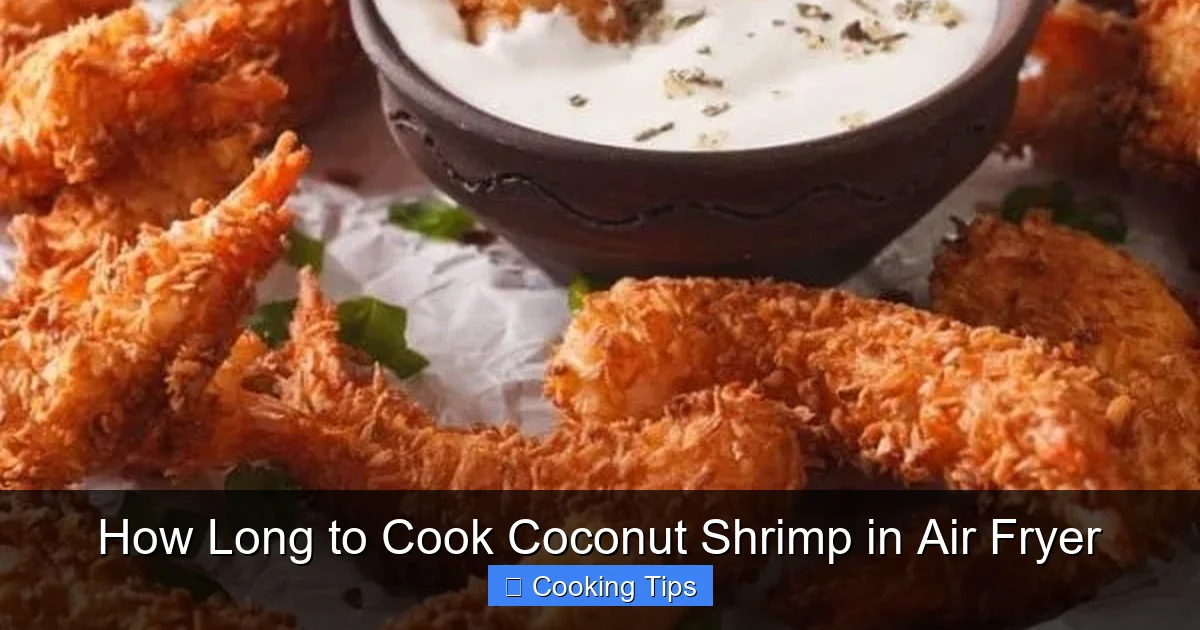
Visual guide about How Long to Cook Coconut Shrimp in Air Fryer
Image source: recipethis.com
Step 1: Prepare the Shrimp
Start with raw, peeled, and deveined shrimp. Ensure they are patted completely dry with paper towels. This helps the breading adhere better.
Step 2: Set Up Your Breading Station
You’ll need three shallow dishes or bowls:
- Dish 1: Flour Mixture: All-purpose flour seasoned with salt, pepper, and perhaps a pinch of cayenne pepper for a little kick.
- Dish 2: Egg Wash: Two large eggs beaten with a tablespoon of milk or water.
- Dish 3: Coconut Mixture: Sweetened shredded coconut mixed with panko breadcrumbs. The panko adds extra crispiness. A common ratio is 1 cup shredded coconut to 1/2 cup panko breadcrumbs. You can also add a pinch of salt to this mixture.
Step 3: Bread the Shrimp
Work with a few shrimp at a time:
- Dredge each shrimp first in the seasoned flour, shaking off any excess.
- Next, dip the floured shrimp into the egg wash, letting any excess drip off.
- Finally, coat the shrimp thoroughly in the coconut and panko mixture, pressing gently to help it adhere.
- Place the breaded shrimp on a plate or baking sheet as you work, ensuring they don’t touch.
Step 4: Chill the Breaded Shrimp (Optional but Recommended)
For the best adhesion and crispiness, it’s a good idea to chill the breaded shrimp for at least 15-30 minutes in the refrigerator. This helps the coating set.
Step 5: Preheat and Cook in the Air Fryer
Follow the same steps as for frozen coconut shrimp:
- Preheat your air fryer to 375°F (190°C).
- Arrange the fresh breaded shrimp in a single layer in the basket, leaving space between them.
- Cook for 8-10 minutes, shaking the basket halfway through at the 4-5 minute mark.
- Check for doneness: the shrimp should be opaque, firm, and the coconut coating should be golden brown and crispy. The internal temperature should be 145°F (63°C).
Tips for Perfectly Crispy Coconut Shrimp
Achieving that irresistible crunch is all about technique. Here are some extra tips:
- Don’t Skip the Preheat: We can’t stress this enough! A hot air fryer is essential for crispiness.
- Single Layer Rule: Overcrowding is the enemy of crispiness. Cook in batches if necessary. Think of it like making sure your bone-in chicken breast in air fryer gets evenly cooked by not piling it up.
- Use Panko Breadcrumbs: If making your own, panko breadcrumbs create a lighter, crispier coating than regular breadcrumbs.
- A Little Oil Helps: While not strictly necessary, a light mist of cooking spray (like olive oil or avocado oil) on the shrimp before cooking can enhance crispiness and browning, especially if using fresh shrimp. For frozen shrimp, this is usually not needed as they often have a sufficient coating.
- Adjust Time for Size: Larger shrimp will take slightly longer to cook than smaller ones. Keep an eye on them.
- Experiment with Spices: Feel free to add paprika, garlic powder, onion powder, or a pinch of chili powder to your flour or coconut mixtures for extra flavor.
- Dipping Sauces are Key: A good dipping sauce elevates the entire experience. Sweet chili sauce, a mango salsa, or a spicy aioli are all excellent choices.
Troubleshooting Common Issues
Even with the best intentions, sometimes things don’t go perfectly. Here are a few common problems and how to fix them:
Issue: Shrimp are soggy, not crispy.
Cause: Likely due to overcrowding the air fryer basket, not preheating adequately, or opening the air fryer door too often, letting heat escape.
Solution: Cook in smaller batches, ensuring a single layer. Make sure the air fryer is fully preheated. Avoid opening the door unnecessarily during cooking.
Issue: Shrimp are burnt on the outside and not cooked through.
Cause: The air fryer temperature might be too high, or the shrimp are too small for the cooking time.
Solution: Reduce the cooking temperature by 10-15°F (about 5-10°C) and check for doneness earlier. If cooking very small shrimp, you might need to slightly reduce the cooking time.
Issue: The breading is falling off.
Cause: Shrimp were not patted dry enough, or the breading wasn’t pressed on firmly. For fresh shrimp, chilling the breaded shrimp can help prevent this.
Solution: Ensure shrimp are very dry before breading. Press the breading mixture firmly onto the shrimp. If making fresh, try chilling the breaded shrimp before air frying. If using frozen, ensure the coating is fully intact.
Issue: Shrimp are unevenly cooked.
Cause: Uneven cooking can happen if the shrimp are not arranged in a single layer or if the basket isn’t shaken.
Solution: Always arrange shrimp in a single layer with space between them. Crucially, shake the basket halfway through cooking to redistribute the shrimp and ensure even heat exposure.
Conclusion
Cooking coconut shrimp in the air fryer is a game-changer. It offers a healthier, faster, and less messy alternative to traditional deep-frying, all while delivering that satisfying crunch and delicious flavor you love. Whether you’re opting for the convenience of frozen or the customizability of fresh, following these simple steps will ensure your air fryer coconut shrimp turn out perfectly golden, crispy, and utterly irresistible every single time. So, preheat that air fryer, grab your shrimp, and get ready to enjoy a fantastic seafood treat!