
This guide provides a comprehensive look at how long to cook chicken fingers in your air fryer for perfect results. You’ll learn the ideal cooking times and temperatures, along with tips for achieving that sought-after crispy texture. Whether using frozen or fresh, understand how to get your chicken fingers just right. Enjoy delicious, crispy chicken fingers with minimal effort!
How Long to Cook Chicken Fingers in Air Fryer
Welcome to your ultimate guide to perfectly cooked chicken fingers in the air fryer! Are you craving that satisfying crunch and juicy interior without the mess and grease of deep frying? You’ve come to the right place. The air fryer is a game-changer for making classic favorites like chicken fingers, transforming them into golden, crispy delights with just a fraction of the oil.
In this guide, we’ll walk you through everything you need to know to achieve air fryer chicken finger perfection. We’ll cover cooking times for both frozen and fresh chicken fingers, the best temperatures to use, and crucial tips for getting that irresistible crispy coating. Get ready to master this popular dish and impress your family and friends!
Key Takeaways
- Perfect Crispy Texture: The air fryer excels at creating a wonderfully crispy exterior on chicken fingers, rivaling traditional frying with less oil.
- Time Varies by Type: Cooking time depends on whether your chicken fingers are fresh, frozen, breaded, or unbreaded.
- Temperature is Key: Most chicken fingers cook best between 375°F (190°C) and 400°F (200°C).
- Don’t Overcrowd: Air circulation is crucial for crispiness; cook in single layers, potentially in batches.
- Internal Temperature is the Gold Standard: Always check that the internal temperature reaches 165°F (74°C) for safe consumption.
- Shake or Flip for Even Cooking: Midway through cooking, shake the basket or flip the fingers to ensure even browning and crispiness on all sides.
Understanding the Basics of Air Frying Chicken Fingers
The air fryer works by circulating hot air around your food at high speed. This process mimics deep frying, creating a crispy exterior while keeping the inside moist and tender. For chicken fingers, this means achieving that desirable golden-brown crunch that everyone loves.
Before we dive into specific timings, let’s cover a few fundamental points:
Preheating Your Air Fryer
Just like with an oven, preheating your air fryer is essential for even cooking. It ensures that when you put your chicken fingers in, they start cooking immediately at the correct temperature. This helps prevent them from becoming soggy and promotes a better crisp. Most recipes suggest preheating for 3-5 minutes.
Arranging the Chicken Fingers
This is one of the most important steps for achieving crispiness. You need to ensure that the hot air can circulate freely around each chicken finger.
- Single Layer: Always arrange your chicken fingers in a single layer in the air fryer basket.
- No Overlapping: Make sure they are not touching each other. If necessary, cook in batches. Overcrowding leads to steaming rather than crisping.
This step is just as vital as getting the temperature and time right.
Checking for Doneness
While we’ll provide time guidelines, the best way to ensure your chicken fingers are cooked through and safe to eat is to check their internal temperature.
- Use a Meat Thermometer: Insert a meat thermometer into the thickest part of a chicken finger.
- Target Temperature: The safe internal temperature for chicken is 165°F (74°C).
The coating might appear very crispy and golden before the center is fully cooked, so always verify the internal temperature.
How Long to Cook Frozen Chicken Fingers
Visual guide about How Long to Cook Chicken Fingers in Air Fryer
Image source: airfryeryummyrecipes.com
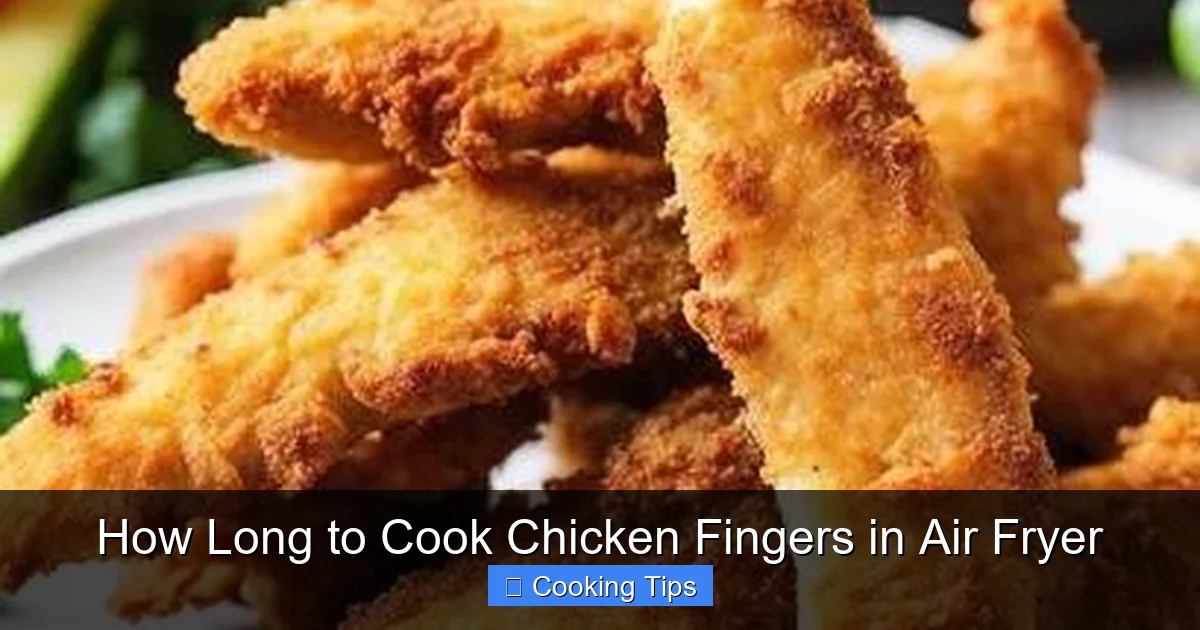
Cooking frozen chicken fingers in the air fryer is incredibly convenient. Because they are already breaded and partially cooked, they tend to cook faster than fresh ones. The key is to get them hot and crispy all the way through.
Standard Frozen Chicken Fingers
For most popular brands of frozen chicken fingers (like Tyson chicken strips or tenders), the cooking process is straightforward.
Temperature and Time
* Temperature: 380°F (190°C)
* Time: 12-16 minutes
Step-by-Step Instructions for Frozen Chicken Fingers
1. Preheat: Preheat your air fryer to 380°F (190°C) for about 3-5 minutes.
2. Arrange: Place the frozen chicken fingers in a single layer in the air fryer basket. Do not overcrowd. Cook in batches if necessary.
3. Cook: Air fry for 12-16 minutes.
4. Flip/Shake: Halfway through the cooking time (around the 6-8 minute mark), open the air fryer and shake the basket or use tongs to flip the chicken fingers. This ensures even browning and crispiness on all sides.
5. Check for Doneness: After the cooking time is up, check the internal temperature of a few pieces with a meat thermometer. Ensure they reach at least 165°F (74°C). If not, continue cooking for a few more minutes, checking every 2 minutes.
6. Serve: Once cooked through and crispy, remove from the air fryer and serve immediately with your favorite dipping sauces.
Tips for Crispier Frozen Chicken Fingers
* Don’t Thaw: Cooking from frozen usually yields the crispiest results. Thawing can make the breading soggy.
* Light Oil Spray (Optional): For an extra crispy finish, lightly spritz the frozen chicken fingers with cooking oil spray before air frying. This helps them brown and crisp up beautifully.
* Single Layer is Crucial: I can’t stress this enough – do not stack them!
How Long to Cook Fresh (Homemade) Chicken Fingers
Visual guide about How Long to Cook Chicken Fingers in Air Fryer
Image source: skinnysouthernrecipes.com
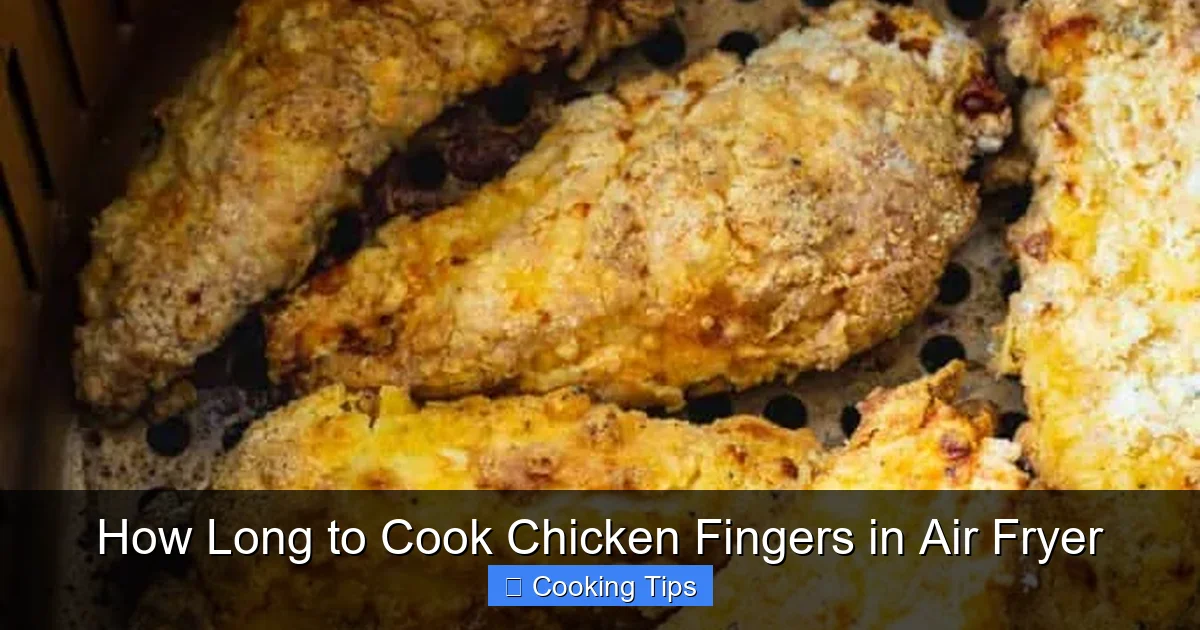
Making your own chicken fingers from scratch gives you complete control over the ingredients and seasoning. Fresh chicken fingers require slightly different timing and preparation compared to frozen ones.
Temperature and Time for Fresh Chicken Fingers
The exact time will depend on the thickness of your chicken strips and the breading used.
* Temperature: 390°F (200°C)
* Time: 10-14 minutes
Step-by-Step Instructions for Fresh Chicken Fingers
1. Prepare Chicken: Cut boneless, skinless chicken breast or thighs into finger-sized strips.
2. Bread the Chicken: Dredge the chicken strips in flour, then dip them in beaten eggs, and finally coat them thoroughly in your choice of breadcrumbs (panko, regular, seasoned, etc.). You can add your favorite seasonings to the flour or breadcrumbs.
3. Preheat: Preheat your air fryer to 390°F (200°C) for about 3-5 minutes.
4. Arrange: Lightly spray the air fryer basket with cooking oil. Place the breaded chicken fingers in a single layer, ensuring they don’t touch.
5. Optional Oil Spray: Lightly spray the tops of the chicken fingers with cooking oil. This helps them achieve a golden-brown, crispy finish.
6. Cook: Air fry for 10-14 minutes.
7. Flip/Shake: Halfway through (around 5-7 minutes), shake the basket or flip the chicken fingers to ensure even cooking and crisping.
8. Check for Doneness: The chicken should be golden brown and crispy. Use a meat thermometer to check that the internal temperature has reached 165°F (74°C). If the breading is browning too quickly before the chicken is cooked through, you can slightly reduce the temperature to 375°F (190°C) for the last few minutes.
9. Serve: Remove from the air fryer and serve hot with your favorite dipping sauces.
Tips for Crispy Homemade Chicken Fingers
* Panko Breadcrumbs: Panko breadcrumbs tend to create a crispier coating than regular breadcrumbs.
* Double Dredge: For an extra thick and crispy coating, double-dip your chicken: flour, egg, breadcrumbs, then egg again, and breadcrumbs again.
* Don’t Skip the Oil Spray: A light mist of cooking spray on fresh chicken fingers really helps achieve that restaurant-style crispiness.
Factors Affecting Cooking Time
Visual guide about How Long to Cook Chicken Fingers in Air Fryer
Image source: assets-global.website-files.com
While the guidelines above are excellent starting points, several factors can influence the exact cooking time for your chicken fingers:
Size and Thickness of Fingers
Larger or thicker chicken fingers will naturally take longer to cook through than thinner ones. Always err on the side of caution and check the internal temperature.
Breading Type
Different types of breading can absorb and cook differently. Panko breadcrumbs, as mentioned, tend to get crispier faster. If you’re using a thicker, homemade breading, it might require a few extra minutes.
Air Fryer Model and Wattage
Air fryers vary in power and design. Some run hotter or circulate air more intensely than others. If you’re unsure about your specific model, it’s always best to start with the lower end of the recommended time range and check for doneness. Learning how to operate an air fryer effectively for different foods is part of the process.
Altitude
Cooking at higher altitudes can sometimes affect cooking times, generally requiring slightly longer cooking periods.
Troubleshooting Common Air Fryer Chicken Finger Issues
Even with the best instructions, sometimes things don’t turn out exactly as planned. Here are a few common issues and how to fix them:
Problem: Chicken Fingers are Soggy
* Cause: Overcrowding the basket, not preheating, or not flipping/shaking.
* Solution: Always cook in a single layer. Ensure your air fryer is properly preheated. Shake the basket or flip the fingers halfway through cooking. If they are still not crispy enough, you can try increasing the temperature by 10-20°F (5-10°C) for the last 2-3 minutes, keeping a close eye on them to prevent burning.
Problem: Chicken Fingers are Burnt on the Outside, Undercooked Inside
* Cause: Temperature is too high, or the fingers are too thin.
* Solution: Reduce the temperature slightly. Ensure the chicken pieces are of a consistent thickness. Check the internal temperature of the thickest part of a finger. If the breading is too dark but the inside isn’t cooked, you can try loosely covering the burnt parts with a small piece of foil for the remaining cooking time.
Problem: Uneven Cooking
* Cause: Inconsistent airflow due to overcrowding or not shaking/flipping.
* Solution: Ensure a single layer and adequate space between pieces. Shake the basket or flip the chicken fingers halfway through. If you notice significant hot spots in your air fryer, you might need to rotate the basket or the food more frequently.
Serving Suggestions
Air fryer chicken fingers are incredibly versatile! Serve them as a quick and easy meal for kids and adults alike.
* Dipping Sauces: Ketchup, honey mustard, BBQ sauce, ranch dressing, sweet chili sauce.
* Side Dishes: French fries (you can even make those in the air fryer!), mashed potatoes, a simple green salad, coleslaw, or steamed vegetables.
Conclusion
Mastering how long to cook chicken fingers in the air fryer is a skill that will bring delicious, crispy results to your table time and time again. By understanding the importance of preheating, proper arrangement, temperature, and checking for doneness with a thermometer, you can achieve perfect chicken fingers every single time. Whether you’re cooking from frozen for a quick snack or making your own from scratch for a family dinner, the air fryer is your best friend for this classic comfort food.
So go ahead, experiment with your favorite seasonings and breading, and enjoy the crispy, golden goodness of air fryer chicken fingers! Happy air frying!