Discover the secrets to perfectly cooked boneless chicken in your air fryer. This guide provides clear instructions on cooking times and temperatures for various cuts, ensuring a delicious and crispy result. We cover preparation, cooking, and essential tips to achieve juicy, tender chicken every time you use your air fryer.
How Long to Cook Boneless Chicken in an Air Fryer
Welcome to your ultimate guide on cooking boneless chicken in an air fryer! If you’re looking for a fast, healthy, and delicious way to prepare chicken, the air fryer is your best friend. Forget dry, bland chicken; with the right techniques, you can achieve perfectly crispy exteriors and incredibly juicy interiors every single time.
This guide will walk you through everything you need to know. We’ll cover the ideal cooking times and temperatures for different boneless chicken cuts, essential preparation steps, and handy tips to ensure your chicken comes out absolutely perfect. Get ready to elevate your weeknight meals with this simple and effective cooking method.
- Perfect Temperature is Key: Aim for 400°F (200°C) for most boneless chicken cuts to achieve a crispy exterior and juicy interior.
- Time Varies by Thickness: Boneless chicken breasts generally take 18-25 minutes, while smaller cuts like tenders or thighs might only need 12-18 minutes.
- Internal Temperature is Crucial: Always check the internal temperature with a meat thermometer. It must reach 165°F (74°C) for safety and doneness.
- Don’t Overcrowd the Basket: Ensure even cooking by leaving space between chicken pieces in the air fryer basket.
- Flip Midway: Turn the chicken halfway through the cooking process for uniform browning and crispiness on all sides.
- Rest Your Chicken: Allowing the cooked chicken to rest for 5-10 minutes before slicing helps retain its juices.
Understanding the Magic of Air Frying Chicken
Before we dive into the specifics, let’s quickly touch on why the air fryer is so great for boneless chicken. It works by circulating hot air around your food, mimicking the crisping effect of deep frying but with significantly less oil. This means you get that satisfying crunch without the guilt. For boneless chicken, this rapid, even cooking process locks in moisture, preventing the dryness that can sometimes occur with other cooking methods.
Step-by-Step Guide to Cooking Boneless Chicken in Your Air Fryer
Let’s get cooking! Follow these simple steps for delicious air fryer boneless chicken.
Step 1: Prepare Your Boneless Chicken
Proper preparation is the first step to culinary success.
Choose Your Cut
Boneless chicken comes in various forms: breasts, thighs, tenders, or even bite-sized pieces. The size and thickness of your chicken will influence the cooking time. Boneless, skinless chicken breasts are very popular for their lean protein, while boneless, skinless chicken thighs offer a richer flavor and are more forgiving if slightly overcooked.
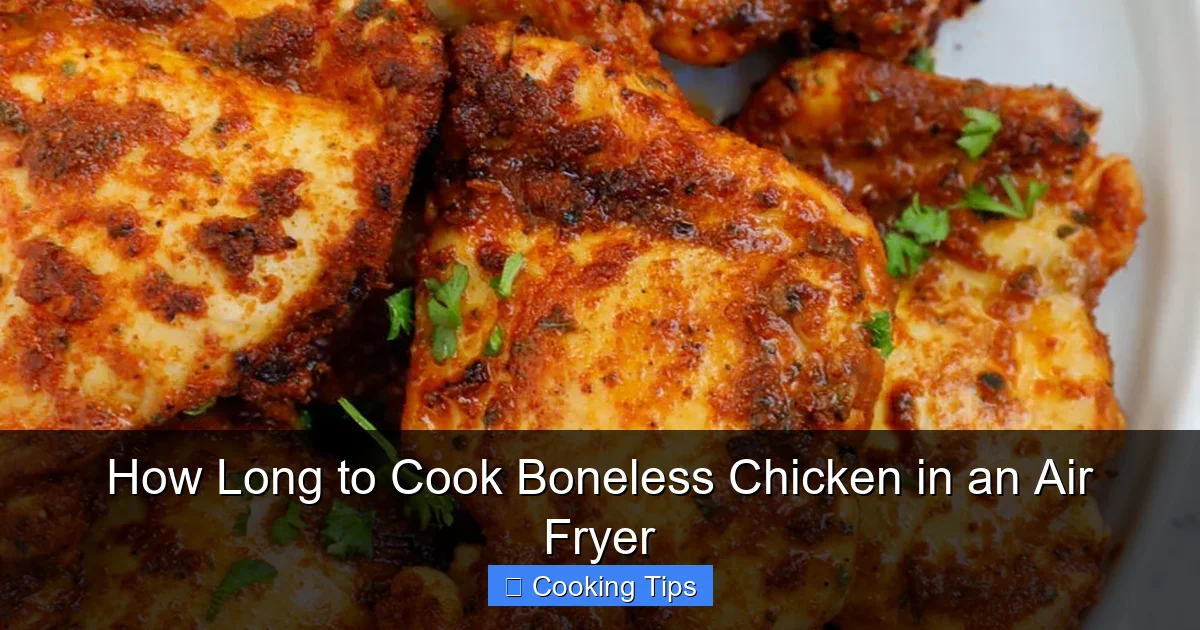
Visual guide about How Long to Cook Boneless Chicken in an Air Fryer
Image source: cookinwithmima.com
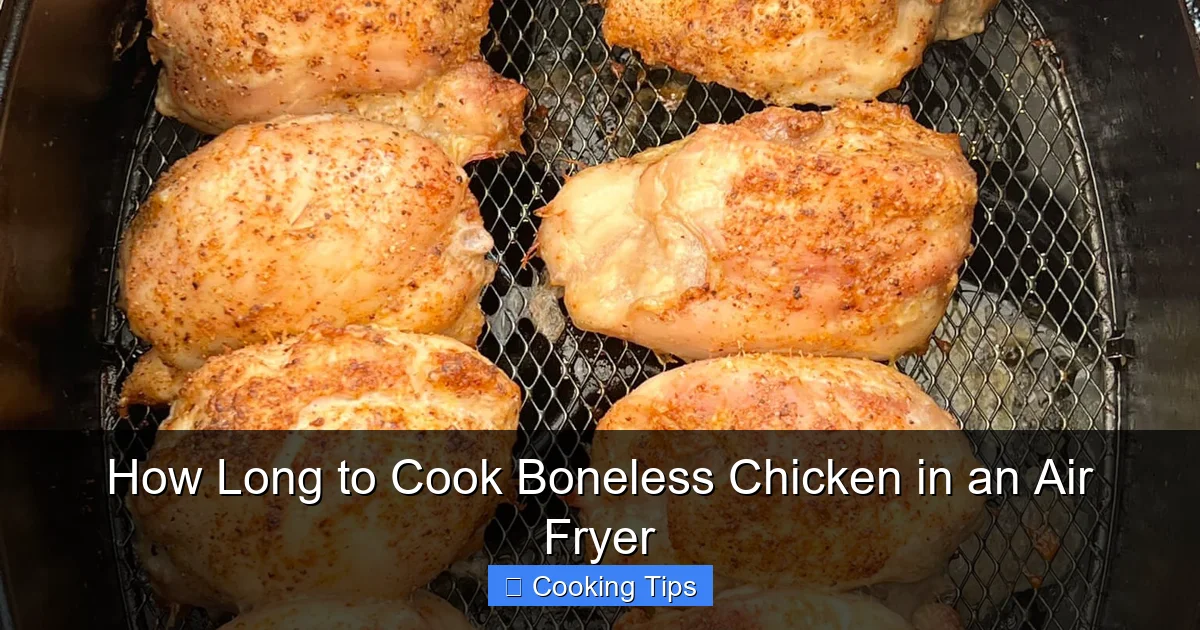
Visual guide about How Long to Cook Boneless Chicken in an Air Fryer
Image source: recipethis.com
Marinate or Season
This is where you add flavor! You can marinate your chicken for at least 30 minutes (or up to 24 hours in the refrigerator) in your favorite marinade. Alternatively, a simple seasoning of salt, pepper, garlic powder, paprika, and any other herbs or spices you enjoy works wonders. A light coating of oil (like olive oil or avocado oil) can help seasonings adhere and promote crispiness.
Pat It Dry
This is a crucial step often overlooked! Before seasoning or cooking, pat your chicken completely dry with paper towels. Moisture is the enemy of crispiness. A dry surface allows the air fryer to work its magic, creating that desirable golden-brown, crispy exterior.
Step 2: Preheat Your Air Fryer
Preheating is essential for even cooking and achieving the best texture.
Most air fryers perform best when preheated. Set your air fryer to the desired temperature and let it heat up for 3-5 minutes before adding the chicken. This ensures that the chicken starts cooking immediately upon entering the basket, leading to a more consistent cook.

Visual guide about How Long to Cook Boneless Chicken in an Air Fryer
Image source: savingdessert.com
Step 3: Arrange Chicken in the Air Fryer Basket
Proper arrangement is key to preventing soggy chicken.
Single Layer is Best
Place the seasoned chicken pieces in a single layer in the air fryer basket. Do not overcrowd the basket. Overcrowding prevents the hot air from circulating effectively around each piece, leading to uneven cooking and a lack of crispiness. If you have a lot of chicken, you may need to cook it in batches. This is also a great tip when you’re making things like boneless chicken wings, ensuring each wing gets perfectly crispy.
Leave Some Space
Even in a single layer, try to leave a little space between each piece. This allows the hot air to flow freely, giving you that desired crispy finish on all sides.
Step 4: Determine Cooking Time and Temperature
This is the core of our guide. The exact time will depend on the thickness of your chicken and your specific air fryer model. However, here are some excellent starting points.
Ideal Temperature
For most boneless chicken cuts, a temperature of 400°F (200°C) is ideal. This high heat sears the outside quickly, creating a delicious crust while keeping the inside moist and tender.
Cooking Times for Different Cuts:
Boneless, Skinless Chicken Breasts (Thick Cut)
Approximate Time: 18-25 minutes
Instructions: For standard-sized chicken breasts (about 6-8 ounces each), preheat your air fryer to 400°F (200°C). Place the chicken breasts in the basket, ensuring they don’t touch. Cook for 18-25 minutes, flipping them halfway through (around the 10-12 minute mark). The exact time will depend on the thickness. Thicker breasts will need longer.
Boneless, Skinless Chicken Breasts (Thin Cut or Cutlets)
Approximate Time: 12-16 minutes
Instructions: If your chicken breasts are thinner, pounded thin, or cut into smaller portions, they will cook much faster. Use the same 400°F (200°C) temperature. Cook for 12-16 minutes, flipping halfway. Keep a close eye on them to prevent overcooking.
Boneless, Skinless Chicken Thighs
Approximate Time: 15-20 minutes
Instructions: Boneless thighs are naturally more forgiving and tend to stay juicier. Preheat your air fryer to 400°F (200°C). Place thighs in the basket and cook for 15-20 minutes, flipping them halfway through. They are typically smaller and more uniform than breasts, making them a bit easier to time.
Boneless Chicken Tenders or Strips
Approximate Time: 10-14 minutes
Instructions: These smaller pieces cook very quickly. Set your air fryer to 380°F (190°C) or 400°F (200°C) and cook for 10-14 minutes, shaking the basket or flipping the tenders halfway through. Be careful not to overcook, as they can become dry easily. If you’re looking for ideas on how to prepare these, check out guides on how to make Tyson chicken tenders in an air fryer.
Bite-Sized Diced Chicken (for salads, stir-fries, etc.)
Approximate Time: 8-12 minutes
Instructions: For small cubes of chicken, use a slightly lower temperature, around 380°F (190°C), to prevent burning. Cook for 8-12 minutes, shaking the basket every few minutes to ensure even cooking and browning. These are perfect for adding to dishes quickly.
Step 5: Cook and Flip
Let the air fryer do its work, but don’t forget the essential flip.
Start Cooking
Once your chicken is arranged in the basket, place it in the preheated air fryer and set your timer according to the guidelines above.
Flip Halfway
About halfway through the cooking time, carefully pull out the air fryer basket and flip or shake the chicken pieces. This ensures that both sides get evenly browned and crispy. This step is crucial for achieving that perfect golden-brown exterior.
Step 6: Check for Doneness
This is the most critical step for food safety and deliciousness.
Use a Meat Thermometer
The best and most reliable way to ensure your chicken is cooked through is to use an instant-read meat thermometer. Insert it into the thickest part of the chicken, avoiding any bone (though we are using boneless chicken here, it’s good practice to avoid bone fragments if any). The internal temperature should reach 165°F (74°C).
Visual Cues (Use with Caution)
While a thermometer is best, you can also look for visual cues. The chicken should be opaque throughout, with no pinkness. Juices should run clear when pierced with a fork or knife. However, relying solely on visual cues can be risky for food safety.
Step 7: Rest Your Chicken
Patience here pays off big time.
Once the chicken reaches the safe internal temperature, remove it from the air fryer basket and place it on a clean plate or cutting board. Let it rest for 5-10 minutes before slicing or serving. This resting period allows the juices to redistribute throughout the meat, making it incredibly moist and tender. If you cut into it too soon, all those delicious juices will escape onto your plate.
Practical Tips for Perfect Air Fryer Boneless Chicken
Here are some extra tips to make your air fryer chicken even better:
- Know Your Air Fryer: Air fryer models vary in wattage and how they circulate air. What takes 20 minutes in one might take 18 in another. Use the times provided as a guide and get to know your specific appliance. For instance, if you’re looking at how to operate an air fryer, understanding these nuances is key.
- Adjust for Frozen Chicken: If cooking frozen boneless chicken, you’ll need to increase the cooking time by about 50% and potentially lower the temperature slightly to ensure it cooks through without burning on the outside. Always check the internal temperature carefully.
- Don’t Forget the Oil: Even a light spray or brush of oil can make a significant difference in crispiness and browning.
- Shake it Up: For smaller items like tenders or popcorn chicken, shaking the basket vigorously halfway through cooking is more effective than flipping individual pieces.
- Seasoning is Everything: Don’t be afraid to experiment with different herbs, spices, and marinades. Consider bold flavors like a lemon-herb marinade or a spicy chili rub.
- Clean Your Air Fryer: A dirty air fryer can affect cooking performance and impart off-flavors. Clean the basket and drawer after each use.
Troubleshooting Common Air Fryer Boneless Chicken Issues
Even with the best guides, sometimes things don’t go as planned. Here’s how to fix common problems:
Chicken is Dry
Cause: Overcooked or not rested long enough.
Solution: Use a meat thermometer and cook only until it reaches 165°F (74°C). Always rest your chicken for at least 5 minutes. For future cooks, try marinating or using boneless thighs, which are moister.
Chicken is Not Crispy
Cause: Basket was overcrowded, chicken wasn’t dry enough, or not enough preheating.
Solution: Ensure chicken is patted dry before seasoning. Cook in a single layer with space between pieces. Make sure your air fryer is preheated properly. A light coating of oil can also help.
Chicken is Unevenly Cooked
Cause: Overcrowding or not flipping/shaking.
Solution: Cook in batches if necessary. Always flip or shake the chicken halfway through the cooking cycle.
Conclusion
Mastering how to cook boneless chicken in an air fryer is a game-changer for quick, healthy, and delicious meals. By understanding the importance of preparation, preheating, proper arrangement, and most importantly, internal temperature, you can consistently achieve perfectly cooked chicken every time. Remember to use a meat thermometer to guarantee food safety and don’t forget to let your chicken rest for maximum juiciness.
Experiment with different seasonings and marinades to discover your favorite flavors. With these guidelines, you’re well on your way to becoming an air fryer chicken expert! Happy cooking!