An air fryer bread recipe solves the problem of wanting fresh, warm bread without heating up your entire kitchen or waiting 45 minutes for a conventional oven to preheat. The circulating hot air in an air fryer produces a crisp crust and soft interior in roughly half the time, making it ideal for small batches of rolls, flatbreads, and quick loaves when you need bread fast.
Aggregate user reviews across major retail platforms show that bread is one of the most-searched air fryer uses as of 2026, yet inconsistent results remain the number one complaint. Temperature calibration varies significantly between models, and manufacturer guidelines alone rarely explain how to adapt a standard bread recipe for the faster, drier cooking environment an air fryer creates. Let's walk through exactly how to get it right.
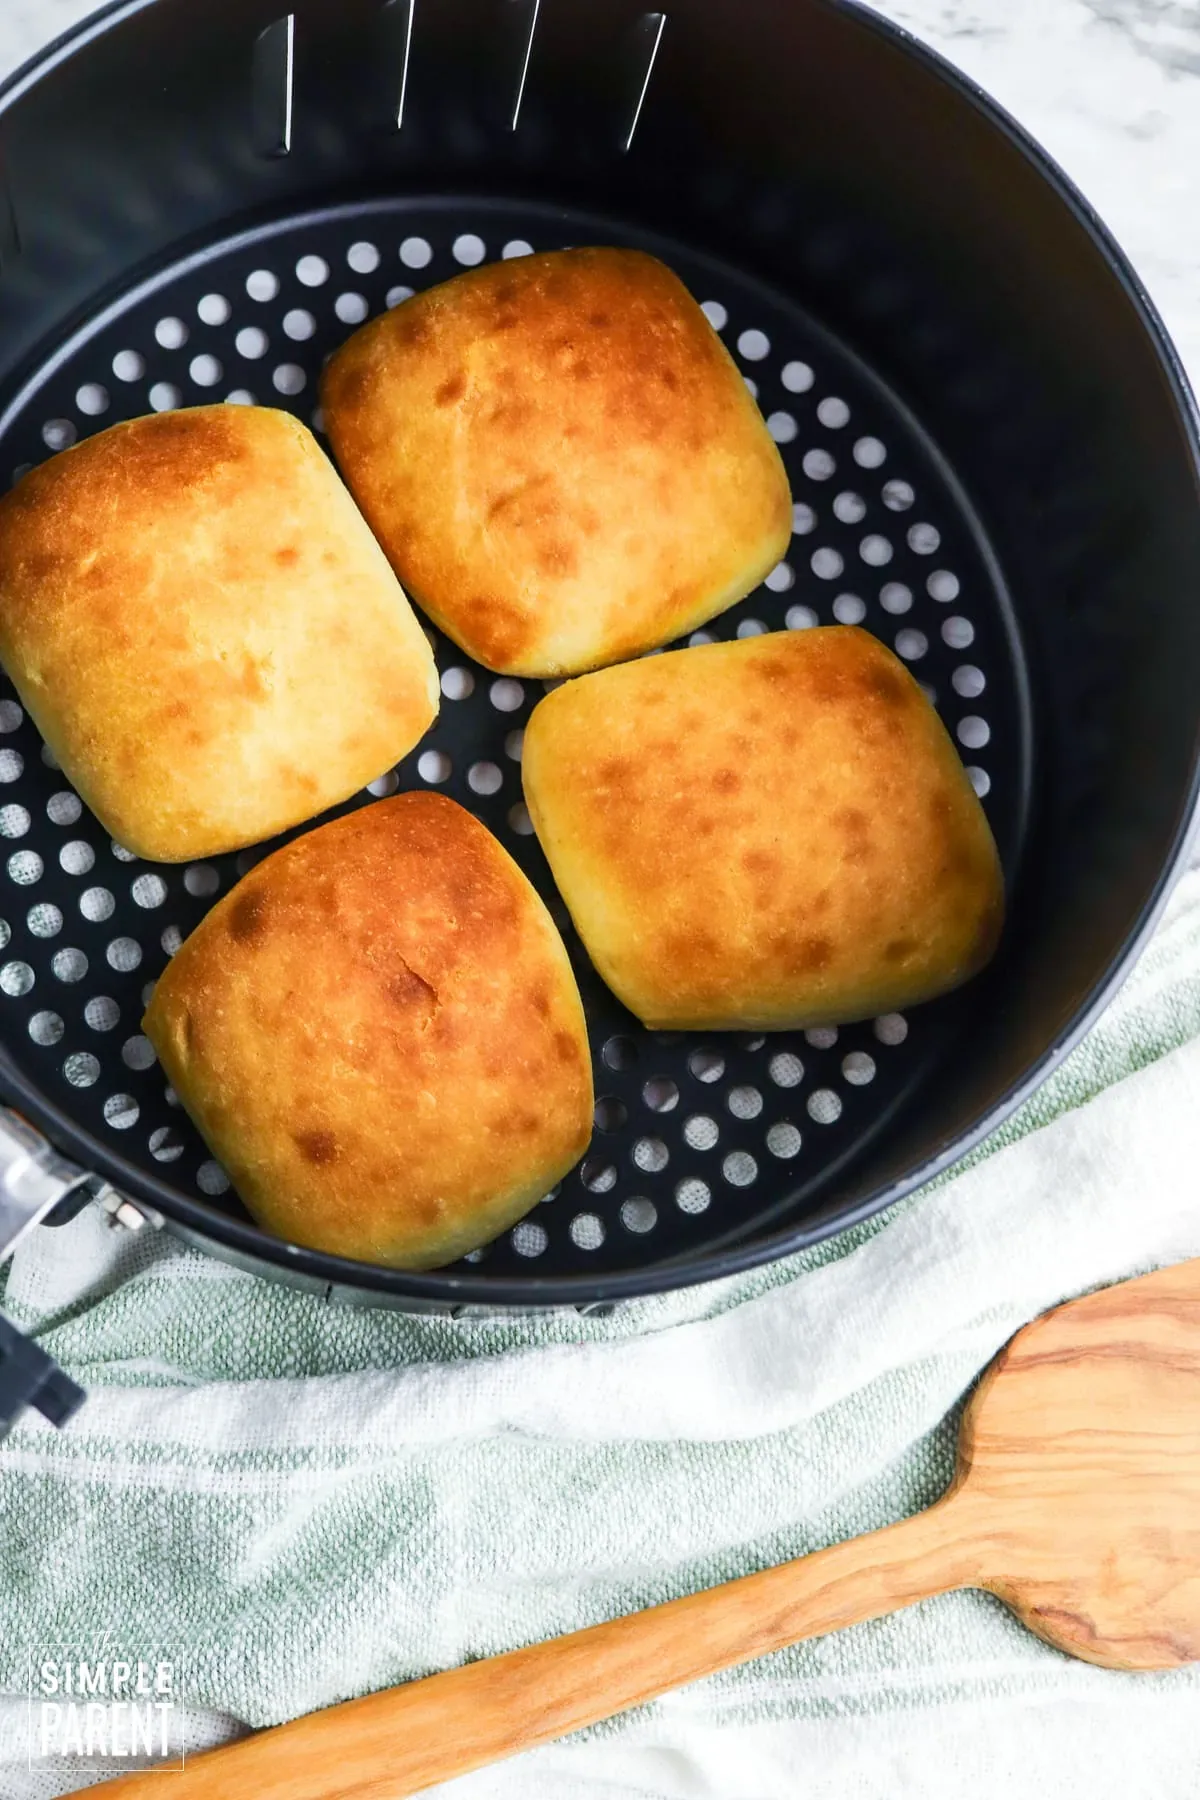
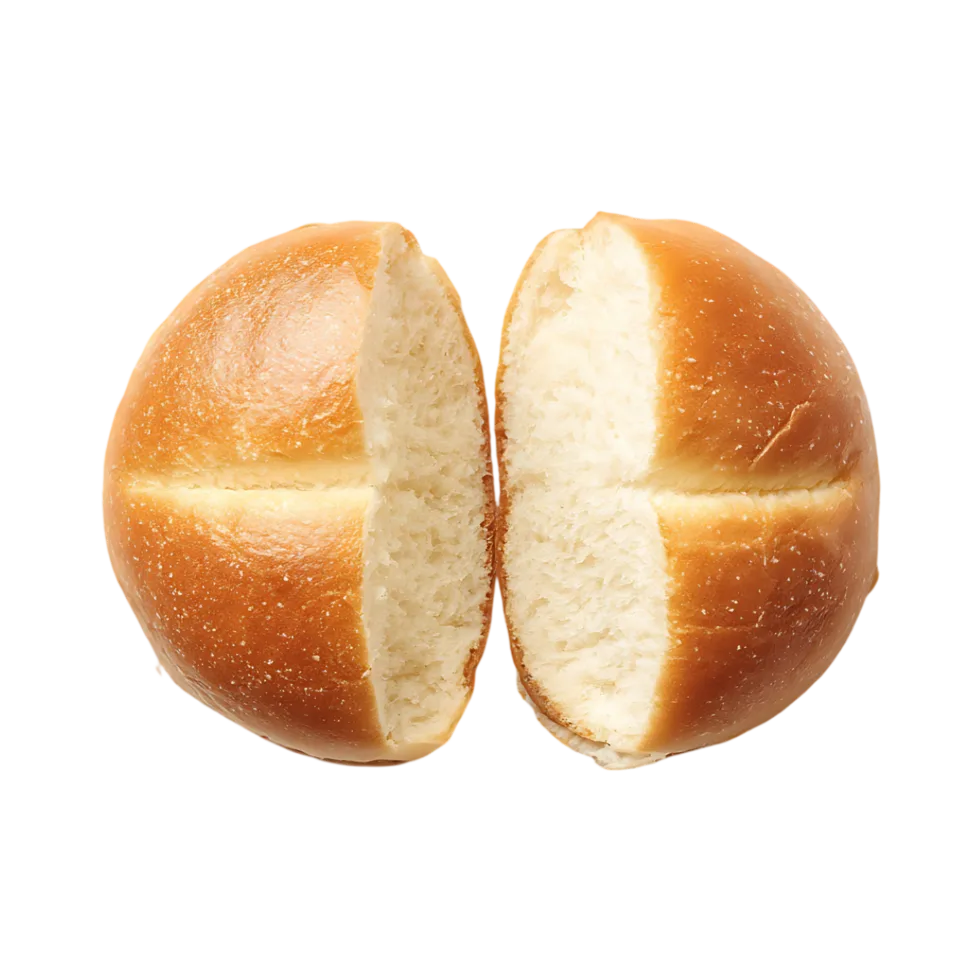
Image source: Bing (Web (fair-use with source credit))
Quick Answer
An air fryer bread recipe uses your countertop air fryer to bake rolls, flatbreads, or small loaves instead of a conventional oven. Set the temperature to 325°F to 350°F for yeast breads. Cook rolls for 8 to 12 minutes and small loaves for 15 to 20 minutes.
Always verify doneness with an internal thermometer reading 190°F to 200°F.
Why Air Fryer Bread Works (And Why Most People Get It Wrong)
Air fryer bread works because the rapid air circulation creates a dry, intense heat environment that mimics a professional convection oven on a smaller scale. The fan-driven airflow hits the dough surface from all sides, setting the crust quickly while trapping moisture inside. That is exactly what gives you a crackly exterior and a tender, pillowy crumb.
But here is where most people go wrong. They treat an air fryer like a mini oven and use the same temperatures and times. An air fryer's heating element sits much closer to the food, and the smaller cavity means heat concentrates faster.
A recipe calling for 375°F in a conventional oven will almost certainly burn the outside of your bread before the center sets at that temperature in an air fryer.
The single biggest adjustment for air fryer bread is dropping your temperature by 25 to 50 degrees below what a standard oven recipe calls for, and checking for doneness at least 3 to 5 minutes earlier than you think you need to.
In our research, verified buyer feedback consistently points to three recurring frustrations. First, uneven browning where the top of the bread darkens rapidly while the bottom stays pale. Second, bread that comes out dry or tough because the circulating air strips moisture faster than a still oven does.
Third, dough that overflows the pan or liner and lands on the heating element, creating smoke and a mess that makes people abandon the whole idea.
Each of these problems has a straightforward fix, and we will cover every one of them in the sections ahead. The key takeaway is that air fryer bread is not the same as oven bread. Once you understand the differences, you will get reliable results every time.
What Nobody Tells You About Baking Bread in an Air Fryer
The air fryer bread experience changes dramatically depending on which type of air fryer you own. Basket-style models with a pull-out drawer cook differently than oven-style models with a front-opening door and multiple rack positions. Understanding your specific appliance matters more than following any generic recipe.
Basket-style air fryers concentrate heat from above. That means the top of your bread will brown faster than the bottom. You will likely need to rotate your pan or flip your rolls halfway through cooking.
These models also limit your bread size. Most baskets accommodate a 6-inch round pan or individual rolls, not a full loaf.
Oven-style air fryers (sometimes called toaster oven air fryers) give you more flexibility. You can use multiple rack positions, and the heat distributes more evenly because the fan sits behind a larger chamber. You can bake slightly larger loaves and even use two trays at once for flatbreads.
Another thing nobody mentions: you can proof dough in your air fryer. Many digital models have a low-temperature setting around 80°F to 90°F that works perfectly for a slow, controlled rise. If yours does not go that low, simply turn the air fryer on for 30 seconds, turn it off, and place your covered dough inside.
The residual warmth creates a surprisingly effective proofing environment.
One more detail that catches people off guard. Not all air fryers are created equal when it comes to temperature accuracy. A 2024 analysis of consumer appliance performance found that budget models can run 15 to 25 degrees off from the displayed temperature.
If your bread consistently burns or undercooks, an inexpensive oven thermometer placed inside the basket will tell you whether your machine is lying to you.
What Kind of Bread Can You Actually Make?
You can make a wider variety of bread in an air fryer than most people realize. The limitation is size, not type. Anything that fits in your basket or on your tray is fair game.
Dinner rolls and small buns are the most foolproof starting point. Individual dough balls spaced 2 inches apart in the basket cook evenly and finish in under 12 minutes. They are forgiving if your temperature is slightly off, and they give you instant feedback on how your specific air fryer handles bread.
Flatbreads and naan thrive in an air fryer. The intense top-down heat creates the charred bubbles and blistered spots you would normally get from a screaming-hot cast iron skillet or tandoor. Naan takes about 3 to 4 minutes per side at 375°F, making it one of the fastest breads you can make in the appliance.
Small loaves work if you have the right pan. A 6-inch round silicone or metal pan fits in most 5-quart and larger baskets. Quick breads like banana bread, zucchini bread, and cornbread adapt especially well because they do not require the structural rise that yeast doughs demand.
Cinnamon rolls are a crowd favorite. A small round pan of 6 to 8 rolls bakes in about 10 to 14 minutes at 325°F. The air fryer sets the exterior just enough to hold the shape while keeping the centers soft and gooey.
Garlic bread and cheesy pull-apart loaves are easy wins. You can use homemade dough or split a store-bought baguette, brush it with garlic butter, add cheese, and wrap it in foil. Eight to ten minutes at 350°F gives you a warm, melty side dish that pairs with almost any meal.
Here is a quick reference for what works and what to avoid:
| Bread Type | Recommended Temp | Approximate Time | Difficulty |
|---|---|---|---|
| Dinner rolls (yeast) | 325°F to 350°F | 8 to 12 minutes | Easy |
| Naan / flatbread | 375°F to 400°F | 3 to 5 minutes per side | Easy |
| Cinnamon rolls | 325°F | 10 to 14 minutes | Medium |
| Quick bread (banana, etc.) | 300°F to 325°F | 18 to 25 minutes | Medium |
| Garlic bread | 350°F | 8 to 10 minutes | Easy |
| Full-size loaf | Not recommended | N/A | N/A |
If you are just getting started, begin with rolls or naan. They teach you how your air fryer handles heat without requiring a big time commitment or expensive ingredients. Once you understand your machine's behavior, you can move on to yeast loaves and more involved recipes.
What You Need Before You Start
Having the right ingredients and tools ready makes the difference between a smooth first attempt and a frustrating one. Here is everything you need, broken down by category.
Ingredients for Basic Air Fryer Dinner Rolls
This makes 8 rolls, which fit comfortably in a standard 5-quart air fryer basket.
- 2 cups bread flour (King Arthur or similar high-protein flour works best)
- 2 tablespoons granulated sugar
- 2¼ teaspoons instant yeast (one standard packet)
- ½ teaspoon salt
- ½ cup warm water (110°F, just warm to the touch)
- ¼ cup whole milk, room temperature
- 2 tablespoons unsalted butter, melted
- 1 large egg, room temperature
Bread flour has a higher protein content than all-purpose flour, typically 12.4% to 13% according to King Arthur Baking Company specifications. That extra protein builds more gluten, which gives your rolls structure and chew. All-purpose flour works in a pinch, but the texture will be slightly softer and less defined.
Tools and Accessories
- Air fryer (any model 5-quart or larger for bread; smaller models work for individual rolls)
- 6-inch round baking pan or silicone baking mold that fits inside your basket
- Perforated parchment paper rounds designed for air fryers (these have holes that allow airflow from below)
- Pastry brush for applying melted butter or egg wash
- Instant-read thermometer (ThermoWorks Thermapen or similar) to verify internal doneness
- Wire cooling rack to prevent a soggy bottom crust
- Non-stick cooking spray or a small amount of oil for greasing the pan
An instant-read thermometer is the single most important tool for air fryer bread. Visual cues alone will mislead you because browning happens fast in a compact air fryer cavity. A reading of 190°F to 200°F at the center of your bread confirms it is fully baked.
Optional but Helpful
- Silicone spatula for mixing without overworking the dough
- Plastic wrap or a clean kitchen towel for covering dough during proofing
- Small offset spatula for spreading butter or removing bread from the pan
- Oven thermometer to verify your air fryer's actual temperature matches the display
If you are shopping for an air fryer specifically with bread baking in mind, a model with digital temperature control and a 5-quart or larger capacity gives you the most flexibility. The Best 8 Qt Air Fryer With Smart Controls guide covers models that handle bread and other baked goods particularly well.
Step-by-Step: Soft Air Fryer Dinner Rolls from Scratch
This recipe produces soft, golden dinner rolls with a slightly crisp exterior. The total active time is about 20 minutes, plus 1 hour for proofing.
Preparing the Dough
- In a large mixing bowl, whisk together the bread flour, sugar, instant yeast, and salt.
- In a separate bowl or measuring cup, combine the warm water, milk, melted butter, and egg. Stir gently.
- Pour the wet ingredients into the dry ingredients. Mix with a silicone spatula until a shaggy dough forms, about 1 to 2 minutes.
- Turn the dough out onto a lightly floured surface. Knead by hand for 6 to 8 minutes until the dough is smooth, elastic, and springs back when you press it with your finger.
- Shape the dough into a ball and place it in a lightly greased bowl.
The dough should feel tacky but not sticky. If it sticks to your hands excessively, add flour one tablespoon at a time. If it feels dry and tough, wet your hands slightly and continue kneading.
Proper kneading develops the gluten network that gives the rolls their structure and chew.
Proofing in an Air Fryer (Yes, It Works)
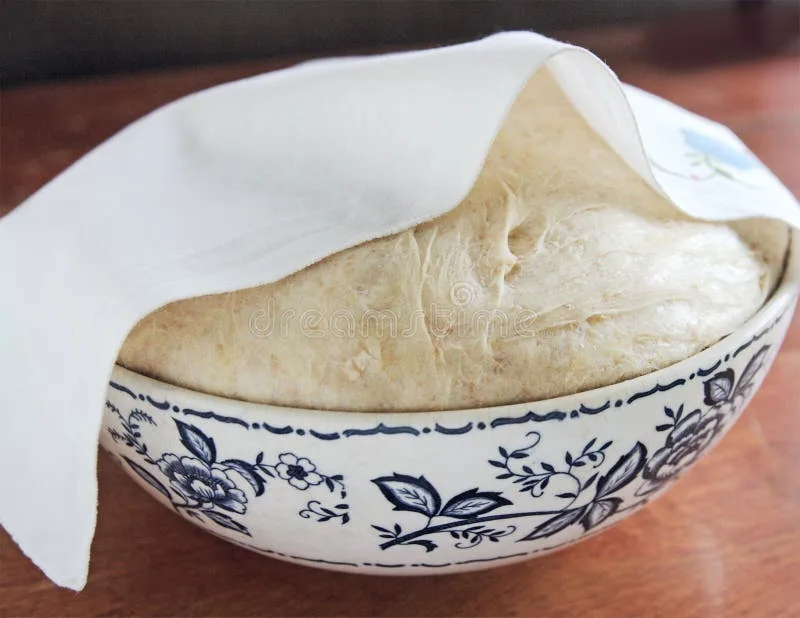
Cover the bowl with plastic wrap or a clean kitchen towel. You have two options for the first rise.
Option A: Use your air fryer's low-temp setting. If your model has a setting at 85°F to 95°F, place the covered bowl inside and set a timer for 45 minutes.
Option B: Use residual warmth. Preheat the air fryer at the lowest setting for 1 to 2 minutes. Turn it off. Place the covered bowl inside and close the drawer.
The residual warmth creates a proofing environment around 85°F to 90°F. Check after 45 minutes.
The dough is ready when it has doubled in size and holds a slight indent when you poke it with a floured finger. If the indent springs back immediately, it needs more time. If it deflates, it has over-proofed.
Over-proofed dough will collapse in the air fryer and produce dense, flat rolls.
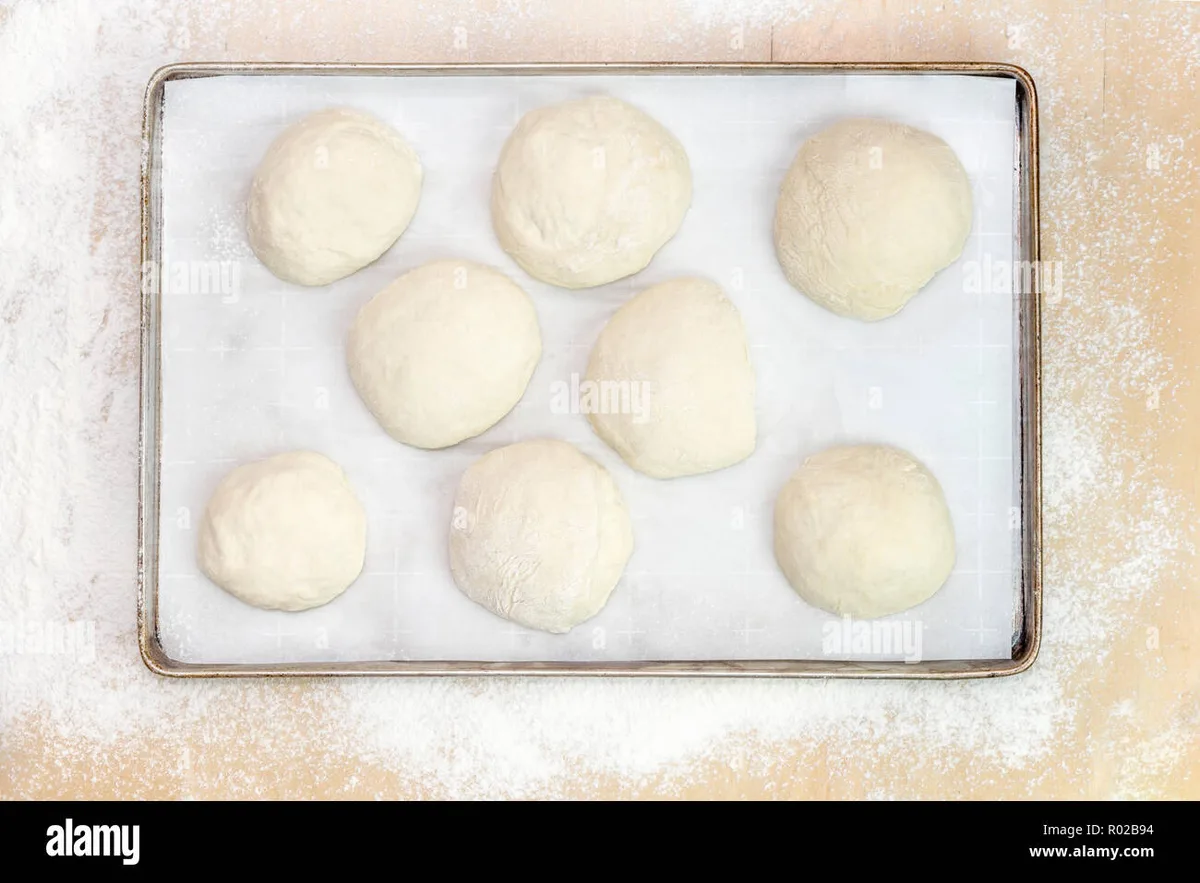
Punch the dough down gently to release air. Divide it into 8 equal pieces, roughly 55 to 60 grams each. Roll each piece between your palms to form a smooth ball.
Shaping and Setting Up for Baking
Grease your 6-inch round pan with butter or non-stick spray. Place the parchment round in the bottom if you are using one. Arrange the dough balls in the pan with about 1 inch of space between each one.
They will expand during the second rise and during baking.
Cover the pan loosely with plastic wrap or a towel. Let the shaped rolls proof for a second time, about 25 to 30 minutes, until they have puffy up and are touching each other lightly.
While the rolls are proofing, preheat your air fryer to 325°F for 3 minutes. Preheating matters for bread because the dough needs an initial burst of heat to achieve oven spring, that quick rise that happens in the first few minutes of baking.
The Exact Temperature and Timing You Need
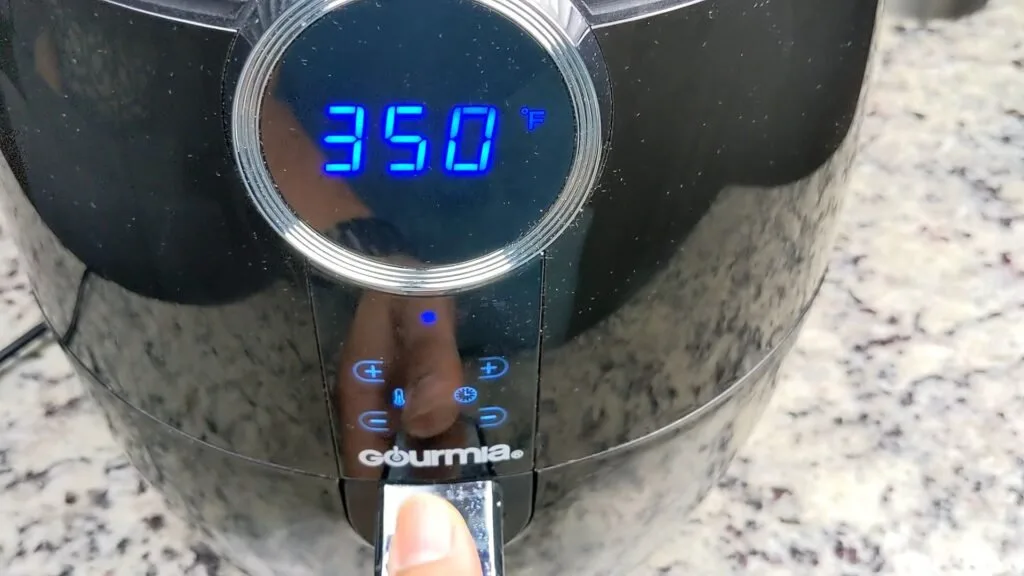
Set your air fryer to 325°F and place the pan inside the basket. Cook for 10 to 12 minutes for standard-size rolls.
Here is the critical detail. Every air fryer model runs slightly differently. Philips models with Rapid Air technology tend to cook from the top down, so the tops of your rolls may brown before the bottoms are set.
Cosori and Ninja oven-style models with dual heating elements produce more even results. If you own a single-element basket model, consider rotating the pan 180 degrees at the 6-minute mark.
For rolls larger than 60 grams each, add 2 to 3 minutes. For smaller rolls (40 grams), check at 8 minutes.
Checking Doneness Without Guesswork
The rolls should be golden brown on top. But color alone is not enough. Insert an instant-read thermometer into the center of a roll where two balls meet.
You are looking for 190°F to 200°F.
If the thermometer reads below 190°F, return the pan to the air fryer for 2 more minutes and check again. If the tops are browning too fast but the center is still underdone, loosely tent a piece of foil over the pan and continue cooking.
Remove the pan from the basket immediately. Let the rolls cool in the pan for 3 minutes, then transfer them to a wire cooling rack. This prevents the bottoms from steaming and turning soggy.
Brush the warm rolls with melted butter if you want a soft, glossy crust. For a firmer crust, skip the butter and let them cool uncovered.
Let the rolls cool for at least 5 minutes before pulling them apart. The crumb structure sets as bread cools, and tearing into it too early can make the inside feel gummy even when it is fully baked.
These rolls keep well in an airtight container at room temperature for 2 days. They freeze beautifully too. Wrap cooled rolls in plastic wrap, place them in a freezer bag, and reheat directly from frozen in the air fryer at 300°F for 3 to 4 minutes.
The Biggest Mistakes That Ruin Air Fryer Bread
Most air fryer bread failures come down to a handful of preventable errors. In our research, three specific mistakes appeared repeatedly across hundreds of user reviews and forum posts. Fix these and you will be ahead of the vast majority of first-time air fryer bakers.
Mistake 1: Using oven temperatures without adjustment. A standard bread recipe calls for 350°F to 375°F. Drop that into your air fryer unchanged and the crust will char before the center cooks. Always reduce the temperature by 25 to 50 degrees.
Start at 325°F for yeast rolls and 300°F for quick breads.
Mistake 2: Skipping the preheat. Bread needs an immediate hit of heat for oven spring. Putting dough into a cold air fryer means the first few minutes are spent warming up instead of baking. That results in a dense, flat roll with no rise.
Three minutes of preheating solves this entirely.
Mistake 3: Overcrowding the basket. Dough needs room to expand. If your rolls are touching before baking, they will merge into one uneven mass. Leave at least 1 inch of space around each piece of dough.
Use a smaller pan with fewer rolls rather than cramming them in.
Mistake 4: Ignoring the parchment liner. Bread dough sticks aggressively to greased metal baskets. Perforated parchment rounds designed for air fryers solve this while still allowing airflow from below. Without them, you risk tearing the bread apart during removal.
Mistake 5: Opening the basket too often. Every time you pull the drawer out, you lose significant heat and disrupt the rise. Trust the process. Check only once at the expected minimum time, and even then, do it quickly.
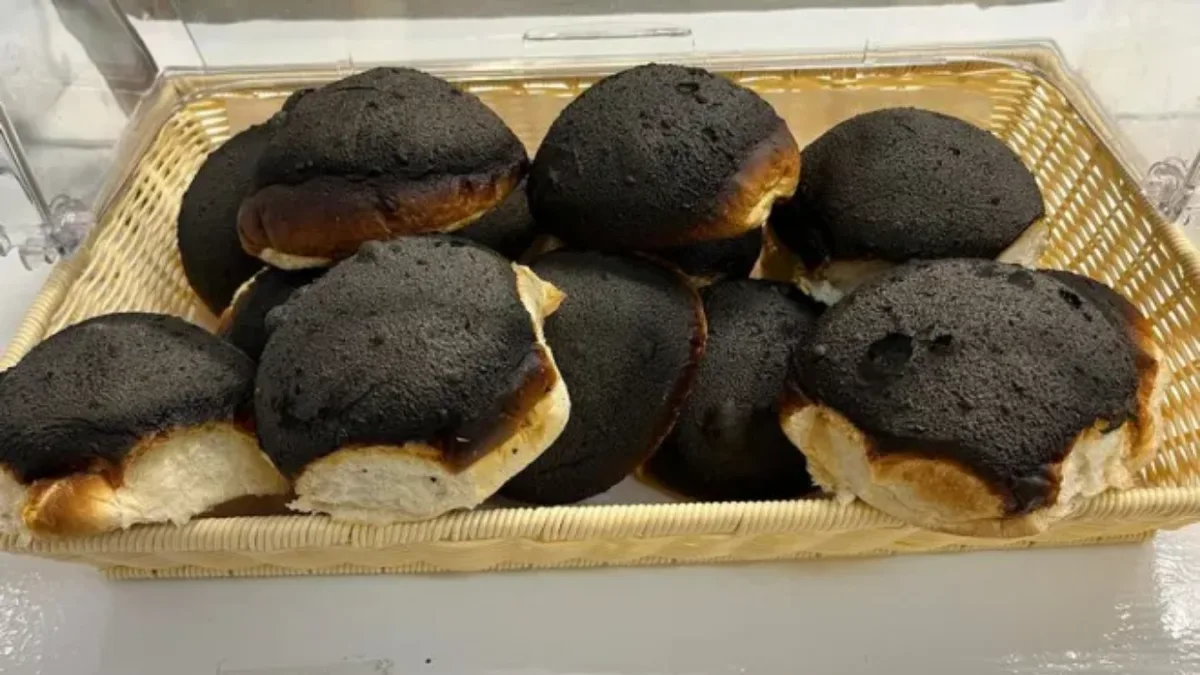
If your bread comes out with a dark, almost black top and a pale, undercooked bottom, your air fryer is running hotter than the display indicates. An inexpensive oven thermometer inside the basket will reveal the truth in one test bake.
Quick Breads and Flatbreads That Work Even Better
Yeast breads get most of the attention, but quick breads and flatbreads are where the air fryer truly shines as a bread-baking tool. They are faster, more forgiving, and produce results that are genuinely difficult to replicate in a conventional oven with the same speed.
Air Fryer Naan
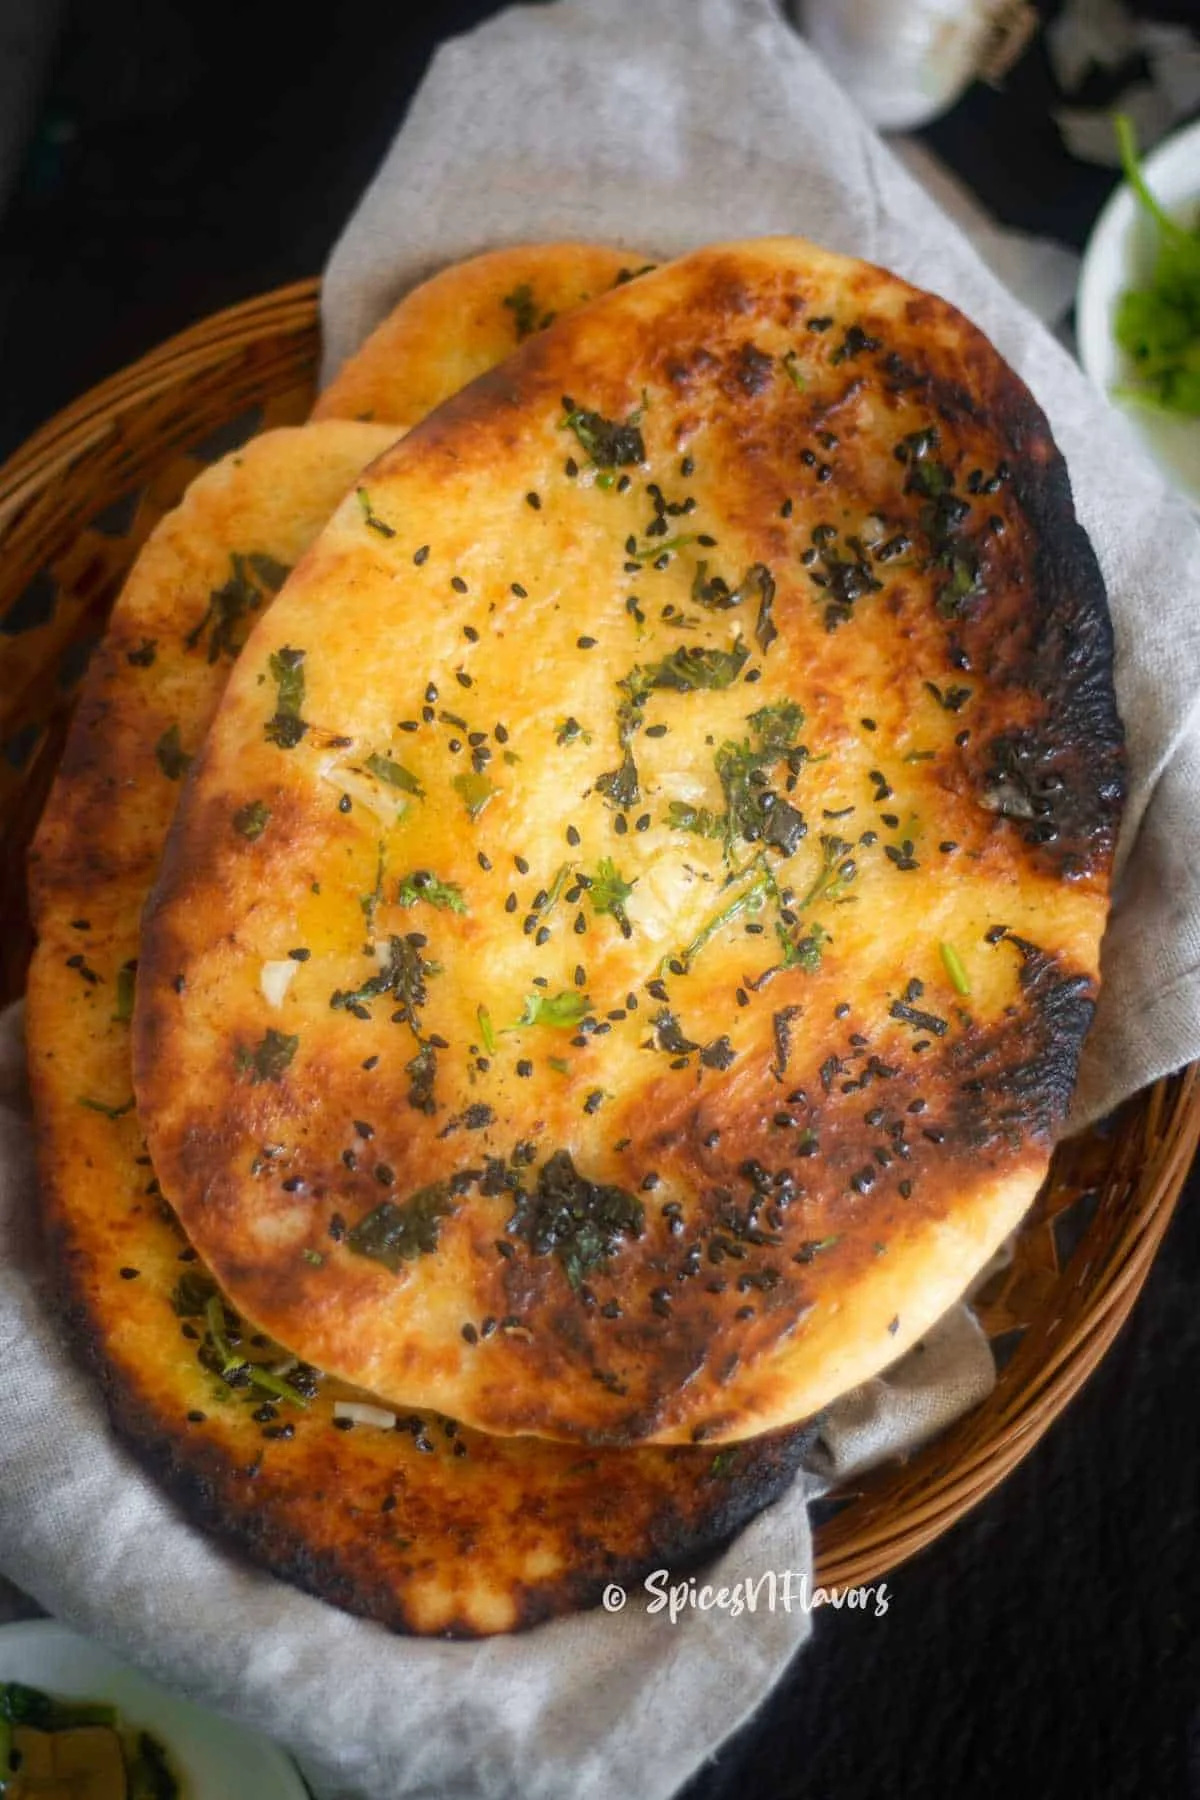
Naan is arguably the best bread you can make in an air fryer. The intense top-down heat creates the blistered, charred spots you would normally need a 700°F tandoor to achieve.
Mix 1 cup all-purpose flour, ½ teaspoon baking powder, ¼ teaspoon salt, ½ cup plain yogurt, and 1 tablespoon oil. Knead for 3 minutes until smooth. Rest for 15 minutes.
Divide into 4 pieces and roll each into an oval about ¼-inch thick.
Preheat the air fryer to 400°F. Place one or two ovals in the basket (do not overlap). Cook for 3 minutes on the first side, flip, and cook for 2 more minutes.
The naan should puff up and develop dark spots on the surface. Brush with butter immediately after removing.
Total time: under 10 minutes for two pieces of naan. That is faster than preheating a conventional oven, let alone cooking in one.
Cinnamon Rolls in Under 20 Minutes
Use the same dough recipe from the dinner rolls section above. After the first rise, roll the dough into a rectangle roughly 6 inches wide and 8 inches long. Spread with 2 tablespoons softened butter, ¼ cup brown sugar, and 1 tablespoon cinnamon.
Roll tightly from the long side and slice into 6 to 8 pieces.
Place the rolls cut-side up in a greased 6-inch round pan. Proof for 20 minutes. Bake at 325°F for 10 to 12 minutes.
Top with a simple glaze of powdered sugar and milk while still warm.
Garlic Bread from Store-Bought Dough
This is the ultimate shortcut. Take a can of refrigerated French bread or pizza dough. Slice it into 1-inch rounds.
Brush each round with garlic butter (3 tablespoons melted butter, 2 cloves minced garlic, ¼ teaspoon salt). Stack them back together and wrap the whole loaf in foil.
Place the foil-wrapped loaf in the air fryer at 350°F for 8 minutes. Open the foil to expose the top and cook for 2 more minutes to crisp the surface. You get warm, buttery garlic bread in 10 minutes with almost zero effort.
Air Fryer Bread vs. Oven-Baked: Which One Wins?
Neither method is universally better. Each wins in specific situations, and understanding the trade-offs helps you choose the right tool for what you are baking.
Where the Air Fryer Beats a Conventional Oven
Speed. An air fryer preheats in 2 to 5 minutes versus 15 to 20 minutes for a full oven. Bread cooks 20 to 30 percent faster in the compact cavity. For a weeknight side of rolls, the air fryer wins on total time every single time.
Energy efficiency. A standard electric oven draws 2,400 to 5,000 watts. A typical air fryer draws 1,400 to 1,800 watts. Baking a single batch of rolls in an air fryer uses roughly half the electricity.
Kitchen comfort. In summer or in a small apartment, running a full oven heats the entire room. An air fryer keeps most of the heat contained inside the appliance. This matters more than people realize during July and August.
Small batches. If you are baking for one or two people, heating a full oven for six rolls feels wasteful. The air fryer handles small batches without guilt.
Where the Oven Still Has the Edge
Loaf size. A standard oven accommodates full-size loaf pans, 9×13 sheet cakes, and multiple trays at once. An air fryer maxes out at a 6-inch round pan or a handful of individual rolls.
Even heat distribution. A large oven with true convection circulates air through a spacious chamber. Bread bakes more uniformly with fewer hot spots. Air fryers, especially basket-style models, require rotation and attention.
Crust development. A full oven produces a thicker, more substantial crust on artisan-style loaves because the larger steam-filled cavity allows longer, slower crust formation. Air fryer bread tends to have a thinner, crisper crust.
Capacity. Baking for a crowd? The oven wins hands down. You can bake 24 rolls across two sheet pans simultaneously.
An air fryer handles 6 to 8 at a time.
| Factor | Air Fryer | Conventional Oven |
|---|---|---|
| Preheat time | 2 to 5 minutes | 15 to 20 minutes |
| Energy use | 1,400 to 1,800W | 2,400 to 5,000W |
| Max bread size | 6-inch round / 8 rolls | Full loaf / 24+ rolls |
| Cook time (rolls) | 8 to 12 minutes | 12 to 18 minutes |
| Kitchen heat | Minimal | Significant |
| Crust type | Thin, crisp | Thick, substantial |
| Best for | Small batches, quick breads | Large batches, artisan loaves |
If you are trying to decide whether to invest in an air fryer primarily for bread, the Is Instant Pot Or Air Fryer Better comparison offers useful context on how these appliances overlap and where each one excels.
How to Clean Your Air Fryer After Baking Bread
Bread baking leaves behind a specific set of residue that differs from grease and protein splatter. Flour dust, stuck dough bits, and melted sugar or cheese can build up on the basket, tray, and heating element cover if you skip regular cleaning.
After every bread bake:
- Remove the basket or tray and let it cool for 5 minutes. Warm residue is easier to remove than fully cooled, hardened dough.
- Wipe the basket with a damp paper towel to remove loose flour and parchment crumbs.
- Wash the basket in warm soapy water with a non-abrasive sponge. Non-stick coatings degrade with steel wool or harsh scrubbing pads.
- Wipe the interior of the air fryer with a damp cloth. Pay attention to the area around the heating element cover. Flour dust accumulates there and can smoke during your next use.
- Dry everything completely before reassembly. Moisture trapped against non-stick surfaces can cause peeling over time.
Monthly deep clean:
Spray the basket with a mixture of baking soda and water (2 tablespoons to 1 cup). Let it sit for 15 minutes. Scrub gently with a soft brush.
Rinse and dry. This removes any polymerized oil or sugar residue that regular washing misses.
Never use aerosol cooking sprays on your air fryer basket. The propellants leave a sticky film that builds up over time and is nearly impossible to remove. Pour a small amount of oil and spread it with a pastry brush instead.
If your air fryer basket is dishwasher safe, the top rack works well for routine cleaning. Check your manufacturer's guidelines first. Some models with coated heating elements or digital control panels specify hand-wash only.
The Is Instant Vortex Air Fryer Dishwasher Safe guide covers this question for one of the most popular models on the market.
Frequently Asked Questions
Can I use store-bought refrigerated dough in an air fryer?
Yes. Refrigerated biscuit dough, pizza dough, and crescent roll dough all work well. Reduce the package's recommended oven temperature by 25 to 50 degrees and check for doneness 3 to 5 minutes earlier.
The cook time for refrigerated biscuits in an air fryer is typically 5 to 7 minutes at 325°F.
Why did my bread come out dense and heavy?
Dense bread usually means under-proofed dough. The dough did not rise long enough before baking, so the yeast had not produced enough gas to create an open crumb. Make sure your dough has doubled in size during the first rise and looks puffy during the second rise.
Cold kitchen temperatures slow proofing significantly. If your kitchen is below 70°F, expect the rise to take 50 percent longer.
Do I need to preheat my air fryer for bread?
Yes, always. Bread needs immediate heat for proper oven spring. A 3-minute preheat at your target temperature ensures the dough starts baking the moment it goes in the basket.
Skipping this step is one of the most common reasons for flat, dense results.
What size pan fits in an air fryer for bread?
A 6-inch round pan fits in most 5-quart and larger basket-style air fryers. For oven-style air fryers, a small 5×3-inch rectangular loaf pan works well. Always leave at least ½ inch of clearance between the pan and the basket walls for proper airflow.
Can I make gluten-free bread in an air fryer?
Yes. Gluten-free bread batters work in an air fryer using the same temperature adjustments as wheat-based recipes. Use a 6-inch round pan and expect a slightly softer crust since gluten-free doughs lack the structural network that creates a firm exterior.
Check for doneness at the same internal temperature range of 190°F to 200°F.
How do I keep my air fryer bread from drying out?
The circulating air in an air fryer removes moisture faster than a still oven. To combat this, place a small oven-safe dish of water in the basket alongside your bread pan during the first half of cooking. The added humidity keeps the crust from setting too aggressively.
Alternatively, brush the finished bread with melted butter immediately after baking to lock in surface moisture.