Unlock perfectly juicy and crispy bone-in chicken thighs with your air fryer! This comprehensive guide walks you through every step, from selecting the best thighs to achieving a golden-brown, delicious finish. You’ll learn essential seasoning techniques and cooking times to ensure tender, flavorful results every single time.
- Bone-in chicken thighs are ideal for air frying because the bone helps retain moisture, resulting in exceptionally juicy meat.
- Properly seasoning your chicken thighs is crucial for developing delicious flavor and a crispy skin.
- Preheating your air fryer ensures even cooking and helps achieve that coveted crispy texture from the start.
- Cooking time and temperature are key; aim for an internal temperature of 165°F (74°C) for safe and perfectly cooked chicken.
- Don’t overcrowd the air fryer basket to allow for optimal air circulation, which is essential for crispiness.
- Resting the chicken thighs after cooking allows the juices to redistribute, ensuring maximum tenderness and flavor.
[FEATURED_IMAGE_PLACEHOLDER]
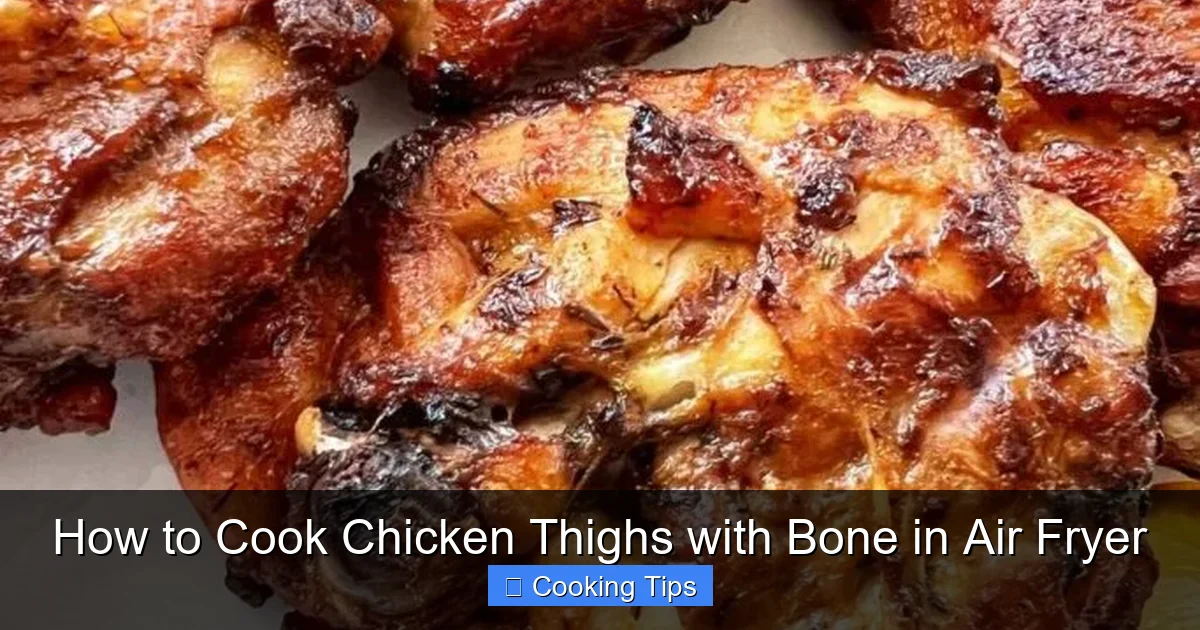
How to Cook Chicken Thighs with Bone in Air Fryer
Welcome to the ultimate guide on making incredibly delicious, juicy, and crispy bone-in chicken thighs using your air fryer! If you’ve ever dreamt of perfectly cooked chicken that boasts tender meat and a delightful crunch, you’re in the right place. Many people think air fryers are just for fries or frozen snacks, but they are absolute powerhouses for cooking all sorts of proteins. And when it comes to chicken thighs with the bone in, the air fryer truly shines.
This guide will take you through everything you need to know, from selecting the best chicken thighs to mastering the cooking process. We’ll cover essential seasoning ideas, the perfect cooking temperatures and times, and share some pro tips to elevate your chicken game. Get ready to impress yourself and your family with restaurant-quality chicken thighs made right in your kitchen.
Let’s dive in and discover how easy it is to achieve culinary perfection with your air fryer!
Why Bone-In Chicken Thighs Are Amazing in the Air Fryer

Visual guide about How to Cook Chicken Thighs with Bone in Air Fryer
Image source: easylowcarb.com
Before we get started, let’s talk about why bone-in chicken thighs are a fantastic choice for air frying. Unlike boneless, skinless chicken breasts, bone-in thighs have a natural advantage. The bone acts as an insulator, protecting the meat from drying out too quickly during the cooking process. This means you’re much more likely to end up with incredibly moist and flavorful chicken. Plus, the skin on bone-in thighs crisps up beautifully in the air fryer, giving you that irresistible texture everyone loves. If you’re curious about other bone-in options, our guide on how to cook bone-in chicken breast in an air fryer can offer some insights.
Step 1: Selecting Your Chicken Thighs

Visual guide about How to Cook Chicken Thighs with Bone in Air Fryer
Image source: foodbanjo.com
The foundation of any great dish is quality ingredients. For this recipe, you’ll want to choose fresh, high-quality bone-in chicken thighs.
Choosing the Thighs
- Look for fresh, plump thighs: They should have a firm texture and a pinkish color. Avoid any that look discolored or have a strong odor.
- Skin on is a must: The skin is what will get wonderfully crispy in the air fryer.
- Bone in: As we’ve discussed, the bone is key for moisture and flavor.
- Size matters: Try to select thighs that are roughly the same size. This will help them cook more evenly. If you have some larger and some smaller, you might need to adjust cooking times slightly.
Quantity
A typical air fryer basket can usually fit about 4-6 bone-in chicken thighs without overcrowding. If you’re cooking for more people, you’ll likely need to cook in batches.
Step 2: Prepping and Seasoning Your Chicken Thighs
Visual guide about How to Cook Chicken Thighs with Bone in Air Fryer
Image source: i.pinimg.com
This is where you get to infuse your chicken with flavor! Don’t skip this step – it makes a huge difference.
Drying the Thighs
This is a critical step for achieving crispy skin.
- Pat them dry thoroughly: Use paper towels to pat every surface of the chicken thighs completely dry. Moisture is the enemy of crispiness! Get into all the nooks and crannies.
Seasoning Your Thighs
You can go simple or get fancy with your seasonings. Here are some classic and popular options:
Simple & Delicious (Salt and Pepper)
This is a fantastic starting point, especially if you want to taste the natural flavor of the chicken.
- Ingredients: Salt, freshly ground black pepper.
- Method: Generously season both sides of the chicken thighs with salt and pepper.
Herbs and Spices Blend
This is where you can really play. A good all-purpose blend works wonders.
- Ingredients:
- 1 tablespoon paprika (smoked paprika adds a lovely depth)
- 1 teaspoon garlic powder
- 1 teaspoon onion powder
- 1 teaspoon dried oregano
- 1/2 teaspoon dried thyme
- 1/2 teaspoon salt
- 1/4 teaspoon black pepper
- (Optional: a pinch of cayenne pepper for a little heat)
- Method: Mix all the dry ingredients together in a small bowl. Rub the spice blend all over the chicken thighs, making sure to coat them evenly.
Lemon Herb
Fresh and vibrant, this is perfect for a lighter flavor profile.
- Ingredients:
- 1 tablespoon olive oil
- 1 tablespoon chopped fresh rosemary
- 1 tablespoon chopped fresh thyme
- 1 clove garlic, minced
- Zest of 1/2 lemon
- Salt and pepper to taste
- Method: In a bowl, combine the olive oil, fresh herbs, minced garlic, and lemon zest. Mix well. Place the dried chicken thighs in the bowl and toss to coat them evenly with the herb mixture. Season with salt and pepper.
BBQ Rub
For a smoky, sweet, and savory kick.
- Ingredients:
- 2 tablespoons brown sugar
- 1 tablespoon paprika
- 1 teaspoon chili powder
- 1 teaspoon garlic powder
- 1 teaspoon onion powder
- 1/2 teaspoon salt
- 1/2 teaspoon black pepper
- 1/4 teaspoon cayenne pepper (optional)
- Method: Combine all rub ingredients in a bowl. Generously apply the rub to all sides of the chicken thighs.
Marinating (Optional but Recommended)
For an extra layer of flavor and tenderness, consider marinating your chicken.
- How long? Marinate for at least 30 minutes at room temperature, or up to 4 hours (or overnight) in the refrigerator.
- What to marinate in? You can use any of the seasoning blends above mixed with a liquid like olive oil, yogurt, or even a bit of soy sauce.
- Important Note: If you marinate, make sure to pat the chicken dry *after* removing it from the marinade before seasoning if you are adding a dry rub on top, or proceed directly to air frying if your marinade is oil-based and intended to stay on.
Step 3: Preheating Your Air Fryer
Preheating is a crucial step for achieving the best results with your air fryer. It ensures that the hot air is circulating at the correct temperature from the moment the food goes in.
How to Preheat
- Set your air fryer to the desired temperature (usually 375°F or 190°C for chicken thighs).
- Let it run for about 3-5 minutes.
- Some air fryers have a preheat setting, while others you just set the temperature and time.
Step 4: Arranging the Chicken in the Air Fryer Basket
Proper arrangement is key for even cooking and crispy skin.
Don’t Overcrowd
- Single Layer: Place the chicken thighs in a single layer in the air fryer basket.
- Space Between Thighs: Ensure there is some space between each thigh. This allows the hot air to circulate freely around each piece, which is essential for crisping the skin and cooking evenly.
- Cooking in Batches: If you have more chicken thighs than can fit comfortably in a single layer with space, cook them in batches. It’s better to cook two batches than to have one poorly cooked batch.
Step 5: Cooking Time and Temperature
This is the core of the process. The exact time can vary slightly depending on your air fryer model and the size of the chicken thighs, but this is a great starting point.
Recommended Settings
- Temperature: 375°F (190°C)
- Initial Cook Time: 20-25 minutes
Flipping and Checking
- Halfway Point: After about 10-12 minutes, carefully open the air fryer basket and flip each chicken thigh. This ensures that both sides get equally browned and crispy.
- Check for Doneness: The chicken is cooked when it reaches an internal temperature of 165°F (74°C) in the thickest part, avoiding the bone. A meat thermometer is your best friend here!
- Crispy Skin Check: Look for that beautiful golden-brown, crispy skin. If it’s not as crispy as you’d like, you can increase the temperature slightly (e.g., to 400°F/200°C) for the last 2-3 minutes, watching carefully to prevent burning.
Adjusting for Thigh Size
- Smaller Thighs: May cook a bit faster, closer to 20 minutes total.
- Larger Thighs: May take closer to 25-30 minutes total.
Always err on the side of caution and use a thermometer. Overcooking is the enemy of juicy chicken!
Step 6: Resting the Chicken
Just like with a roasted whole chicken or a steak, resting your air-fried chicken thighs is a crucial step that many home cooks overlook.
Why Rest?
- When chicken cooks, the muscle fibers contract, pushing the juices towards the center. If you cut into it immediately, these juices will run out onto your plate, leaving the chicken drier.
- Resting allows the muscle fibers to relax, and the juices to redistribute throughout the meat.
How to Rest
- Once the chicken thighs are cooked and reach the correct internal temperature, carefully remove them from the air fryer basket.
- Place them on a clean plate or cutting board.
- Tent them loosely with aluminum foil.
- Let them rest for 5-10 minutes before serving.
This simple step makes a noticeable difference in the juiciness and overall texture of your chicken.
Troubleshooting Common Issues
Even with the best instructions, sometimes things don’t go perfectly. Here are a few common problems and how to fix them.
Problem: Skin is not crispy enough
- Cause: Chicken was not dried thoroughly, air fryer was not preheated, or basket was overcrowded.
- Solution: Ensure chicken is bone dry before seasoning. Always preheat your air fryer. Cook in a single layer with space between pieces. If the skin is still not crispy enough after the initial cook time, you can increase the temperature to 400°F (200°C) for the last 2-3 minutes, watching very closely.
Problem: Chicken is dry
- Cause: Overcooked, or the wrong cut of chicken was used.
- Solution: Use a meat thermometer to check for an internal temperature of 165°F (74°C). Do not cook beyond that. Bone-in thighs are naturally more forgiving than boneless, but overcooking is still possible. Ensure you are not cooking for too long.
Problem: Uneven cooking
- Cause: Thighs are different sizes, or the basket was overcrowded.
- Solution: Try to select thighs of similar size. Ensure there is adequate space between each thigh for air circulation. Flipping halfway through is also essential.
Problem: Chicken is sticking to the basket
- Cause: Not enough oil used, or the basket surface is worn.
- Solution: Lightly coat the chicken with oil before air frying. You can also lightly spray your air fryer basket with non-stick cooking spray before adding the chicken.
Serving Suggestions
Your perfectly cooked air fryer chicken thighs are ready! They are incredibly versatile and pair well with a wide variety of side dishes.
Ideas for Sides
- Classic Comfort: Mashed potatoes, roasted vegetables (like broccoli, Brussels sprouts, or carrots), mac and cheese.
- Lighter Options: A fresh green salad, quinoa, or a vibrant coleslaw.
- BBQ Night: Corn on the cob, baked beans, and potato salad.
- International Flavors: Serve with rice and a stir-fried vegetable medley, or alongside a simple pasta dish.
Conclusion
You’ve done it! You’ve mastered the art of cooking bone-in chicken thighs in your air fryer. By following these simple steps, you can consistently achieve wonderfully juicy meat with irresistibly crispy skin. Remember the key steps: selecting good quality thighs, drying them well, seasoning generously, preheating your air fryer, not overcrowding the basket, cooking to the correct internal temperature, and letting them rest.
The air fryer is a game-changer for busy weeknights and weekend meals alike. It’s faster, often healthier, and delivers incredible results with minimal fuss. So, go forth and enjoy your delicious, homemade air fryer chicken thighs!
If you enjoyed this, you might also find our guide on how to cook boneless chicken wings in an air fryer interesting, as it explores another popular chicken preparation method.