Discover how to achieve wonderfully crispy and juicy chicken tenders with minimal effort using your air fryer. This comprehensive guide breaks down the simple steps, from preparation to achieving the perfect golden-brown finish, making it an ideal recipe for busy weeknights or a crowd-pleasing snack. You’ll learn all the tips and tricks for delicious, healthy chicken tenders every time.
How to Cook Chicken Tenders in a Air Fryer
Welcome to your ultimate guide on how to cook chicken tenders in an air fryer! If you’re looking for a way to get that satisfying crispy crunch without all the fuss and mess of deep frying, you’ve come to the right place. Air fryers are culinary superheroes, and chicken tenders are one of their most famous feats. In this guide, we’ll walk you through every step, from selecting your chicken to serving up perfectly golden, juicy tenders. Get ready to transform your weeknight dinners and snack times with this simple and delicious method.
Key Takeaways
- Effortless Preparation: Simple breading techniques ensure a crispy coating on your chicken tenders.
- Optimal Cooking: Learn the ideal temperature and time for perfectly cooked, tender chicken.
- Crispy Texture: Key steps like preheating and not overcrowding the basket are crucial for crunch.
- Versatile Serving: Enjoy your air-fried chicken tenders with various dipping sauces.
- Healthier Option: Air frying uses less oil than traditional frying, making it a healthier choice.
- Troubleshooting Tips: Solutions for common issues like undercooked or soggy tenders are provided.
Why Use an Air Fryer for Chicken Tenders?
Before we dive into the “how,” let’s talk about the “why.” Traditional deep-fried chicken tenders are delicious, but they often involve a lot of oil, can be messy to make at home, and aren’t the healthiest option. An air fryer, on the other hand, circulates hot air around your food, mimicking the results of deep frying with a fraction of the oil. This means you get that irresistible crispy exterior and tender, juicy interior with significantly less fat. It’s a win-win for your taste buds and your health! Plus, it’s incredibly fast and easy, making it perfect for busy individuals or families. If you’ve had success with other air fryer recipes, like learning how to cook a crab cake in the air fryer, you’ll find this just as straightforward.
What You’ll Need
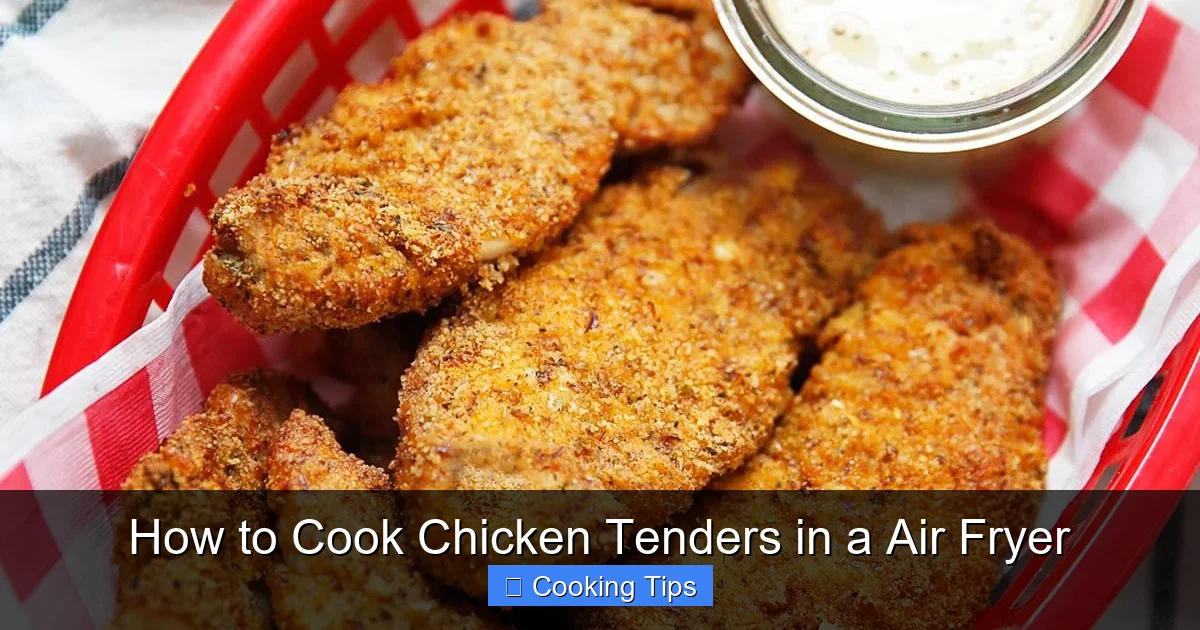
Visual guide about How to Cook Chicken Tenders in a Air Fryer
Image source: lexiscleankitchen.com
Gathering your ingredients and equipment is the first step to success.
Ingredients:
- 1 to 1.5 pounds boneless, skinless chicken tenderloins (or chicken breast cut into strips)
- 1/2 cup all-purpose flour
- 1 teaspoon salt
- 1/2 teaspoon black pepper
- 1 teaspoon paprika (optional, for color and flavor)
- 1/2 teaspoon garlic powder
- 2 large eggs
- 1 tablespoon milk or water
- 1 cup panko breadcrumbs (or regular breadcrumbs)
- Cooking spray or a little oil for brushing
Equipment:
- Air fryer
- Two shallow bowls or plates (for breading)
- Tongs
- Wire rack (optional, for resting cooked tenders)
- Meat thermometer (highly recommended)
Step-by-Step Guide to Crispy Air Fryer Chicken Tenders
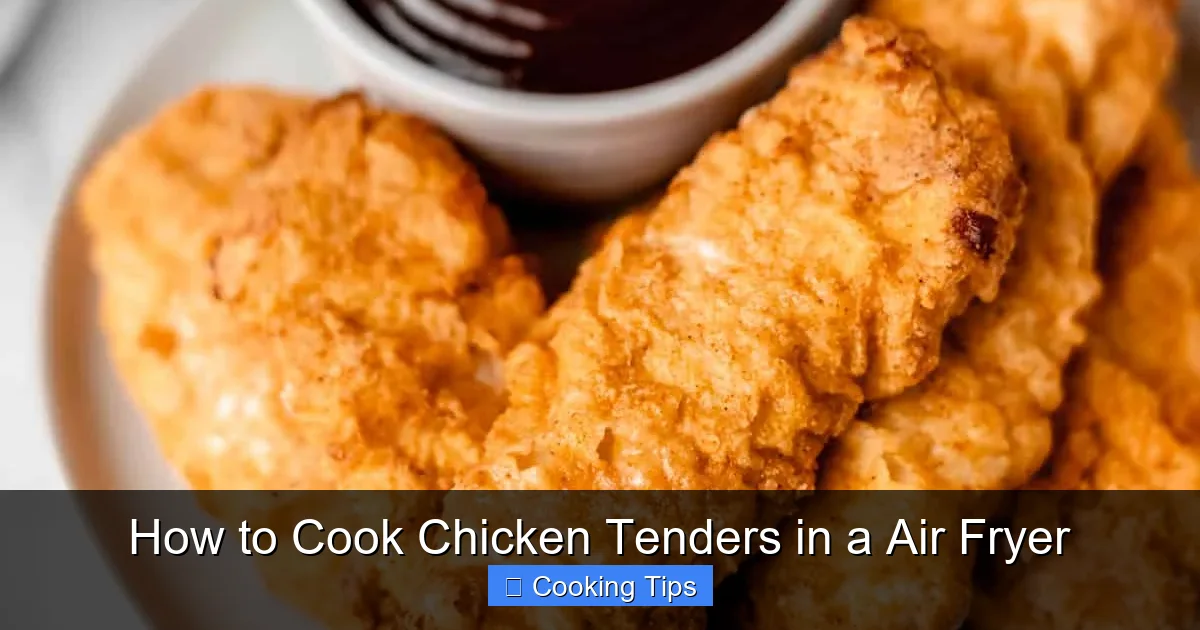
Visual guide about How to Cook Chicken Tenders in a Air Fryer
Image source: deliciouslittlebites.com
Let’s get cooking! Follow these simple steps for perfectly air-fried chicken tenders.
Step 1: Prepare the Chicken
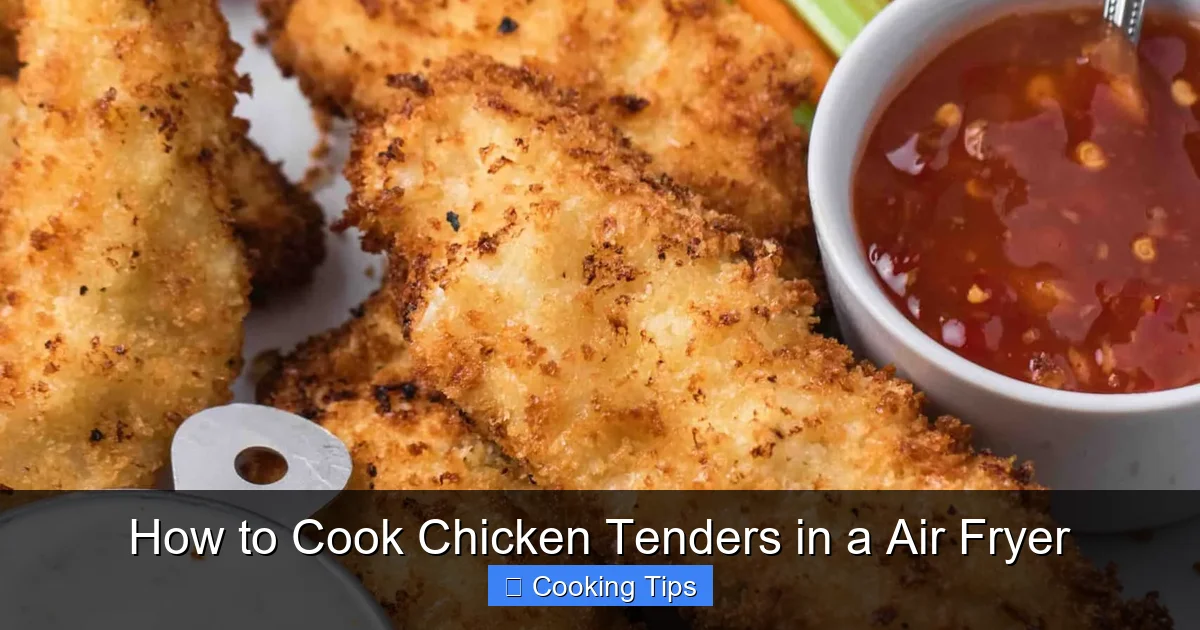
Visual guide about How to Cook Chicken Tenders in a Air Fryer
Image source: lifestyleofafoodie.com
The first step is to get your chicken ready for breading.
Trim and Cut the Chicken:
If you’re using chicken tenderloins, they’re usually ready to go. If you’re using chicken breasts, trim off any excess fat or silver skin. Then, cut the chicken breasts into uniform strips, about 1/2 inch to 3/4 inch thick. Uniformity is key to ensure even cooking.
Pat the Chicken Dry:
This is a crucial step for achieving a crispy coating. Use paper towels to thoroughly pat each chicken tender dry. Moisture is the enemy of crispiness!
Step 2: Set Up Your Breading Stations
We’ll create a three-step breading process for maximum crispiness and adherence.
Station 1: Flour Mixture:
In the first shallow bowl or plate, whisk together the flour, salt, pepper, paprika (if using), and garlic powder. This seasoned flour will be the base layer.
Station 2: Egg Wash:
In the second shallow bowl, whisk together the eggs and milk or water until well combined. This wet mixture will help the breadcrumbs stick.
Station 3: Breadcrumbs:
Pour the panko breadcrumbs into a third shallow bowl or plate. Panko breadcrumbs are highly recommended as they are lighter and create a crispier texture than regular breadcrumbs.
Step 3: Bread the Chicken Tenders
Now it’s time to coat those chicken tenders! Work in batches to avoid overcrowding your breading bowls and to ensure each piece is coated properly.
Flour Coating:
Take one chicken tender at a time and dredge it in the seasoned flour mixture, ensuring it’s fully coated. Gently shake off any excess flour.
Egg Wash Dip:
Next, dip the floured chicken tender into the egg wash, letting any excess drip off. Make sure it’s completely covered.
Breadcrumb Coating:
Finally, place the egg-washed tender into the panko breadcrumbs. Press down gently to help the breadcrumbs adhere well. Ensure the entire surface is covered. Place the breaded tender on a plate or clean surface. Repeat this process for all your chicken tenders.
Step 4: Prepare Your Air Fryer
Preheating your air fryer is essential for achieving that signature crispiness.
Preheat the Air Fryer:
Set your air fryer to 380°F (190°C). Allow it to preheat for at least 3-5 minutes. A hot air fryer basket will help start the crisping process immediately.
Lightly Oil the Basket:
Some air fryer baskets are non-stick, but a very light spray of cooking oil or a brush of oil on the basket can prevent sticking and further enhance crispiness. Be careful not to overspray, as too much oil can make the tenders greasy.
Step 5: Air Fry the Chicken Tenders
This is where the magic happens!
Arrange Tenders in a Single Layer:
Place the breaded chicken tenders in the preheated air fryer basket in a single layer. Do not overcrowd the basket. Overcrowding prevents the hot air from circulating properly, leading to uneven cooking and soggy tenders. You’ll likely need to cook in batches. If you’re cooking a large batch, consider these tenders as a side dish to a main meal, similar to how you might prepare a pot pie in an air fryer.
Cooking Time and Temperature:
Air fry the chicken tenders for 10-15 minutes. The exact time will depend on the thickness of your tenders and your specific air fryer model.
Flip Halfway Through:
About halfway through the cooking time (around the 5-7 minute mark), carefully open the air fryer and flip the chicken tenders using tongs. This ensures both sides get equally crispy and golden brown.
Check for Doneness:
The chicken tenders are done when they are golden brown and crispy on the outside, and the internal temperature reaches 165°F (74°C). Use a meat thermometer inserted into the thickest part of a tender to check. If they aren’t quite done, you can add a few more minutes to the cooking time, checking frequently.
Step 6: Serve and Enjoy!
Once cooked to perfection, remove the chicken tenders from the air fryer.
Resting (Optional):
You can let the chicken tenders rest on a wire rack for a minute or two if desired, but they are often best served immediately for maximum crispiness.
Dipping Sauces:
Serve your hot, crispy air fryer chicken tenders with your favorite dipping sauces. Classic choices include:
- Ketchup
- Mustard (honey mustard, Dijon)
- Ranch dressing
- BBQ sauce
- Sweet and sour sauce
- Honey
- Buffalo sauce
Enjoy your delicious, homemade air fryer chicken tenders! They make a fantastic appetizer, a quick lunch, or a kid-friendly dinner. You can also easily adapt this method for other types of breaded chicken, such as Tyson chicken strips.
Tips for the Crispiest Chicken Tenders
Want to elevate your air fryer chicken tender game? Here are some pro tips:
- Use Panko Breadcrumbs: As mentioned, panko creates superior crispiness.
- Don’t Skip the Flour Dredge: The flour layer helps the egg wash stick, and the egg wash helps the breadcrumbs adhere. It’s a crucial trio!
- Season Generously: Don’t be shy with the salt, pepper, and other seasonings in your flour mixture.
- Consider a Second Breading (Optional): For an extra thick, crunchy coating, you can dip the breaded tenders back into the egg wash and then into the breadcrumbs again.
- Don’t Overcrowd: This is worth repeating. Give your tenders space!
- Shake Off Excess: Before dipping into the next station, gently shake off excess flour or egg wash.
- Lightly Oil the Tenders (Optional): After breading, you can lightly spray the tops of the tenders with cooking spray or brush them with a tiny bit of oil. This can help achieve a more golden-brown color and extra crispiness.
- Experiment with Seasonings: Feel free to add other spices to your flour mixture, like onion powder, smoked paprika, or a pinch of cayenne for a little heat.
- Adjust Cooking Time: Every air fryer is a little different. Get to know yours and adjust the cooking time as needed.
Troubleshooting Common Issues
Even with the best guides, sometimes things don’t go perfectly. Here are solutions to common problems:
Problem: Tenders are soggy or not crispy.
Solution:
- Did you overcrowd the basket? This is the most common culprit. Cook in smaller batches.
- Did you pat the chicken dry? Excess moisture prevents crisping.
- Was the air fryer fully preheated? A hot start is essential.
- Is your air fryer at the correct temperature? Make sure you’re using the recommended temperature.
- Are the tenders overcooked? Sometimes overcooking can lead to a less desirable texture.
Problem: Tenders are unevenly cooked.
Solution:
- Ensure a single layer in the basket.
- Flip them halfway through cooking.
- Make sure the tenders are roughly the same size and thickness.
Problem: Breading is falling off.
Solution:
- Make sure you pressed the breadcrumbs on firmly.
- Ensure your flour and egg wash layers are sufficiently coating the chicken.
- Handle the breaded tenders gently.
Problem: Tenders are dry.
Solution:
- Don’t overcook them! Use a meat thermometer to ensure they reach 165°F (74°C) and then stop.
- Ensure your chicken is fresh and not previously frozen and thawed multiple times.
Conclusion
Cooking chicken tenders in the air fryer is a game-changer for anyone seeking a healthier, quicker, and equally delicious alternative to traditional frying. By following these simple steps, you can achieve perfectly crispy, golden-brown, and juicy chicken tenders every time. Remember the key principles: proper preparation, a good breading technique, not overcrowding the basket, and preheating your air fryer. So go ahead, try this recipe, and discover how easy and satisfying it is to make your own amazing air fryer chicken tenders. They are a fantastic addition to your cooking repertoire, just like learning how to cook a hot dog in the air fryer or mastering a marinated pork tenderloin in the air fryer. Happy air frying!