Craving delicious chicken parm without the fuss? This guide shows you how to cook perfectly crispy and cheesy chicken parm right in your air fryer! We’ll cover everything from prepping your chicken to achieving that golden-brown, bubbly topping, making this Italian classic a weeknight-friendly meal. Get ready for a faster, healthier, and equally satisfying version of your favorite dish.
How to Cook Chicken Parm in Air Fryer
Welcome, air fryer enthusiasts! Are you dreaming of that classic Italian comfort food, chicken parmesan, but dreading the oil splatters and long cooking times? Well, get ready to rejoice! Today, we’re diving deep into how to cook chicken parm in your air fryer. This is a game-changer, transforming a beloved dish into a quick, easy, and remarkably healthy weeknight meal. We’ll guide you through every step, from selecting the best chicken to achieving that perfect golden crust and melted cheese topping. Say goodbye to greasy pans and hello to crispy, flavorful chicken parmesan made effortlessly in your air fryer.
This guide is designed for everyone, whether you’re a seasoned air fryer pro or just starting your journey. We’ll break down the process into simple, actionable steps, so you can confidently create restaurant-quality chicken parm at home. Get ready to impress yourself and your family with this delicious adaptation.
Key Takeaways
- Achieve Crispy Perfection: The air fryer’s circulating hot air creates a wonderfully crispy coating on your chicken, much faster than traditional frying or baking.
- Simplify the Process: You’ll bypass the mess of deep frying, making cleanup a breeze and the overall cooking process much quicker.
- Healthy Alternative: Enjoy the flavors of chicken parm with significantly less oil, making it a healthier option without sacrificing taste.
- Customizable to Your Taste: Learn how to adapt the recipe with your favorite marinara sauce, cheeses, and seasonings for a personalized touch.
- Perfect for Busy Evenings: This method is ideal for a delicious weeknight meal, significantly cutting down on cooking and preparation time.
Why Air Fryer Chicken Parm is a Winner
Before we get our hands dirty, let’s talk about why cooking chicken parm in the air fryer is such a brilliant idea. Traditional chicken parm often involves pan-frying, which can be messy and use a lot of oil. Baking is healthier but can sometimes result in a less crispy coating. The air fryer, however, uses rapidly circulating hot air to mimic the effect of deep frying with a fraction of the oil. This means you get that satisfying crunch you crave, with a tender, juicy chicken breast inside, all while using significantly less fat. It’s the best of both worlds! Plus, it’s incredibly fast, making it perfect for those busy weeknights when you want a hearty meal without spending hours in the kitchen.
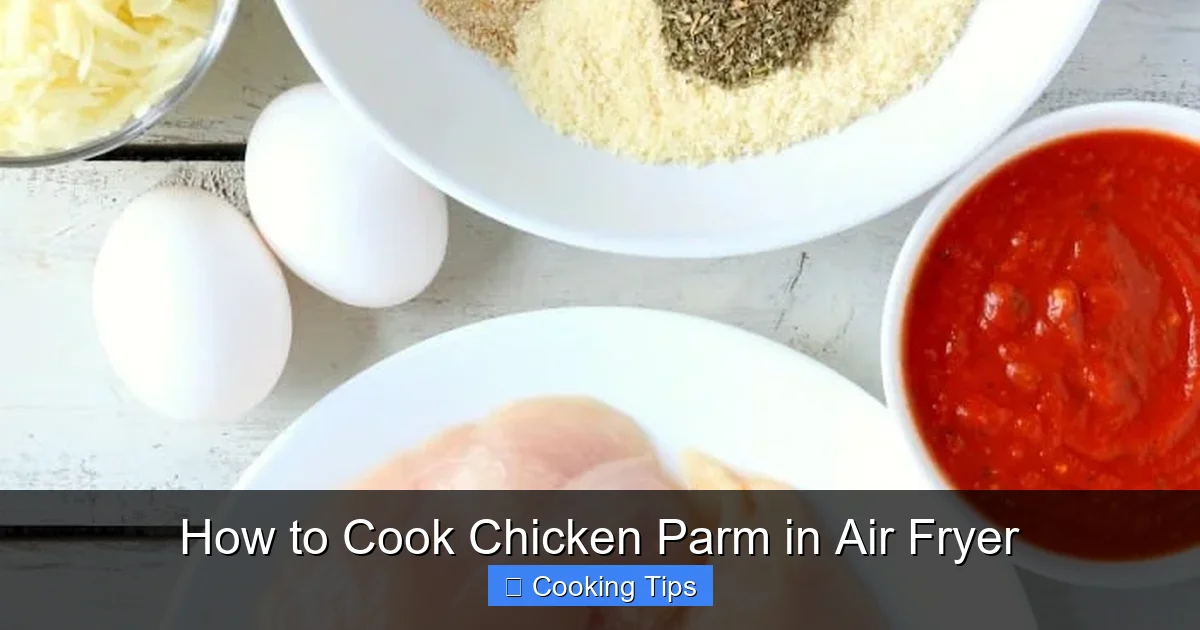
Ingredients You’ll Need
Gathering your ingredients is the first step to culinary success. Here’s what you’ll need for a delicious air fryer chicken parm:
- Chicken Breasts: About 2 boneless, skinless chicken breasts (around 6-8 ounces each). You can also use chicken cutlets, which are thinner and cook even faster.
- All-Purpose Flour: About 1/2 cup, for dredging.
- Eggs: 2 large eggs, beaten, for the egg wash.
- Breadcrumbs: About 1 cup. Panko breadcrumbs are excellent for extra crispiness. You can also use Italian-style breadcrumbs for added flavor.
- Parmesan Cheese: About 1/4 cup, grated, mixed with the breadcrumbs for that signature cheesy crunch.
- Seasonings: Salt, black pepper, garlic powder, and Italian seasoning (dried oregano, basil, thyme).
- Olive Oil Spray or Cooking Spray: For lightly coating the chicken and the air fryer basket.
- Marinara Sauce: About 1 cup, your favorite store-bought or homemade.
- Mozzarella Cheese: About 1 cup, shredded or sliced, for topping.
- Optional Garnishes: Fresh basil leaves, extra grated Parmesan cheese.
Step-by-Step Guide to Air Fryer Chicken Parm
Let’s get cooking! Follow these steps for perfectly cooked air fryer chicken parm.
Step 1: Prepare the Chicken
The first crucial step is to prepare your chicken breasts. This ensures they cook evenly and are tender.
Pound the Chicken
If you’re using whole chicken breasts, place them between two pieces of plastic wrap or inside a zip-top bag. Use a meat mallet, rolling pin, or the bottom of a heavy pan to gently pound the chicken breasts to an even thickness, about 1/2 to 3/4 inch thick. This helps them cook more uniformly and quickly, preventing the edges from drying out before the center is cooked through. If you’re using chicken cutlets, you can skip this step as they are already thin.
Visual guide about How to Cook Chicken Parm in Air Fryer
Image source: temeculablogs.com
Visual guide about How to Cook Chicken Parm in Air Fryer
Image source: temeculablogs.com
Season the Chicken
Lightly season both sides of the pounded chicken breasts with salt and black pepper. This simple seasoning enhances the natural flavor of the chicken.
Step 2: Set Up Your Breading Station
A classic three-step breading process is key to achieving a crispy exterior. You’ll need three shallow dishes or plates.
Dish 1: Flour Mixture
In the first dish, combine the all-purpose flour with about 1 teaspoon of garlic powder and 1/2 teaspoon of Italian seasoning. Whisk it together. This seasoned flour will help the egg wash stick better and add an initial layer of flavor.
Dish 2: Egg Wash
In the second dish, beat the two large eggs. You can add a tablespoon of water or milk to the eggs to make the mixture a little thinner, which can help the breadcrumbs adhere more evenly.
Dish 3: Breadcrumb Mixture
In the third dish, combine the breadcrumbs with the grated Parmesan cheese and a pinch of salt and pepper. If you’re using plain breadcrumbs, you can also add about another teaspoon of Italian seasoning here for extra flavor. Mix well.
Step 3: Bread the Chicken
Now it’s time to coat those chicken breasts! Work with one piece at a time.
Dredge in Flour
Take a seasoned chicken breast and place it in the flour mixture. Coat both sides thoroughly, shaking off any excess flour. Make sure every part is covered.
Dip in Egg
Next, carefully transfer the floured chicken breast to the egg wash. Ensure it’s fully coated in the egg, letting any excess drip off back into the dish.
Coat in Breadcrumbs
Finally, place the egg-coated chicken breast into the breadcrumb mixture. Press down gently to ensure the breadcrumbs adhere well to all sides. You want a nice, even coating. For an extra thick, crispy crust, you can repeat the egg wash and breadcrumb steps, but for most air fryer recipes, one good coating is sufficient.
Place the breaded chicken breasts on a clean plate or a piece of parchment paper as you bread them. Don’t stack them, as this can make the breading soggy.
Step 4: Air Fry the Chicken
This is where the magic happens! Preheating your air fryer is important for even cooking.
Preheat the Air Fryer
Preheat your air fryer to 380°F (190°C) for about 3-5 minutes. This ensures the air fryer is hot enough to start crisping the breading immediately.
Arrange Chicken in Basket
Lightly spray the air fryer basket with cooking spray or olive oil spray to prevent sticking. Carefully place the breaded chicken breasts in a single layer in the air fryer basket. Do not overcrowd the basket. If necessary, cook the chicken in batches to ensure proper air circulation, which is key for crispiness. Overcrowding will lead to steaming instead of frying, resulting in soggy chicken.
First Cook
Air fry the chicken for about 8-10 minutes. The exact time will depend on the thickness of your chicken breasts and your specific air fryer model. Keep an eye on them to prevent burning.
Flip and Continue Cooking
After 8-10 minutes, carefully flip the chicken breasts. At this point, you can spray the top side with a little more cooking spray for extra crispiness.
Continue to air fry for another 6-10 minutes, or until the chicken is golden brown, crispy, and cooked through. The internal temperature should reach 165°F (74°C) when checked with a meat thermometer. Remember, cooking time can vary based on the thickness of the chicken and your air fryer’s performance. If you’re cooking thicker breasts, they might need a few extra minutes.
If you’re wondering about cooking other types of chicken in your air fryer, check out our guides on how to cook bone-in chicken breast in an air fryer or how to cook bone-in chicken thighs in an air fryer for more insights.
Step 5: Add Sauce and Cheese
Once the chicken is cooked and crispy, it’s time for the best part: the sauce and cheese!
Top with Marinara
Carefully remove the air fryer basket. Spoon your favorite marinara sauce generously over the top of each cooked chicken breast. Don’t overload it, as too much sauce can make the breading soggy.
Add Cheese
Sprinkle the shredded mozzarella cheese (and any other cheeses you like, such as provolone) evenly over the marinara sauce. You want good coverage so it melts beautifully.
Step 6: Melt the Cheese
Now, we just need to melt that glorious cheese to bubbly perfection.
Return to Air Fryer
Place the basket with the sauced and cheesed chicken back into the air fryer. Lower the temperature slightly to 350°F (175°C). This lower temperature prevents the chicken from overcooking while the cheese melts.
Melt and Bubble
Air fry for an additional 3-5 minutes, or until the cheese is completely melted and bubbly, with possibly a few golden-brown spots. Keep a close eye on it to prevent the cheese from burning.
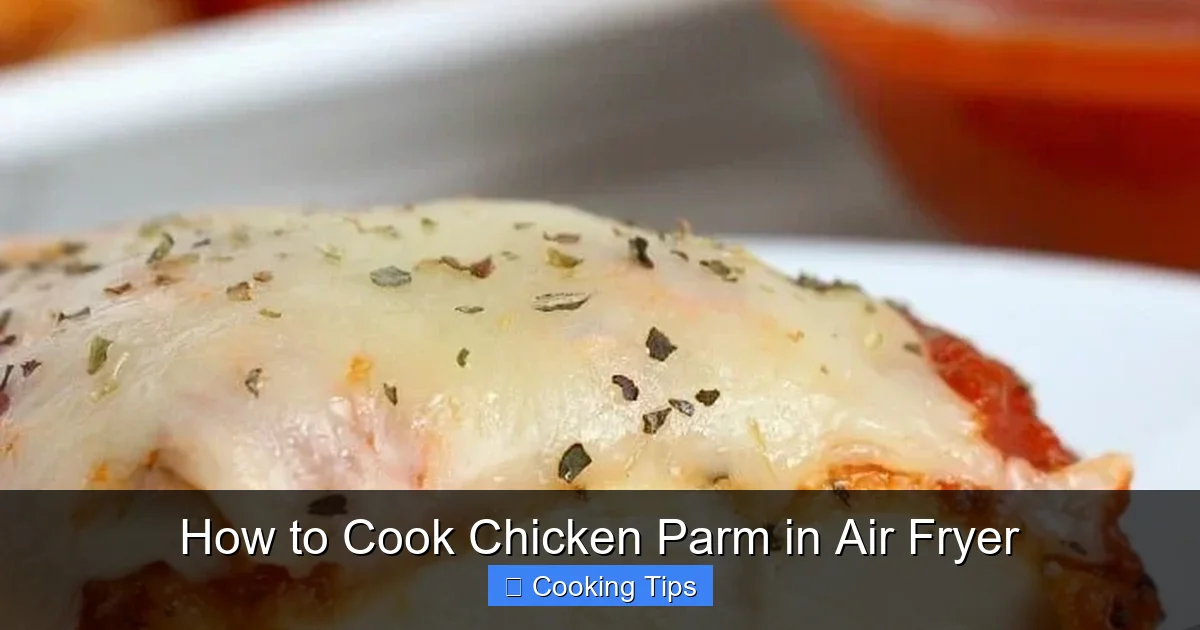
Step 7: Serve and Enjoy
Your delicious air fryer chicken parm is ready to be served!
Garnish and Plate
Carefully remove the chicken parm from the air fryer basket. If desired, garnish with fresh basil leaves and an extra sprinkle of grated Parmesan cheese. Serve immediately.
Serving Suggestions
Chicken parm is wonderfully versatile. It’s fantastic served over a bed of spaghetti or your favorite pasta. It also makes a great sandwich filling on a crusty roll, or simply served with a side of roasted vegetables or a fresh green salad.
Tips for Perfect Air Fryer Chicken Parm
* Don’t Skip Preheating: A hot air fryer ensures your chicken starts crisping right away, leading to a better texture.
* Single Layer is Key: Always cook in a single layer without overcrowding the basket. This is the golden rule for air frying!
* Pat Your Chicken Dry: Before breading, pat your chicken breasts dry with paper towels. This helps the breading adhere better.
* Use Panko for Extra Crunch: Panko breadcrumbs provide a lighter, crispier texture than traditional breadcrumbs.
* Adjust Cooking Times: Air fryers vary! Always check your chicken for doneness. Internal temperature should be 165°F (74°C).
* Prevent Soggy Bottoms: If you’re worried about the bottom getting soggy, you can place a small piece of parchment paper (air fryer liners are great!) in the basket under the chicken, ensuring it doesn’t block the airflow.
* Consider a Double Coat: For an extra thick and crispy coating, dip the chicken in egg and breadcrumbs twice.
Troubleshooting Common Issues
Even with the best intentions, sometimes things don’t go perfectly. Here are a few common issues and how to fix them:
My Chicken is Soggy
Cause: Overcrowding the air fryer basket, not preheating, or too much sauce added too soon.
Solution: Cook in smaller batches. Ensure your air fryer is fully preheated. Add sauce and cheese only in the last few minutes of cooking.
My Breading Fell Off
Cause: Chicken was too wet, or the flour/egg wash didn’t adhere well.
Solution: Always pat chicken dry before breading. Ensure a good, even coating at each stage of the breading process. Press the breadcrumbs firmly onto the chicken.
My Chicken is Dry
Cause: Overcooked, or the chicken was too thin to begin with.
Solution: Use a meat thermometer to check for doneness at 165°F (74°C). Pound chicken to an even thickness. Adjust cooking time for future batches.
The Cheese is Burnt Before Meltdown
Cause: Air fryer temperature too high for the final melting stage.
Solution: Lower the temperature to 350°F (175°C) for the last few minutes of cooking, specifically for melting the cheese.
Conclusion
And there you have it – delicious, crispy, and cheesy chicken parmesan made easily in your air fryer! You’ve learned how to prepare the chicken, create the perfect breading, cook it to golden perfection, and top it with melty cheese, all without the mess and extra oil of traditional methods. This air fryer chicken parm is not just a meal; it’s a testament to how you can enjoy classic comfort food in a healthier and more convenient way. So next time you’re craving this Italian favorite, reach for your air fryer. You’ll be amazed at how simple and satisfying it is. Happy air frying!