Ready to cook delicious chicken in your Ninja air fryer? This comprehensive guide breaks down everything you need to know, from prep to perfect crispiness. Learn about different chicken cuts, essential seasoning tips, and precise cooking times. You’ll discover how to achieve tender, juicy chicken with a delightful crispy exterior, making meal prep a breeze!
Welcome to the ultimate guide on mastering your Ninja air fryer for perfectly cooked chicken! If you’ve been wondering how to get that golden-brown, crispy skin and incredibly juicy meat without the fuss of deep frying, you’ve come to the right place. The Ninja air fryer is a kitchen workhorse, and chicken is one of its absolute stars.
In this guide, we’ll walk you through everything you need to know to cook chicken in your Ninja air fryer, from choosing the best cuts to ensuring it’s cooked to perfection every single time. Whether you’re a beginner or have been air frying for a while, you’ll discover practical tips and easy-to-follow steps that will elevate your chicken dishes. Get ready to transform your weeknight dinners and impress your guests with restaurant-quality chicken, made right in your own kitchen. Let’s get started!
- Choose the Right Chicken Cut: Whether it’s bone-in breasts, boneless thighs, or wings, select the best cut for your desired meal.
- Season Generously: Proper seasoning is key to flavorful chicken. Use your favorite rubs, marinades, or simple salt and pepper.
- Preheat is Crucial: Always preheat your Ninja air fryer to ensure even cooking and a crispy finish.
- Don’t Overcrowd: Allow space between chicken pieces for hot air to circulate, ensuring uniform cooking and crispiness.
- Use a Meat Thermometer: For safe and perfectly cooked chicken, always check the internal temperature.
- Rest Your Chicken: Letting the chicken rest after cooking allows the juices to redistribute, resulting in a more tender and flavorful bite.
Understanding Your Ninja Air Fryer
Before we dive into cooking, it’s helpful to understand the basics of how your Ninja air fryer works. These appliances use rapid hot air circulation to cook food, mimicking the results of deep frying but with significantly less oil. This means you get all the delicious crispiness without the guilt! Many Ninja models also offer various functions like roasting, dehydrating, and reheating, but for this guide, we’ll focus on the core air frying function. Understanding how to operate your Ninja air fryer is the first step to success.
Preparing Your Chicken for the Air Fryer
Great air-fried chicken starts with proper preparation. This involves choosing the right cut of chicken and getting it ready for the heat.
Choosing the Right Chicken Cut
The beauty of air frying chicken is its versatility. You can cook almost any cut! Here are some popular choices:
- Boneless, Skinless Chicken Breasts: These are lean and cook quickly. They are perfect for everyday meals, salads, or sandwiches.
- Bone-In, Skin-On Chicken Breasts: These take a little longer to cook but result in incredibly moist meat and crispy skin.
- Boneless, Skinless Chicken Thighs: Thighs are naturally more forgiving and moister than breasts due to their higher fat content. They are excellent for quick meals and have a rich flavor.
- Bone-In, Skin-On Chicken Thighs: Similar to bone-in breasts, these offer fantastic flavor and texture.
- Chicken Wings: A classic air fryer favorite, wings get incredibly crispy in the Ninja air fryer.
- Chicken Tenders/Strips: Great for kids and quick snacks or meals.
If you’re looking for specifics on bone-in chicken breasts or thighs, check out our detailed guides on how to cook bone-in chicken breast in the air fryer and how to cook bone-in chicken thighs in the air fryer.
Seasoning Your Chicken
This is where you can really make your chicken shine! Don’t be shy with the seasonings.
- Simple Seasoning: A classic combination of salt, black pepper, garlic powder, and onion powder is always a winner.
- Rubs: For a more intense flavor, use a pre-made or homemade chicken rub. Paprika, chili powder, cumin, and brown sugar create a delicious sweet and smoky profile.
- Marinades: Marinating your chicken for at least 30 minutes (or up to overnight in the refrigerator) will infuse it with flavor and help tenderize it. Yogurt-based marinades, lemon-herb marinades, or even simple soy sauce and ginger marinades work wonderfully.
- Oils: A light coating of oil (like olive oil, avocado oil, or vegetable oil) helps the seasonings adhere and promotes crispiness. A brush or spray bottle works best.
Tips for Even Cooking
- Pat Dry: Always pat your chicken completely dry with paper towels before seasoning. This helps achieve a crispier exterior.
- Uniform Size: If you’re cooking pieces of different sizes (like boneless thighs), try to trim them to a similar size for more even cooking.
- Don’t Overcrowd: This is one of the most important rules! Air needs to circulate around the chicken to cook it properly and make it crispy. Cook in a single layer, leaving space between each piece. You might need to cook in batches.
Step-by-Step: Cooking Chicken in Your Ninja Air Fryer
Now that your chicken is prepped, let’s get it into the Ninja air fryer!
Step 1: Preheat Your Ninja Air Fryer
Just like preheating an oven, preheating your air fryer is crucial for achieving the best results. It ensures your chicken starts cooking immediately and evenly, leading to a crispier exterior.
How to Preheat:
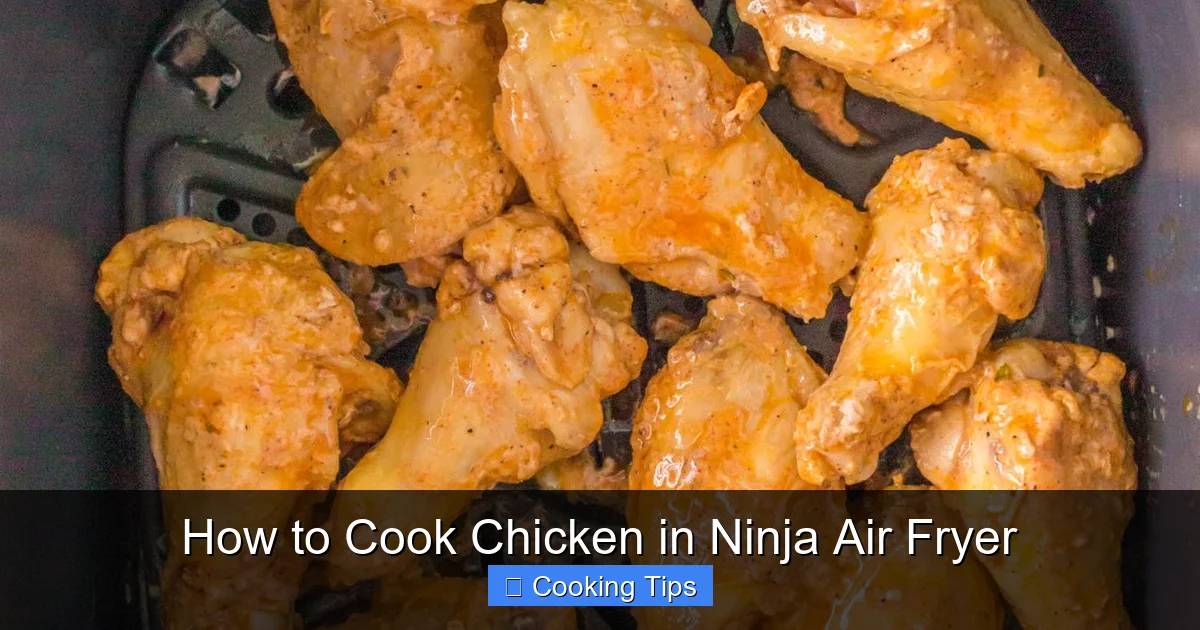
Visual guide about How to Cook Chicken in Ninja Air Fryer
Image source: airfryerfanatics.com
- Select the “Air Crisp” function (or similar) on your Ninja air fryer.
- Set the temperature to the desired cooking temperature (usually between 375°F and 400°F, depending on the cut and recipe).
- Set the timer for 3-5 minutes.
- Let the air fryer run until the preheating cycle is complete.
Step 2: Arrange Chicken in the Basket
Once preheated, carefully open the air fryer basket.
How to Arrange:
- Place your seasoned chicken pieces in a single layer in the air fryer basket.
- Ensure there is space between each piece for the hot air to circulate freely. If you have too much chicken, cook it in multiple batches to avoid steaming instead of crisping.
Step 3: Set the Cooking Time and Temperature
The cooking time and temperature will vary depending on the type and thickness of your chicken. Here are some general guidelines:
General Guidelines:
- Boneless, Skinless Chicken Breasts (about 6 oz each): 375°F for 18-22 minutes.
- Bone-In, Skin-On Chicken Breasts (about 8 oz each): 380°F for 25-30 minutes.
- Boneless, Skinless Chicken Thighs: 380°F for 16-20 minutes.
- Bone-In, Skin-On Chicken Thighs: 400°F for 22-28 minutes.
- Chicken Wings: 400°F for 20-25 minutes.
Important Note: These are estimates. Always refer to your Ninja air fryer manual for specific recommendations and adjust based on your appliance’s performance and the exact size of your chicken pieces.
Step 4: Flip or Shake Midway
For even browning and cooking, it’s essential to flip or shake your chicken halfway through the cooking process.
How to Flip/Shake:
- After about half the cooking time has elapsed, carefully pull out the air fryer basket.
- Using tongs, flip each piece of chicken over.
- If you are cooking wings or smaller pieces, you can gently shake the basket to redistribute them.
- Return the basket to the air fryer and continue cooking for the remaining time.
Step 5: Check for Doneness
The most crucial step for safely and perfectly cooked chicken is checking its internal temperature.
How to Check:
- Use an instant-read meat thermometer.
- Insert the thermometer into the thickest part of the chicken, avoiding any bones.
- Chicken is safely cooked when it reaches an internal temperature of 165°F (74°C).
- If it hasn’t reached the target temperature, return the basket to the air fryer and cook for a few more minutes, then check again.
Step 6: Rest Your Chicken
This step is often overlooked but makes a huge difference in juiciness.
How to Rest:
- Once your chicken reaches 165°F, carefully remove it from the air fryer basket.
- Place it on a clean plate or cutting board.
- Tent it loosely with aluminum foil.
- Let it rest for 5-10 minutes before slicing or serving. This allows the juices to redistribute throughout the meat, resulting in a more tender and moist chicken.
Tips for Extra Crispy Chicken Skin
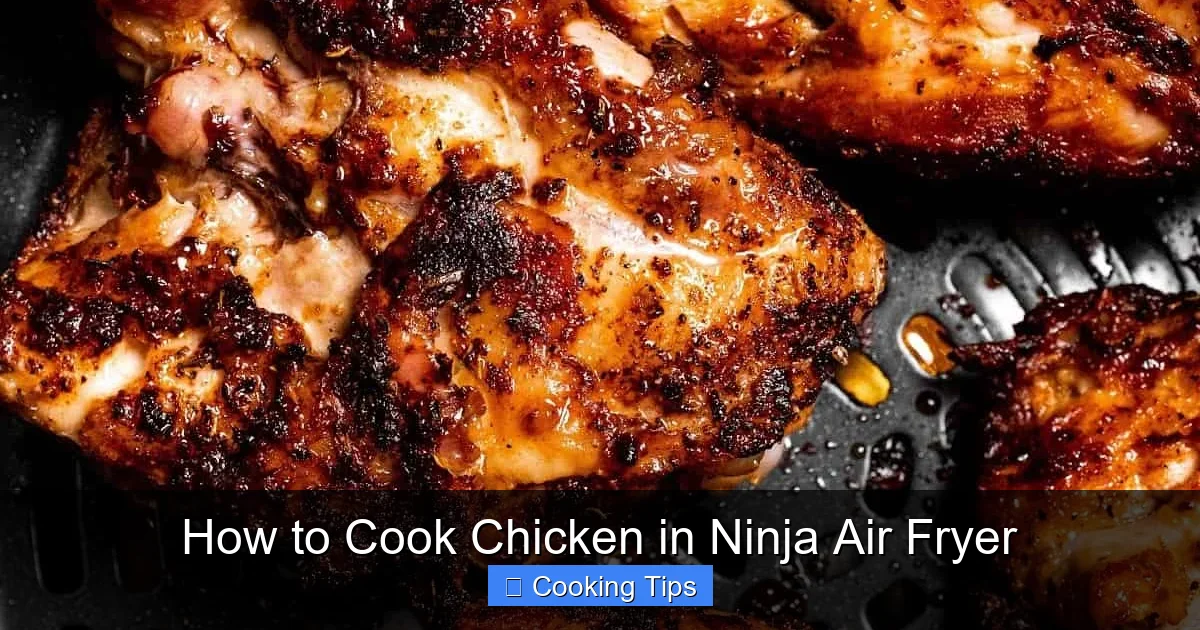
Visual guide about How to Cook Chicken in Ninja Air Fryer
Image source: drdavinahseats.com
Want that ultimate crispy skin? Here are some pro tips:
- Dry it Thoroughly: As mentioned, patting the chicken very dry is the first step.
- Use a Little More Oil: Lightly brush or spray the skin with oil before cooking.
- Higher Temperature for the Last Few Minutes: If your chicken is cooked through but the skin isn’t as crispy as you’d like, you can increase the temperature to 400°F for the last 2-3 minutes. Keep a close eye on it to prevent burning.
- Don’t Crowd the Basket: This cannot be stressed enough! Airflow is key to crispiness.
Troubleshooting Common Air Fryer Chicken Issues
Even with the best intentions, things can sometimes go awry. Here’s how to fix common problems:
- Chicken is Dry: You might have overcooked it. Always use a meat thermometer to ensure you’re not cooking past 165°F. Resting the chicken is also vital. For boneless, skinless breasts, consider marinating them first.
- Chicken is Not Crispy: The most likely culprits are overcrowding the basket or not preheating the air fryer sufficiently. Ensure there’s ample space for air circulation and always preheat.
- Uneven Cooking: This can happen if pieces are of different sizes or if the basket wasn’t shaken/flipped halfway through. Try to ensure uniform sizes and don’t skip the mid-cook flip.
- Burnt Exterior, Undercooked Interior: The temperature might be too high for the cooking time. Lower the temperature slightly and increase the cooking time, ensuring you check the internal temperature thoroughly.
Beyond the Basics: Creative Ways to Enjoy Air-Fried Chicken
Once you’ve mastered the basic Ninja air fryer chicken, the possibilities are endless!
- Boneless Chicken Wings: Toss your cooked air-fried chicken pieces in your favorite wing sauce for a healthier take on this classic. Check out our guide on how to cook boneless chicken wings in air fryer.
- Chicken Skewers: Marinate chicken chunks, thread them onto skewers, and air fry for a delightful appetizer or light meal.
- Shredded Chicken: Cook a batch of chicken breasts or thighs, then shred them for use in tacos, salads, sandwiches, or casseroles.
- “Fried” Chicken Sandwiches: Bread and air fry chicken cutlets for a delicious homemade chicken sandwich.
- Meal Prep Staple: Cook several batches of plain air-fried chicken at the beginning of the week to quickly add protein to salads, grain bowls, or pasta dishes.
Conclusion
Cooking chicken in your Ninja air fryer is a game-changer. It’s a fast, healthy, and incredibly delicious way to prepare this versatile protein. By following these simple steps, from selecting the right cut and seasoning it perfectly to ensuring proper cooking and resting, you’ll achieve consistently amazing results. Say goodbye to dry, bland chicken and hello to tender, juicy, and crispy perfection every time you use your Ninja air fryer. Happy air frying!