
Learn how to make delicious, crispy chicken fingers using your air fryer! This guide provides simple, step-by-step instructions for achieving a perfect golden-brown finish and tender interior. You’ll discover essential tips for battering, cooking times, and temperature to ensure your chicken fingers are a crowd-pleaser.
Cooking chicken fingers in an air fryer is a game-changer! Forget soggy, fried chicken; this method delivers incredibly crispy, golden-brown chicken fingers with significantly less oil. If you’ve been wondering how to achieve that perfect crunch and juicy interior, you’ve come to the right place. This comprehensive guide will walk you through every step, from preparing your chicken to serving up a batch of your new favorite appetizer or main course. Get ready to impress yourself and your family with how easy and delicious homemade air fryer chicken fingers can be!
Key Takeaways
- Choose the Right Chicken: Opt for boneless, skinless chicken breasts or tenderloins for the best texture and ease of preparation.
- Proper Breading is Key: A three-step breading process (flour, egg, breadcrumbs) creates a crispy, flavorful coating that adheres well.
- Don’t Overcrowd the Basket: Ensure air circulation for even cooking and maximum crispiness by cooking in batches if necessary.
- Preheat Your Air Fryer: A preheated air fryer helps the chicken fingers cook faster and achieve a crispier exterior from the start.
- Flip for Even Browning: Flipping the chicken fingers halfway through the cooking process guarantees a uniformly golden-brown finish on all sides.
- Check for Doneness: Use a meat thermometer to ensure the chicken reaches an internal temperature of 165°F (74°C) for food safety and optimal juiciness.
Why Air Fryer Chicken Fingers?
The air fryer is a marvel of modern kitchen technology, using hot circulating air to mimic the results of deep-frying. This means you can enjoy the satisfying crunch of fried food without the excess grease and mess. Chicken fingers, in particular, benefit greatly from this cooking method. They become wonderfully crispy on the outside while remaining incredibly tender and juicy on the inside. It’s a healthier alternative that doesn’t sacrifice flavor or texture. Plus, they cook much faster than in a conventional oven, making them perfect for busy weeknights or quick snacks.
Ingredients You’ll Need
Before we dive into the steps, let’s gather what you’ll need.
* Chicken: 1 to 1.5 pounds boneless, skinless chicken breasts or tenderloins.
* For Dredging:
* 1 cup all-purpose flour
* 1 teaspoon salt
* 1 teaspoon black pepper
* 1 teaspoon paprika (optional, for color and flavor)
* 1/2 teaspoon garlic powder
* 2 large eggs
* 1 tablespoon water or milk
* 1.5 cups Panko breadcrumbs (these give the best crunch!) or regular breadcrumbs.
* Oil: 1-2 tablespoons of your preferred cooking oil (olive oil, avocado oil, or vegetable oil). This is for lightly coating the chicken before air frying.
Step-by-Step Guide to Air Fryer Chicken Fingers
Now, let’s get cooking!
Step 1: Prepare the Chicken
The first step is to get your chicken ready for breading.
Cut the Chicken
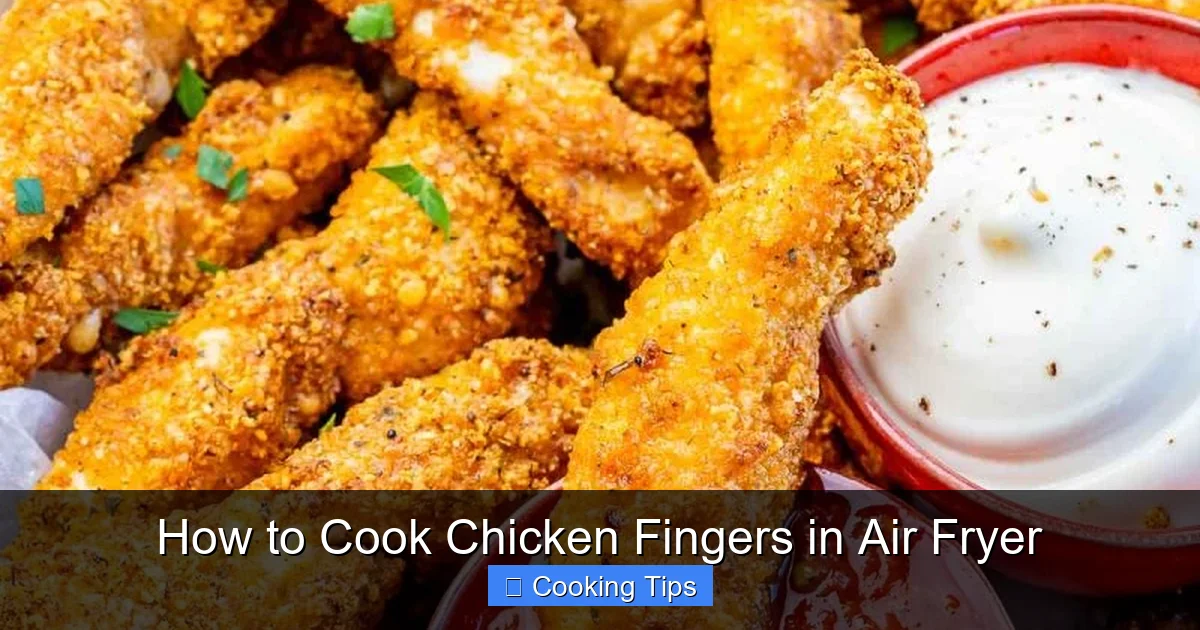
Take your boneless, skinless chicken breasts or tenderloins and place them on a clean cutting board. Using a sharp knife, trim away any excess fat or sinew. Cut the chicken into uniform strips, about 1/2 inch thick and 3-4 inches long. Uniformity is key to ensuring they all cook evenly.
Visual guide about How to Cook Chicken Fingers in Air Fryer
Image source: cleanfoodcrush.com
Visual guide about How to Cook Chicken Fingers in Air Fryer
Image source: cleanfoodcrush.com
Visual guide about How to Cook Chicken Fingers in Air Fryer
Image source: simply-delicious-food.com
Pat Dry
Once cut, pat the chicken strips completely dry with paper towels. This is a crucial step. Moisture on the chicken can prevent the breading from sticking properly, leading to a less crispy coating.
Step 2: Set Up Your Breading Station
A well-organized breading station makes the process smooth and efficient. You’ll need three shallow dishes or bowls.
Dish 1: Flour Mixture
In the first dish, combine the all-purpose flour, salt, black pepper, paprika (if using), and garlic powder. Whisk these ingredients together until well combined. This seasoned flour will be the first layer of your chicken’s coating.
Dish 2: Egg Wash
In the second dish, crack the two large eggs. Add the tablespoon of water or milk. Whisk everything together vigorously until the yolks and whites are fully combined and slightly frothy. This egg wash acts as the ‘glue’ for the breadcrumbs.
Dish 3: Breadcrumbs
In the third dish, pour in your Panko breadcrumbs. Panko breadcrumbs are highly recommended for their superior crispiness, but regular breadcrumbs work well too. If you like, you can add a pinch of salt, pepper, or your favorite dried herbs to the breadcrumbs for extra flavor.
Step 3: Bread the Chicken Fingers
Now it’s time to coat those chicken strips! Work with a few pieces at a time to avoid making a mess.
Coat in Flour
Take one chicken strip and place it in the flour mixture. Toss it around, ensuring it’s fully coated on all sides. Gently shake off any excess flour. This dry layer helps the egg wash adhere better.
Dip in Egg Wash
Next, dip the floured chicken strip into the egg wash. Make sure it’s completely submerged, letting any excess egg drip back into the bowl. This wet layer is essential for the breadcrumbs to stick.
Coat in Breadcrumbs
Finally, transfer the egg-washed chicken strip to the breadcrumb dish. Press the breadcrumbs gently onto the chicken to ensure a thick, even coating on all sides. You want a good, substantial layer of breadcrumbs for maximum crispiness.
Repeat and Rest
Place the breaded chicken fingers on a plate or baking sheet as you finish them. It’s a good idea to let the breaded chicken fingers rest for about 5-10 minutes. This allows the coating to set slightly, which helps it stick better during cooking.
Step 4: Preheat Your Air Fryer
Preheating is a crucial step for achieving the best results in your air fryer, just like with conventional baking.
Set Temperature
Preheat your air fryer to 380°F (190°C). Most air fryers have a preheat function. If yours doesn’t, simply set the temperature and let it run for about 3-5 minutes.
Why Preheat?
Preheating ensures that the air inside the basket is already hot when you add your food. This helps the chicken fingers cook quickly and evenly, giving you that desirable crispy exterior from the very first minute.
Step 5: Arrange Chicken Fingers in the Air Fryer Basket
Proper arrangement is key to ensuring air can circulate around each chicken finger.
Single Layer
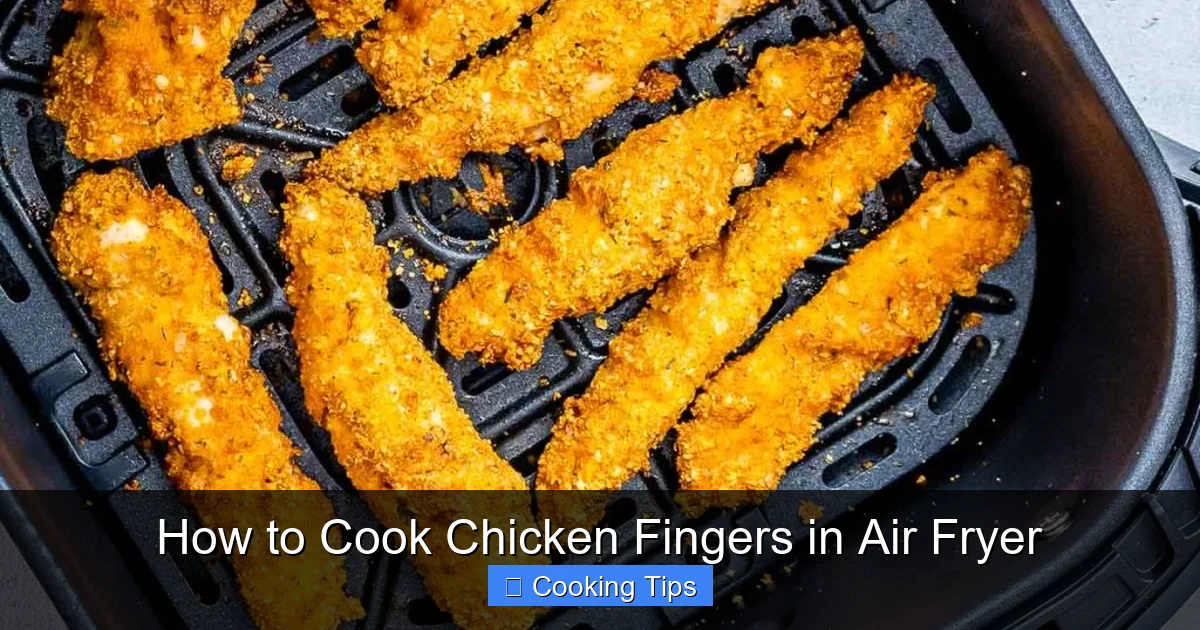
Carefully place the breaded chicken fingers in the air fryer basket in a single layer. Do not overlap them. If you have too many, you’ll need to cook them in batches. Overcrowding the basket is one of the most common mistakes people make, and it leads to uneven cooking and soggy results.
Lightly Oil
Once the chicken fingers are in the basket, lightly spray or brush them with your cooking oil. This step helps them achieve that beautiful golden-brown color and extra crispiness. Don’t drench them; a light coating is all you need.
Step 6: Air Fry the Chicken Fingers
Now comes the exciting part – cooking them to perfection!
Initial Cooking Time
Place the basket in the preheated air fryer. Cook for approximately 8-12 minutes. The exact time will depend on the thickness of your chicken strips and the specific model of your air fryer.
Shake or Flip
About halfway through the cooking time (around 4-6 minutes), pull out the air fryer basket. Gently shake the basket to redistribute the chicken fingers, or use tongs to flip each one over. This step is vital for ensuring all sides get equally crispy and golden.
Check for Doneness
After the initial cooking time, check the chicken fingers. They should be golden brown and feel firm to the touch. For absolute certainty, use a meat thermometer. The internal temperature of the chicken should reach 165°F (74°C).
Adjust Time if Needed
If your chicken fingers aren’t quite done, return them to the air fryer for another 1-3 minutes, checking frequently. You want them cooked through but not dry. If they are browning too quickly but are not yet cooked, you can slightly reduce the temperature to 360°F (180°C) for the remaining time.
Step 7: Serve and Enjoy!
Your delicious, crispy air fryer chicken fingers are ready!
Rest Briefly
Once cooked, carefully remove the chicken fingers from the air fryer basket. Let them rest on a plate for a minute or two before serving. This allows the juices to redistribute, resulting in a more tender bite.
Serving Suggestions
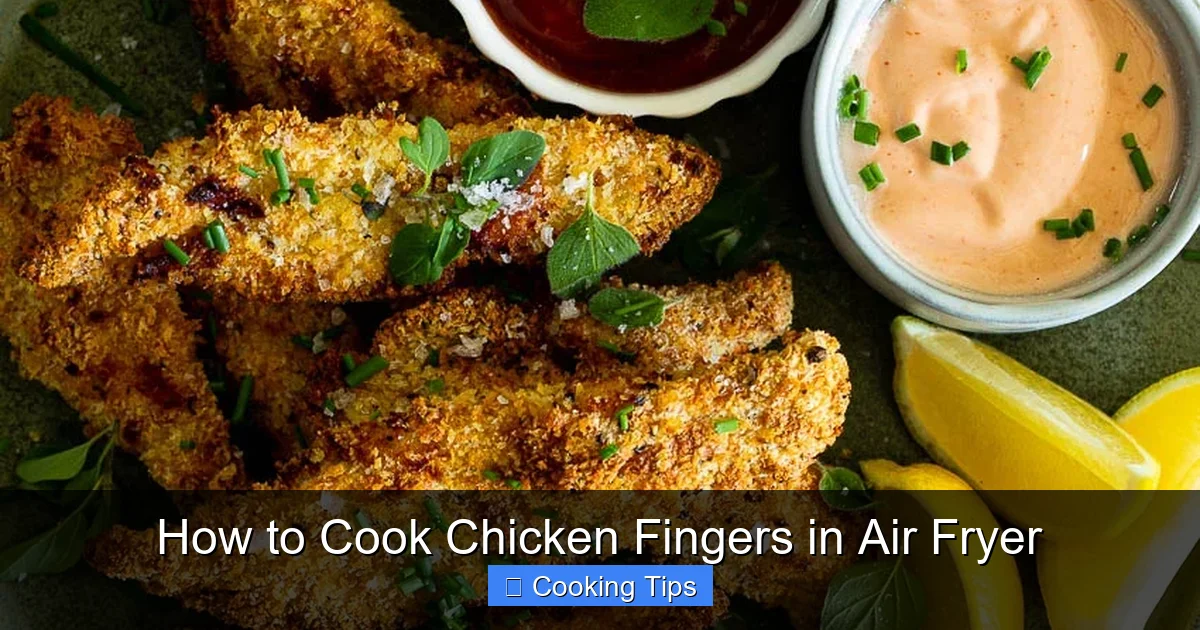
Serve your air fryer chicken fingers hot with your favorite dipping sauces like ketchup, honey mustard, BBQ sauce, ranch dressing, or even a sweet chili sauce. They are fantastic as an appetizer, a kid-friendly meal, or a light lunch. They also pair wonderfully with sides like french fries (which can also be made in the air fryer!), a fresh salad, or coleslaw.
Tips for the Crispiest Air Fryer Chicken Fingers
Want to elevate your chicken finger game? Here are some pro tips:
* Use Panko Breadcrumbs: As mentioned, Panko breadcrumbs provide an unmatched crispiness due to their airy texture.
* Don’t Skip the Flour Dredge: The initial flour coating helps the egg adhere better, creating a more robust breading.
* Season Generously: Don’t be shy with the salt, pepper, and other seasonings in your flour and breadcrumbs. This is where a lot of the flavor comes from.
* Allow Air Circulation: Always cook in a single layer and avoid overcrowding the basket. If you’re making a large batch, it’s worth cooking in two rounds.
* Consider a Light Spray of Oil: A quick spritz of cooking oil before and possibly halfway through cooking can enhance crispiness and browning.
* Experiment with Spices: Add a pinch of cayenne pepper for a little heat, or some Italian seasoning for an herbaceous twist to your breading.
Troubleshooting Common Issues
Even with the best instructions, sometimes things don’t go perfectly. Here are some common issues and how to fix them.
Issue: Soggy Chicken Fingers
Cause: Overcrowding the basket, not preheating the air fryer, or not enough cooking time.
Solution: Cook in smaller batches to allow for proper air circulation. Ensure your air fryer is preheated. Increase the cooking time slightly, or check for doneness using a thermometer.
Issue: Breading Falling Off
Cause: Chicken was too wet, or breading wasn’t pressed on firmly.
Solution: Make sure to pat the chicken very dry before breading. Press the breadcrumbs firmly onto the chicken after dipping it in the egg wash. Letting the breaded chicken rest for a few minutes can also help the coating adhere.
Issue: Unevenly Cooked Chicken
Cause: Inconsistent thickness of chicken pieces, or not flipping/shaking the basket.
Solution: Cut chicken pieces to a uniform size. Remember to flip or shake the basket halfway through cooking for even browning.
Conclusion
You’ve now mastered the art of cooking chicken fingers in the air fryer! This method is incredibly simple, remarkably fast, and delivers consistently delicious results. Whether you’re preparing a quick snack, a family dinner, or an appetizer for guests, these air fryer chicken fingers are sure to be a hit. Enjoy the crispy, golden perfection and the satisfaction of making this classic comfort food a healthier, air-fried delight. Happy cooking!