Cooking chicken breast in a Vortex air fryer is incredibly simple and results in a delicious, healthy meal. This guide provides step-by-step instructions for preparing and cooking chicken breast to perfection. You’ll learn how to season, set the temperature and time, and ensure your chicken is cooked through for a tender and juicy outcome.
Key Takeaways
- Perfectly Cooked Chicken Breast: Achieve juicy, tender, and evenly cooked chicken breast every time using your Vortex air fryer.
- Simple Seasoning: Learn basic seasoning techniques that enhance the natural flavor of chicken breast, or get creative with your favorite spice blends.
- Precise Temperature and Time: Understand the optimal temperature and cooking time for chicken breast, ensuring it’s cooked through without drying out.
- Easy Preparation: This guide breaks down the process into simple, manageable steps, making it accessible for beginners.
- Versatile Meal Prep: Discover how air-fried chicken breast is a fantastic base for salads, sandwiches, and countless other dishes.
- Quick Cooking Time: Enjoy delicious chicken breast in under 20 minutes, making it ideal for busy weeknights.
How to Cook Chicken Breast in Vortex Air Fryer
Are you looking for a way to cook chicken breast that’s quick, healthy, and incredibly delicious? The Vortex air fryer is your secret weapon! Forget dry, bland chicken. With this guide, you’ll master the art of cooking chicken breast in your Vortex air fryer, guaranteeing juicy, tender, and perfectly cooked results every single time. We’ll walk you through everything from selecting your chicken to achieving that perfect golden-brown exterior. Get ready to transform your weeknight meals!
Chicken breast is a lean protein powerhouse, making it a favorite for health-conscious eaters and busy home cooks alike. However, it can also be notoriously tricky to cook. Too little time, and it’s undercooked and unsafe. Too much time, and it becomes tough and dry. The Vortex air fryer, with its circulating hot air technology, is the ideal tool for overcoming these challenges. It cooks food quickly and evenly, creating a wonderful texture and flavor that stovetop or oven methods often struggle to achieve.
This comprehensive guide will equip you with all the knowledge you need to confidently cook chicken breast in your Vortex air fryer. We’ll cover everything from selecting the best chicken to understanding the ideal cooking conditions. By the end, you’ll be able to whip up perfect air fryer chicken breast for salads, sandwiches, stir-fries, or simply enjoy it on its own.
What You’ll Need
Before we dive into the cooking process, let’s gather what you’ll need. Having everything ready makes the entire experience smooth and enjoyable.
- Vortex Air Fryer: Of course, your trusty Vortex air fryer is the star of the show.
- Boneless, Skinless Chicken Breasts: Aim for chicken breasts that are roughly the same thickness for even cooking.
- Olive Oil or Cooking Spray: A little fat helps with browning and prevents sticking.
- Seasonings: Salt, black pepper, garlic powder, onion powder, paprika, dried herbs (like thyme or rosemary), or your favorite chicken rub.
- Tongs: For safely handling the hot chicken.
- Meat Thermometer: The most reliable way to ensure your chicken is cooked to a safe internal temperature.
Choosing and Preparing Your Chicken Breast
The quality of your chicken breast and how you prepare it are crucial first steps.
Selecting the Right Chicken
When choosing chicken breasts, look for:
- Freshness: They should be pinkish and firm, with no off-putting smells.
- Uniform Size: Try to pick breasts that are similar in size and thickness. This is the secret to even cooking. If you have one very thick breast and one very thin one, the thin one will cook much faster and could become dry before the thicker one is done.
Pounding for Even Thickness (Optional but Recommended)
If your chicken breasts are of varying thicknesses, pounding them to an even thickness (about 3/4 inch to 1 inch) is a game-changer.
- Place a chicken breast between two pieces of parchment paper or plastic wrap.
- Using a meat mallet, rolling pin, or even the bottom of a heavy pan, gently pound the thicker parts of the breast until it’s uniformly thick. Be careful not to pound too thin, or you’ll lose too much moisture.
This step ensures that all parts of the chicken breast cook at the same rate, resulting in perfectly cooked chicken every time.
Seasoning Your Chicken Breast
This is where you infuse flavor! You can go simple or get creative.
Basic Seasoning Blend
A classic blend that always works well includes:
- 1 teaspoon salt
- 1/2 teaspoon black pepper
- 1/2 teaspoon garlic powder
- 1/2 teaspoon paprika
You can also add a pinch of onion powder or your favorite dried herbs like thyme, rosemary, or oregano.
Applying the Seasoning
- Pat Dry: First, pat your chicken breasts completely dry with paper towels. This helps the seasonings stick better and allows for a crispier exterior.
- Lightly Oil: Drizzle a small amount of olive oil over the chicken breasts, or use a cooking spray. Rub it all over to coat evenly. This acts as a binder for the seasonings and helps them adhere.
- Season Generously: Sprinkle your chosen seasoning blend evenly over all sides of the chicken breasts. Make sure to get into any nooks and crannies.
Cooking Your Chicken Breast in the Vortex Air Fryer
Now for the main event! This is where your Vortex air fryer truly shines.
Preheating the Air Fryer
Preheating is essential for most air fryer recipes, including chicken breast. It ensures that the chicken starts cooking immediately upon entering the basket, leading to a better sear and more even cooking.
- Turn on your Vortex air fryer.
- Set the temperature to 380°F (193°C).
- Let it preheat for about 3-5 minutes. You’ll know it’s ready when the indicator light turns off or the display shows it’s reached temperature.
Placing Chicken in the Basket
- Once preheated, carefully open the air fryer basket.
- Arrange the seasoned chicken breasts in a single layer in the basket.
- Crucial Tip: Do not overcrowd the basket. The hot air needs to circulate freely around each piece of chicken to cook evenly and get crispy. If you have more chicken than can fit in a single layer, cook them in batches. Overcrowding will steam the chicken rather than air fry it. For reference, a typical 4-quart Vortex air fryer can usually hold 1-2 chicken breasts comfortably.
Setting the Cooking Time and Temperature
The exact cooking time will depend on the thickness of your chicken breasts and your specific Vortex air fryer model. However, here’s a general guideline:
Temperature: 380°F (193°C)
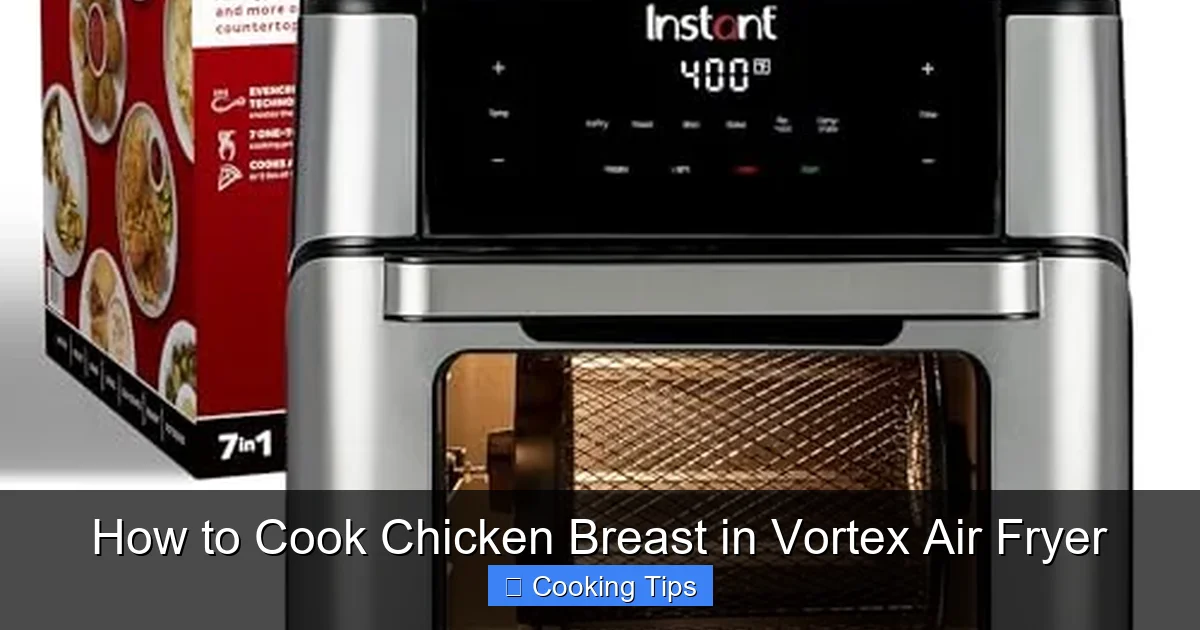
Visual guide about How to Cook Chicken Breast in Vortex Air Fryer
Image source: m.media-amazon.com
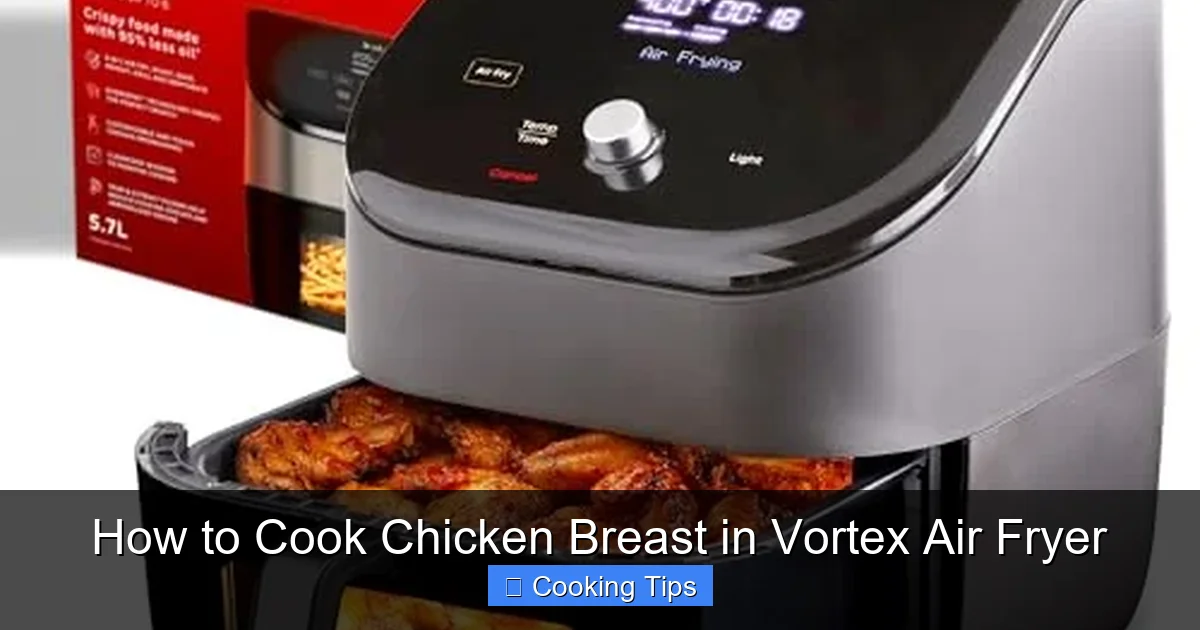
Visual guide about How to Cook Chicken Breast in Vortex Air Fryer
Image source: m.media-amazon.com
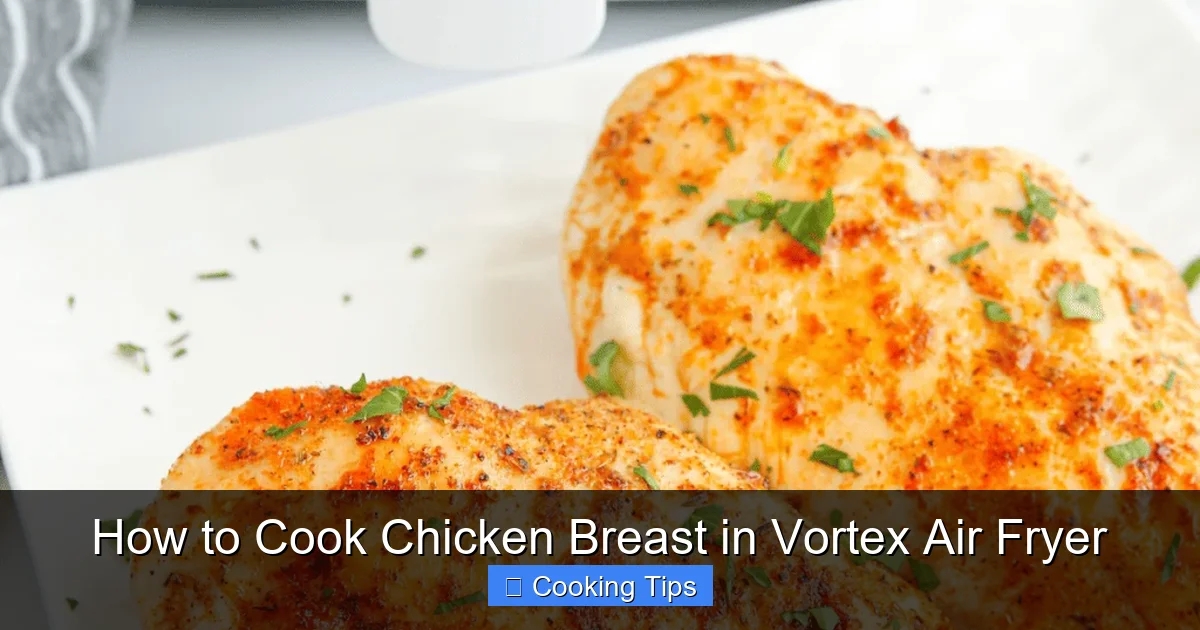
Visual guide about How to Cook Chicken Breast in Vortex Air Fryer
Image source: forktospoon.com
Initial Cook Time: 15-18 minutes
- Once the chicken is in the basket, close the drawer and set the timer for 15 minutes.
- Mid-Cook Flip: Around the halfway point of the cooking time (e.g., at 7-9 minutes), carefully pull out the basket and flip the chicken breasts using your tongs. This ensures even browning on both sides.
- Continue cooking for the remaining time.
Checking for Doneness
This is the most critical step for food safety and achieving the best texture.
- After the initial cooking time, use your meat thermometer to check the internal temperature of the thickest part of the chicken breast.
- The chicken is safely cooked and ready when it reaches an internal temperature of 165°F (74°C).
- If the chicken has not reached 165°F (74°C), return the basket to the air fryer and cook for an additional 2-3 minutes, then check again. Repeat this process until the desired temperature is reached.
Remember, different Vortex air fryer models might vary slightly in their heating elements, so always rely on your thermometer.
Resting Your Chicken Breast
Don’t skip this vital step! Resting allows the juices to redistribute throughout the meat, making your chicken incredibly moist and tender.
- Once the chicken reaches 165°F (74°C), carefully remove the basket from the air fryer.
- Transfer the cooked chicken breasts to a clean plate or cutting board.
- Tent them loosely with aluminum foil.
- Let them rest for 5-10 minutes before slicing or serving.
This short resting period makes a significant difference in the final succulence of your chicken.
Serving Suggestions and Recipe Ideas
Air-fried chicken breast is incredibly versatile. Here are a few ideas:
- Salads: Slice or dice it for a protein boost in any salad. It’s especially good in Caesar salads or Cobb salads.
- Sandwiches & Wraps: Shredded or sliced chicken breast makes fantastic fillings for sandwiches, paninis, and wraps.
- Stir-fries: Add it to your favorite vegetable stir-fry for a quick and healthy main course.
- Grain Bowls: Top a bowl of quinoa, rice, or farro with sliced chicken breast and your favorite toppings.
- Simple Dinner: Serve alongside roasted vegetables or a side salad for a complete, healthy meal.
If you’re looking for more inspiration on cooking different types of chicken in your air fryer, check out our guide on how to cook bone-in chicken breast in an air fryer for another delicious option.
Tips for Perfectly Cooked Chicken Breast Every Time
Here are some extra tips to ensure your Vortex air fryer chicken breast is always a success:
- Don’t Overcrowd: We can’t stress this enough. It’s better to cook in batches than to compromise on cooking quality.
- Use a Thermometer: This is your best friend for perfectly cooked, safe chicken. Don’t guess!
- Experiment with Seasonings: Beyond the basics, try marinades (pat them dry before air frying), spice rubs, or even brushing with BBQ sauce in the last few minutes of cooking. For example, if you’re wondering how to cook BBQ ribs in an air fryer, the principle of getting a delicious glaze applies here too.
- Adjust for Thickness: Always account for the thickness of your chicken. Thicker breasts will need longer cooking times.
- Know Your Air Fryer: Every air fryer is a bit different. Pay attention to how yours cooks and make minor adjustments as needed for future cooks.
Troubleshooting Common Issues
Even with the best guide, you might encounter a few minor issues. Here’s how to tackle them:
Problem: Chicken is Dry
Cause: Likely overcooked. The chicken was left in the air fryer for too long, or the temperature was too high for too long.
Solution: Ensure you’re using a meat thermometer and remove the chicken as soon as it reaches 165°F (74°C). Try slightly reducing the cooking time on your next attempt, or pound the chicken to a more uniform thickness.
Problem: Chicken is Undercooked
Cause: Not enough cooking time or the chicken breasts were too thick. Overcrowding the basket can also lead to uneven cooking.
Solution: Always check the internal temperature with a meat thermometer. If it’s under 165°F (74°C), put it back in for a few more minutes. For future cooks, increase the initial cooking time slightly or ensure the chicken is pounded to an even thickness. Make sure your Vortex air fryer basket isn’t too full.
Problem: Chicken is Unevenly Cooked
Cause: Chicken breasts were different thicknesses, or the basket was overcrowded. Not flipping the chicken halfway through can also contribute.
Solution: Pound chicken breasts to an even thickness before cooking. Always flip the chicken halfway through the cooking cycle. Ensure there is space between each piece in the air fryer basket for proper air circulation.
Conclusion
Mastering how to cook chicken breast in your Vortex air fryer is a culinary game-changer. You’ve learned how to select, prepare, season, cook, and rest your chicken to achieve consistently delicious results. The Vortex air fryer simplifies the process, turning potentially dry chicken into a tender, juicy delight that’s perfect for any meal. Whether you’re a beginner air fryer user or looking to refine your skills, this guide provides the foundational knowledge for success. So go ahead, experiment with different seasonings, enjoy the speed and convenience, and savor your perfectly air-fried chicken breast! It’s a simple skill that unlocks a world of healthy and flavorful meal possibilities.