Discover how to achieve perfectly cooked chicken breast in your air fryer with this easy-to-follow YouTube-style guide. We’ll cover everything from selecting the best chicken to seasoning, cooking times, and ensuring a deliciously juicy result. Get ready for a healthy and quick meal solution that will become a staple in your kitchen!
Hey everyone, and welcome back to our channel! Today, we’re diving into one of the most requested and game-changing kitchen appliances: the air fryer! If you’ve been wondering how to get perfectly cooked, juicy, and tender chicken breast without all the fuss and oil of traditional cooking methods, you’ve come to the right place. In this video, we’re going to show you step-by-step how to cook chicken breast in your air fryer, making it a quick, healthy, and delicious meal option for any day of the week.
Forget dry, rubbery chicken! With this simple method, you’ll be impressing yourself and your family with restaurant-quality results right from your kitchen. We’ll cover everything from picking the best chicken, seasoning it to perfection, and the exact cooking times and temperatures to ensure that juicy, succulent bite every single time. So grab your apron, preheat that air fryer, and let’s get cooking!
Key Takeaways
- Choose the Right Chicken: Opt for boneless, skinless chicken breasts that are similar in thickness for even cooking.
- Season Generously: Don’t be shy with your seasonings! This is key to infusing flavor into the chicken.
- Preheat Your Air Fryer: Always preheat your air fryer to the set temperature for consistent cooking results.
- Don’t Overcrowd: Cook chicken breasts in a single layer to allow hot air to circulate properly.
- Check for Doneness: Use a meat thermometer to ensure the chicken reaches an internal temperature of 165°F (74°C).
- Resting is Crucial: Allowing the chicken to rest after cooking helps redistribute juices for maximum tenderness.
Step 1: Selecting and Preparing Your Chicken Breast
The foundation of any great dish starts with quality ingredients. For air fryer chicken breast, this means choosing the right cut of chicken.
Choosing the Best Chicken Breasts
When you head to the grocery store or butcher, look for boneless, skinless chicken breasts. These are the most common and easiest to work with for air frying. Ideally, try to select chicken breasts that are relatively uniform in thickness. If one breast is significantly thicker than another, it will cook at a different rate, leading to some pieces being overcooked while others are undercooked. Don’t worry if they aren’t perfectly uniform; we’ll discuss how to handle that later!
Trimming and Pounding (Optional but Recommended)
Before you do anything else, take a moment to trim any excess fat or sinew from your chicken breasts. This is purely for aesthetic and textural preference. Then, for even cooking, especially if your chicken breasts are quite thick or uneven, consider pounding them slightly. You can do this by placing the chicken breast between two pieces of plastic wrap or inside a resealable plastic bag and using the flat side of a meat mallet, a rolling pin, or even a heavy pan to gently pound it to a more uniform thickness. Aim for about 3/4 inch to 1 inch thick. This step is a game-changer for achieving perfectly cooked chicken breast.
Step 2: Seasoning Your Chicken Breast for Maximum Flavor
This is where the magic happens! Seasoning is crucial for making your air fryer chicken breast burst with flavor. You can go with simple salt and pepper or get creative with a blend of spices.
Basic Seasoning
For a classic and delicious result, a simple mix of salt, black pepper, garlic powder, and onion powder works wonders.:
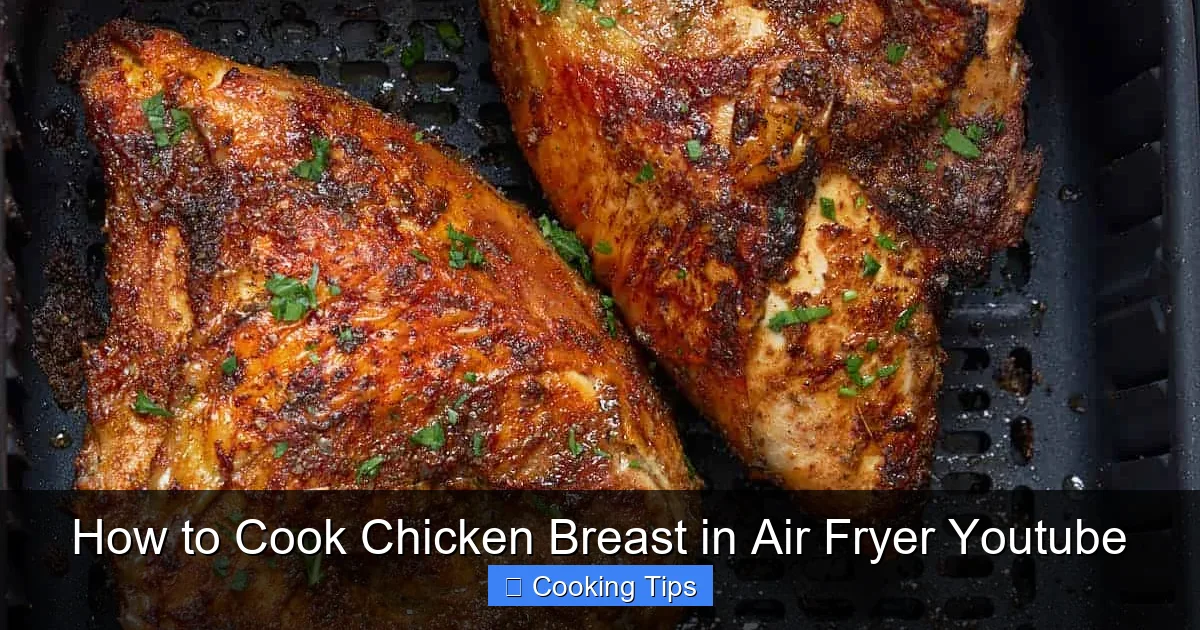
Visual guide about How to Cook Chicken Breast in Air Fryer Youtube
Image source: enjoycleaneating.com
- 1 teaspoon salt
- 1/2 teaspoon black pepper
- 1/2 teaspoon garlic powder
- 1/2 teaspoon onion powder
You can adjust these amounts to your preference. Some people like a bit more kick, so feel free to add a pinch of paprika for color and a subtle smoky flavor, or a dash of cayenne pepper if you enjoy a little heat.
Creative Seasoning Blends
The beauty of air frying is its versatility. You can use your chicken breast as a canvas for almost any flavor profile:
- Italian Herb: Mix in dried oregano, basil, thyme, and a pinch of red pepper flakes.
- Smoky BBQ: Combine paprika, brown sugar, chili powder, cumin, and a touch of smoked paprika.
- Lemon Pepper: Use lemon zest, black pepper, and a little garlic powder.
- Curry Spice: Blend curry powder, turmeric, cumin, and ginger.
Don’t be afraid to experiment! You can also use pre-made spice rubs that you love.
Applying the Seasoning
Once you have your chosen seasoning blend, it’s time to apply it. Place your prepared chicken breasts on a plate or cutting board. Drizzle them lightly with a tablespoon or two of olive oil or avocado oil. This helps the seasonings adhere and also aids in getting a slightly crisped exterior. Then, sprinkle your seasoning blend evenly over both sides of the chicken breasts, making sure to coat them thoroughly. Gently pat the seasonings into the chicken. This ensures they stick and don’t just fall off into the air fryer basket.
Step 3: Preheating and Cooking Your Chicken Breast in the Air Fryer
Preheating is a critical step for any air fryer recipe, including chicken breast. It ensures your food cooks evenly and gets that desirable crispiness.
Preheating the Air Fryer
Most air fryer models recommend preheating. Set your air fryer to 375°F (190°C). Let it preheat for about 3-5 minutes. You’ll often hear a beep or see an indicator light when it’s ready. Preheating is like warming up your oven; it creates a consistent cooking environment from the moment your food goes in.
Arranging the Chicken in the Basket
Once preheated, carefully place your seasoned chicken breasts into the air fryer basket in a single layer. It’s crucial not to overcrowd the basket. Overcrowding prevents the hot air from circulating properly, which can lead to uneven cooking and prevent the chicken from getting that nice, golden-brown exterior. If you’re cooking more than two or three chicken breasts (depending on the size of your air fryer), it’s best to cook them in batches.
Cooking Time and Temperature
For chicken breasts of about 3/4 to 1 inch thickness, at 375°F (190°C), the cooking time typically ranges from 15 to 20 minutes. However, this can vary slightly depending on the thickness of your chicken and the specific model of your air fryer. You’ll want to flip the chicken halfway through the cooking process, around the 8-10 minute mark. This ensures both sides get evenly cooked and nicely browned.
Flipping for Even Cooking
Use tongs to carefully flip each chicken breast. This step is important to ensure that the heat is applied to both sides, leading to an even cook and color. You’ll notice that the side that was facing down might already be starting to get a nice golden hue.
Step 4: Checking for Doneness and Resting
This is the most important part of ensuring your chicken breast is perfectly cooked – not too dry, not undercooked.
Using a Meat Thermometer
The most reliable way to check if your chicken breast is done is by using an instant-read meat thermometer. Insert the thermometer into the thickest part of the chicken breast, avoiding any bone if present (though we’re focusing on boneless today). The chicken breast is safely cooked when it reaches an internal temperature of 165°F (74°C).
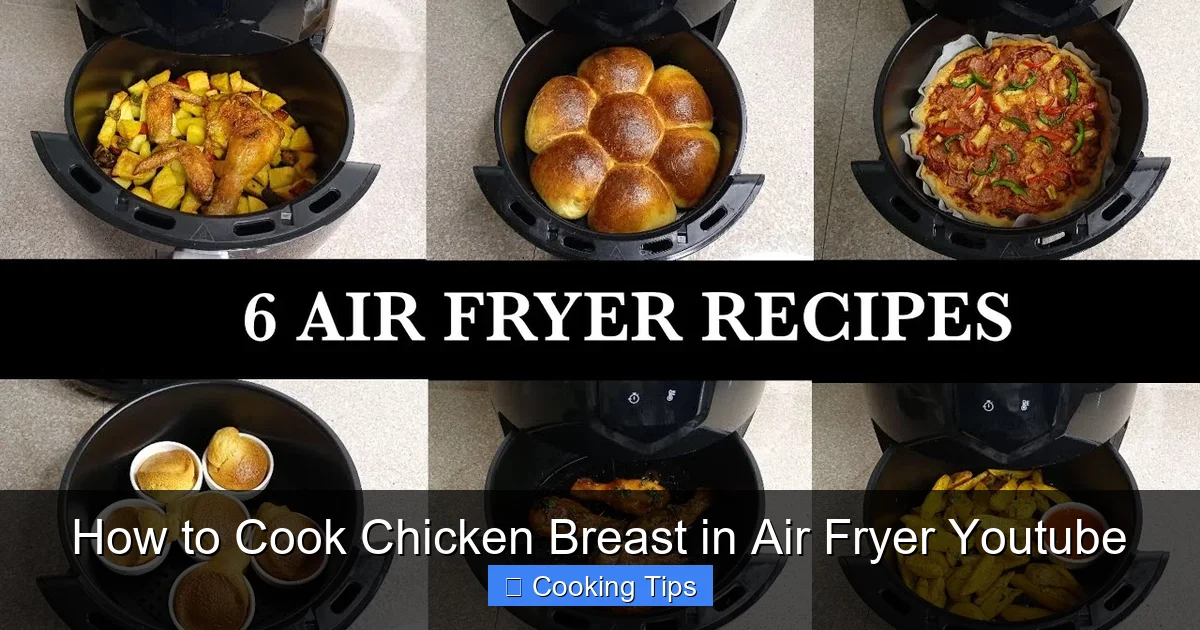
Visual guide about How to Cook Chicken Breast in Air Fryer Youtube
Image source: i.ytimg.com
What to Do if It’s Not Done
If the thermometer reads below 165°F (74°C), simply return the chicken to the air fryer for an additional 2-3 minutes, then check again. It’s always better to cook it a little longer than to serve undercooked chicken.
The Importance of Resting
Once your chicken breast reaches the correct internal temperature, remove it from the air fryer basket and place it on a clean plate or cutting board. Now, here’s a crucial step that many people skip: let the chicken breast rest for 5-10 minutes before slicing. During cooking, the juices in the chicken are pushed to the center. Resting allows these juices to redistribute throughout the meat, making it incredibly moist and tender. If you cut into it immediately, all those delicious juices will run out onto your plate, leaving you with dry chicken.
Step 5: Slicing and Serving Your Air Fryer Chicken Breast
You’ve done it! Your perfectly cooked air fryer chicken breast is ready to be enjoyed.
Slicing for Serving
After resting, you can slice your chicken breast against the grain. This also helps to tenderize the meat further. You’ll notice how juicy and succulent it is! The exterior will have a lovely golden-brown color, and the inside will be perfectly white and moist.
Serving Suggestions
Air fryer chicken breast is incredibly versatile. Here are a few ideas:
- Salads: Slice it and add it to your favorite green salads for a protein boost.
- Sandwiches and Wraps: Perfect for healthy lunch options.
- Grain Bowls: Chop it up and add it to quinoa or rice bowls with roasted vegetables.
- Main Course: Serve it alongside steamed veggies, roasted potatoes, or a side salad for a complete meal.
- Meal Prep: Cook a batch at the beginning of the week for easy grab-and-go protein.
If you’re looking for more ideas on what to cook in your air fryer, check out our guide on how to cook BBQ ribs in air fryer for another crowd-pleaser!
Troubleshooting Common Air Fryer Chicken Breast Issues
Even with the best instructions, sometimes things don’t go exactly as planned. Here are a few common issues and how to fix them:
Issue: Chicken is Dry
Cause: Overcooked, not rested properly, or too thin to begin with.
Solution: Always use a meat thermometer to avoid overcooking. Ensure you let the chicken rest after cooking. If your chicken breasts are naturally thin, reduce the cooking time slightly or consider pounding thicker ones to a more uniform thickness. If you’re dealing with very thin chicken breasts, you might want to look into guides for things like air fryer chicken tenders, as those are designed to cook quickly.
Issue: Chicken is Undercooked
Cause: Not cooked long enough, air fryer temperature too low, or overcrowding.
Solution: Extend the cooking time. Make sure your air fryer is properly preheated. Ensure you’re not overcrowding the basket and allow for proper air circulation. Double-check your air fryer’s temperature setting.
Issue: Unevenly Cooked Chicken
Cause: Uneven thickness of chicken breasts, overcrowding, or not flipping.
Solution: Pound chicken breasts to a uniform thickness before cooking. Cook in batches if necessary. Make sure you flip the chicken halfway through the cooking time.
Issue: Chicken is Sticking to the Basket
Cause: Not using enough oil or a non-stick basket.
Solution: Ensure you lightly coat the chicken with oil before seasoning. You can also lightly spray your air fryer basket with cooking spray (ensure it’s suitable for air fryers). Some air fryers come with non-stick baskets, which helps tremendously.
Conclusion
And there you have it! Perfectly cooked, juicy, and flavorful chicken breast in your air fryer. It’s truly that simple. This method is not only quick and easy but also incredibly healthy, making it a go-to recipe for busy weeknights, healthy lunches, or meal prepping for the week ahead.
Experiment with different seasonings, explore various serving ideas, and soon you’ll be a pro at making air fryer chicken breast. If you enjoyed this guide and want more air fryer tips and recipes, be sure to hit that like button and subscribe to our channel. Don’t forget to check out some of our other popular guides like how to cook boneless chicken wings in air fryer and how to cook bone-in chicken thighs in air fryer for more delicious possibilities.
Thanks for watching, and happy air frying!