Learn how to cook chicken breast cutlets in your air fryer for a quick, healthy, and delicious meal. This guide provides simple, step-by-step instructions to achieve perfectly crispy and juicy cutlets every time. Enjoy faster cooking and less cleanup with this fantastic air fryer method.
How to Cook Chicken Breast Cutlets in Air Fryer
Are you looking for a fast, easy, and healthy way to prepare delicious chicken breast cutlets? The air fryer is your new best friend! Forget greasy pans and long oven times. In this comprehensive guide, you’ll learn exactly how to achieve perfectly cooked, tender, and crispy chicken breast cutlets using your air fryer. We’ll walk you through every step, from preparation to serving, ensuring you get amazing results every single time. Get ready to elevate your weeknight dinners and impress your family with minimal effort.
Key Takeaways
- Effortless Preparation: Chicken breast cutlets are quick to prepare, requiring minimal ingredients and simple seasoning.
- Perfectly Cooked Every Time: The air fryer ensures even cooking, resulting in tender, juicy chicken with a satisfyingly crispy exterior.
- Healthier Alternative: Air frying uses significantly less oil than traditional frying methods, making it a healthier choice for your family.
- Versatile Meal Option: Cooked cutlets can be enjoyed on their own, in sandwiches, salads, or as part of a larger meal.
- Quick Cooking Time: Air frying dramatically reduces cooking time compared to conventional ovens, perfect for busy weeknights.
- Easy Cleanup: Most air fryer baskets are non-stick and easy to clean, saving you time after your meal.
Why Air Fry Chicken Breast Cutlets?
Chicken breast cutlets are a fantastic lean protein choice. They cook quickly and are incredibly versatile. When you move them to the air fryer, you unlock even more benefits.
- Speed: Air fryers circulate hot air rapidly, significantly cutting down cooking times.
- Crispiness: They create a wonderful crispy exterior without deep frying, giving you that satisfying crunch.
- Healthiness: You use much less oil, making your meal healthier.
- Convenience: It’s a simple, set-it-and-forget-it kind of cooking method for busy cooks.
- Uniformity: The hot air ensures even cooking, so you don’t get dry spots or undercooked areas.
Gather Your Ingredients and Equipment
Before you start, make sure you have everything you need. This recipe is designed to be super simple.
Ingredients:
- 2-4 boneless, skinless chicken breast cutlets (about 4-6 ounces each)
- 1-2 tablespoons olive oil or avocado oil
- Salt, to taste
- Black pepper, to taste
- Optional seasonings: paprika, garlic powder, onion powder, dried herbs (like thyme, rosemary, or oregano)
Equipment:
- Air fryer
- Small bowl
- Tongs
- Meat thermometer (optional, but recommended for perfect results)
Step-by-Step Guide to Air Fryer Chicken Breast Cutlets
Let’s get cooking! Follow these simple steps for delicious air fryer chicken cutlets.
Step 1: Prepare the Chicken Cutlets
The first step is to get your chicken ready.
H3: Trim and Pat Dry
If your chicken cutlets have any excess fat, trim it off. Then, using paper towels, thoroughly pat the chicken dry. This is a crucial step for achieving a crispy exterior. Moisture is the enemy of crispiness!
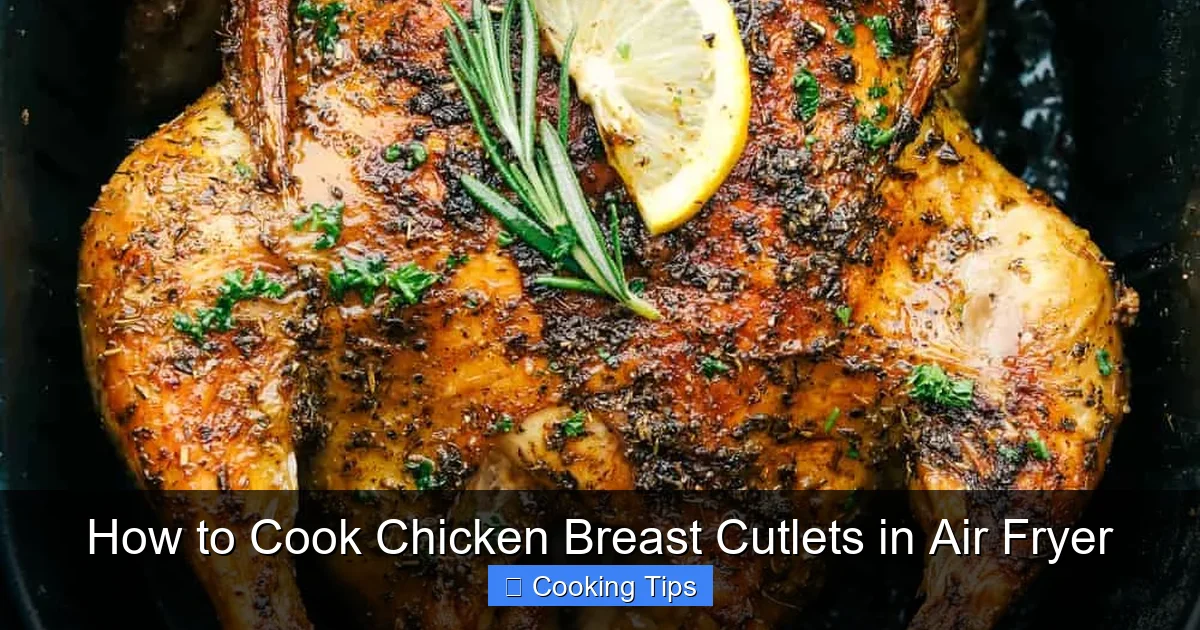
Visual guide about How to Cook Chicken Breast Cutlets in Air Fryer
Image source: therecipecritic.com

Visual guide about How to Cook Chicken Breast Cutlets in Air Fryer
Image source: everydayfamilycooking.com
H3: Even Thickness
Chicken breast cutlets are usually pre-cut to be thinner. However, if your cutlets are of varying thicknesses, it’s a good idea to pound them gently to an even thickness (about ½ to ¾ inch). This ensures they cook at the same rate.
Step 2: Season the Chicken
Now for the flavor! This is where you can get creative.
H3: Oil Application
Place the dried chicken cutlets in a small bowl. Drizzle them with olive oil or avocado oil. Make sure to coat all sides. You don’t need a lot of oil; just enough to help the seasonings stick and promote browning.
H3: Season Generously
Sprinkle salt and black pepper evenly over both sides of the chicken cutlets. If you’re using other seasonings, now is the time to add them. A simple blend of paprika, garlic powder, and onion powder works wonderfully. For a more herby flavor, consider dried Italian herbs.
Pro Tip: For even more flavor, you can marinate the chicken cutlets in your favorite marinade for at least 30 minutes (or up to 4 hours) in the refrigerator before proceeding with oil and seasoning. Just ensure you pat them dry again after marinating to achieve that desired crispiness.
Step 3: Preheat Your Air Fryer
Preheating is key to crispy results.
Most air fryers recommend preheating for 3-5 minutes. Set your air fryer to 380°F (190°C).
Step 4: Arrange Chicken in the Air Fryer Basket
Proper arrangement ensures air circulation.
Once preheated, carefully place the seasoned chicken cutlets in a single layer in the air fryer basket. Do not overcrowd the basket. If you have too many cutlets, cook them in batches. Overcrowding will steam the chicken instead of crisping it, leading to uneven cooking.
Example: If your air fryer basket is 8×8 inches, you can likely fit 2-3 cutlets comfortably. If you have 4, cook them in two separate batches.
Step 5: Air Fry the Cutlets
This is where the magic happens!
H3: Initial Cooking Time
Air fry the chicken cutlets for 8 minutes. This is a starting point, and actual time can vary based on your air fryer model and the thickness of your cutlets.
H3: Flip and Continue Cooking
After 8 minutes, use tongs to carefully flip the chicken cutlets. Continue to air fry for another 4-8 minutes.
H3: Check for Doneness
The chicken is done when it reaches an internal temperature of 165°F (74°C). The best way to ensure this is to use a meat thermometer inserted into the thickest part of the cutlet. The juices should also run clear.
If the chicken isn’t quite done after the second interval, continue air frying in 1-2 minute increments until it reaches the desired temperature. For perfectly juicy results, it’s better to slightly undercook and add more time than to overcook.
Step 6: Rest and Serve
Don’t skip this important step for maximum juiciness.
Once cooked, remove the chicken cutlets from the air fryer basket and place them on a clean plate or cutting board. Let them rest for about 5 minutes before slicing or serving. This resting period allows the juices to redistribute throughout the meat, making it incredibly tender and moist.
Tips for Perfect Air Fryer Chicken Breast Cutlets
Want to guarantee success every time? Keep these tips in mind:
- Know Your Air Fryer: Every air fryer is a little different. Pay attention to its quirks and adjust cooking times as needed.
- Don’t Crowd the Basket: This is worth repeating! Give the chicken space for the best results.
- Use a Thermometer: For foolproof doneness, a meat thermometer is invaluable.
- Experiment with Seasonings: Don’t be afraid to try different spice blends, herbs, or even a touch of smoky flavor with smoked paprika.
- Consider Breaded Cutlets: For an extra crunchy texture, you can bread your cutlets before air frying. Use flour, egg wash, and breadcrumbs (panko breadcrumbs give great crunch!). You might need to adjust cooking time slightly and spray the breaded cutlets with a little oil before air frying. For more inspiration on crispy chicken, check out our guide on how to make Tyson chicken tenders in air fryer.
Troubleshooting Common Issues
Even with the best intentions, things can sometimes go a little awry. Here’s how to fix common problems:
Issue: Chicken is Dry
Cause: Overcooked. This is the most common reason for dry chicken. Or, it wasn’t rested properly.
Solution: Always use a meat thermometer and aim for 165°F (74°C). Try to pull it out a minute or two before if you know your air fryer runs hot. Ensure you let the chicken rest for at least 5 minutes after cooking.
Issue: Chicken is Not Crispy
Cause: Basket was overcrowded, chicken wasn’t patted dry enough, or not enough oil was used.
Solution: Ensure you cook in a single layer with space between cutlets. Pat the chicken very dry before seasoning. Make sure there’s a thin coating of oil.
Issue: Uneven Cooking
Cause: Cutlets were of significantly different thicknesses, or the air fryer basket was rotated inconsistently during cooking.
Solution: Ensure cutlets are of uniform thickness before cooking. Try shaking the basket halfway through cooking if your air fryer model allows, or manually flip each cutlet. For bone-in options, you might find our guide on how to cook bone-in chicken breast in air fryer helpful for understanding different cooking dynamics.
Serving Suggestions
Air fryer chicken breast cutlets are incredibly versatile. Here are some ideas:
- Serve with a side of roasted vegetables (try how to make veg in air fryer for some ideas!).
- Pile them onto a salad for a protein-packed meal.
- Use them in sandwiches or wraps.
- Serve with your favorite dipping sauces.
- Pair them with air fryer fries or sweet potato fries.
Conclusion
Cooking chicken breast cutlets in the air fryer is a game-changer. You get perfectly cooked, juicy, and crispy chicken with minimal effort and cleanup. This method is not only fast but also a healthier alternative to traditional frying. So next time you’re craving a delicious and easy meal, reach for your air fryer and give this recipe a try. You won’t be disappointed! Happy cooking!