Craving crispy, flavorful breaded wings without the fuss? This guide will show you exactly how to cook breaded wings in your air fryer for a delicious, healthier alternative to deep frying. We cover everything from preparing your wings to achieving that perfect crunch every time. Get ready for your new favorite wing recipe!
Are you ready to ditch the deep fryer and embrace a healthier, yet equally delicious, way to enjoy crispy breaded chicken wings? Look no further! This comprehensive guide will walk you through how to cook breaded wings in your air fryer, transforming ordinary chicken into golden, crunchy delights that are perfect for game day, a quick snack, or any meal. We’ll cover everything you need to know, from selecting the right ingredients to the final satisfying bite. Get ready to experience wing perfection with minimal oil and maximum flavor.
Air frying is a game-changer for achieving that coveted crispy texture without the greasy mess of traditional frying. It works by circulating hot air around the food, creating a similar effect to deep-frying but with a fraction of the oil. This means you can enjoy your favorite breaded wings guilt-free, knowing they are a healthier option. So, let’s get started on creating these delicious air fryer breaded wings!
Key Takeaways
- Perfectly Crispy Texture: The air fryer circulates hot air to mimic deep-frying, resulting in irresistibly crispy breaded wings without excess oil.
- Simple Ingredient Prep: You’ll learn how to create a flavorful breading mixture and properly coat your chicken wings for optimal flavor and crispiness.
- Step-by-Step Instructions: A clear, easy-to-follow process guides you from raw wings to perfectly cooked, golden-brown delights.
- Optimal Cooking Temperatures and Times: We provide recommended settings to ensure your wings are cooked through and achieve the desired crispiness.
- Tips for Success: Learn how to avoid soggy wings and achieve even cooking by not overcrowding the air fryer basket.
- Flavor Customization: This guide offers ideas for seasoning your breading to create a wide variety of delicious wing flavors.
- Healthier Alternative: Enjoy your favorite crispy wings with significantly less oil compared to traditional deep-frying methods.
Gathering Your Ingredients and Equipment
Before we dive into the cooking process, let’s make sure you have everything you need. Having all your ingredients and equipment ready will make the process smooth and enjoyable.
What You’ll Need:
- Chicken Wings: You can use whole chicken wings that you cut into drumettes and flats, or you can buy them pre-cut. Ensure they are patted completely dry.
- Flour: All-purpose flour is a great base for your breading.
- Seasonings: This is where you can get creative! Common choices include salt, black pepper, garlic powder, onion powder, paprika, and cayenne pepper for a little heat.
- Optional Binders: Some recipes use egg wash (beaten eggs) or milk to help the breading adhere better.
- Breadcrumbs: Panko breadcrumbs are highly recommended for maximum crispiness. Regular breadcrumbs will also work.
- Oil (Optional, but recommended): A light spray of cooking oil (like avocado, canola, or vegetable oil) helps achieve that golden-brown color and extra crispiness.
- Air Fryer: Of course, your trusty air fryer is the star of the show!
- Mixing Bowls: You’ll need at least two, one for the dry ingredients and one for the wet if you use an egg wash.
- Tongs: For safely handling the chicken wings.
- Wire Rack and Baking Sheet: For resting the wings before cooking and for collecting any drips.
Prepping Your Chicken Wings
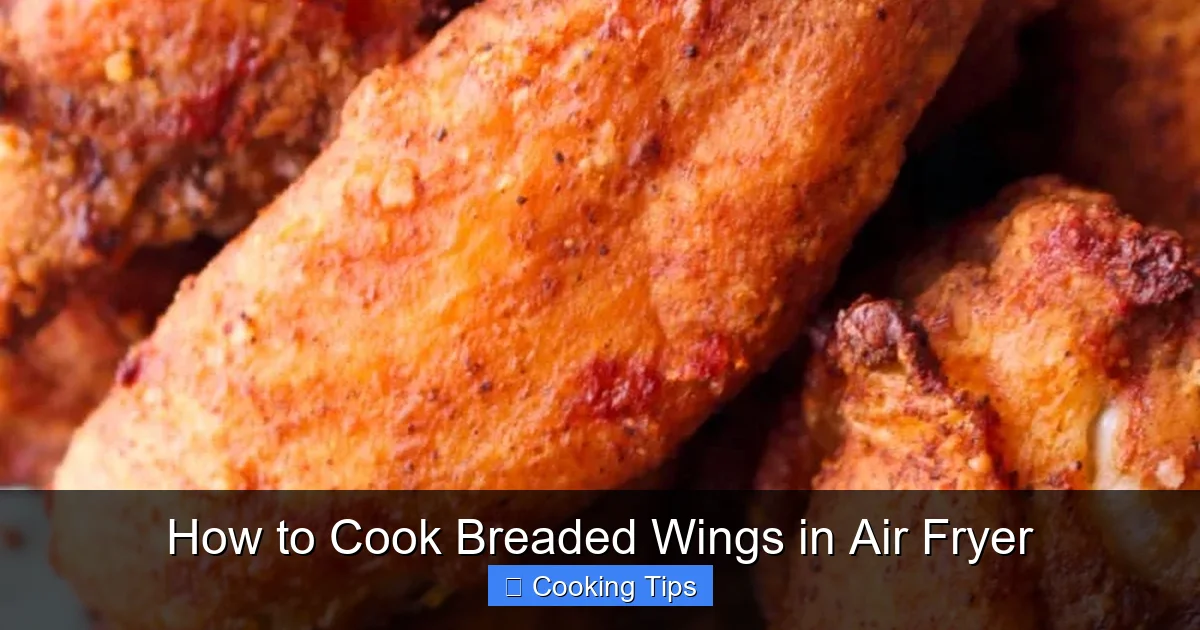
Visual guide about How to Cook Breaded Wings in Air Fryer
Image source: 1.bp.blogspot.com
Proper preparation is key to achieving perfectly crispy breaded wings. Don’t skip these crucial steps!
Step 1: Thaw and Dry Your Wings
If your chicken wings are frozen, make sure they are fully thawed. The most important step for crispy wings is to pat them completely dry with paper towels. Moisture is the enemy of crispiness! The drier the wings, the crispier they will become in the air fryer.
Step 2: Cut Wings (If Necessary)
If you bought whole chicken wings, you’ll need to separate them into drumettes (the smaller, drumstick-like pieces) and flats (the middle sections, often split into two bones). You can also remove the wing tips, as they have less meat and can burn easily.
Step 3: Seasoning the Chicken (Optional First Layer)
Some people like to season the chicken directly before breading. A simple sprinkle of salt and pepper can enhance the overall flavor. However, the main flavor will come from your breading mixture, so this is entirely up to your preference.
Creating the Perfect Breading Mixture
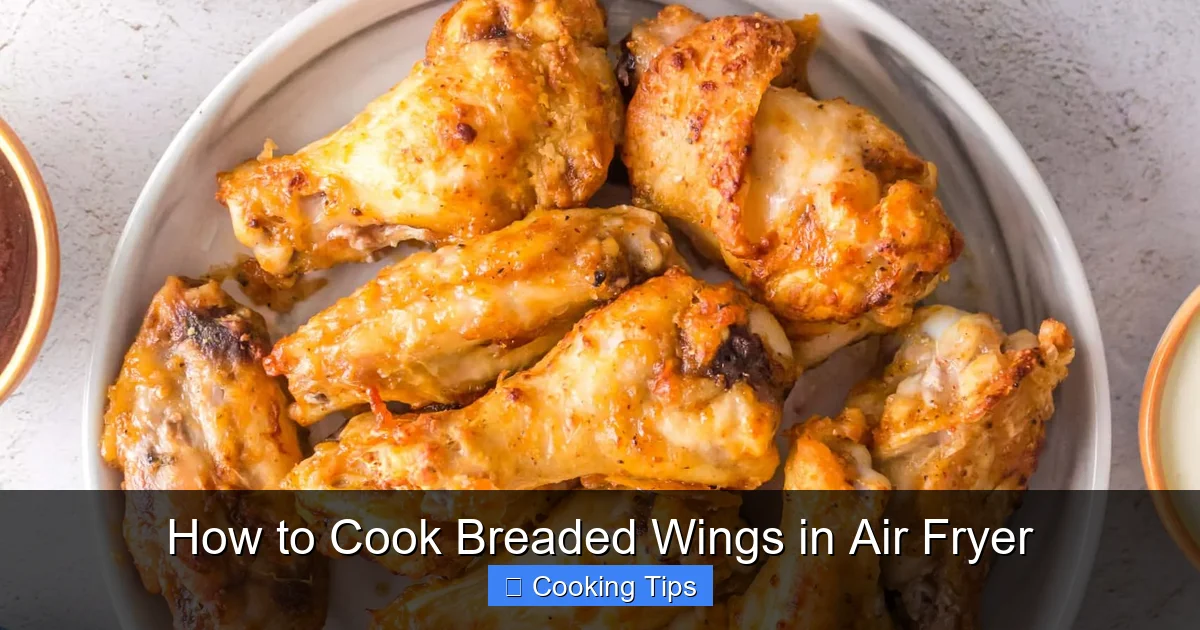
Visual guide about How to Cook Breaded Wings in Air Fryer
Image source: airfryerfanatics.com
This is where the magic happens! A well-seasoned breading is what gives your wings that irresistible flavor and crunch.
Step 1: Combine Dry Ingredients
In a medium-sized mixing bowl, combine your flour and your chosen seasonings. A good starting point for seasonings is:
- 1 teaspoon salt
- 1 teaspoon black pepper
- 1 teaspoon garlic powder
- 1 teaspoon onion powder
- 1/2 teaspoon paprika
- 1/4 teaspoon cayenne pepper (or more, for extra heat)
Feel free to adjust these to your taste! You can also add dried herbs like parsley or Italian seasoning. Whisk everything together until well combined.
Step 2: Prepare Wet Ingredients (If Using)
If you opt for an egg wash, crack two large eggs into a separate shallow bowl and whisk them with a tablespoon of milk or water. This will help the breadcrumbs adhere more effectively.
Step 3: Add Breadcrumbs
In another shallow bowl or plate, add your panko breadcrumbs. If you’re using plain breadcrumbs, you can add a little extra seasoning to them as well.
Breading the Wings
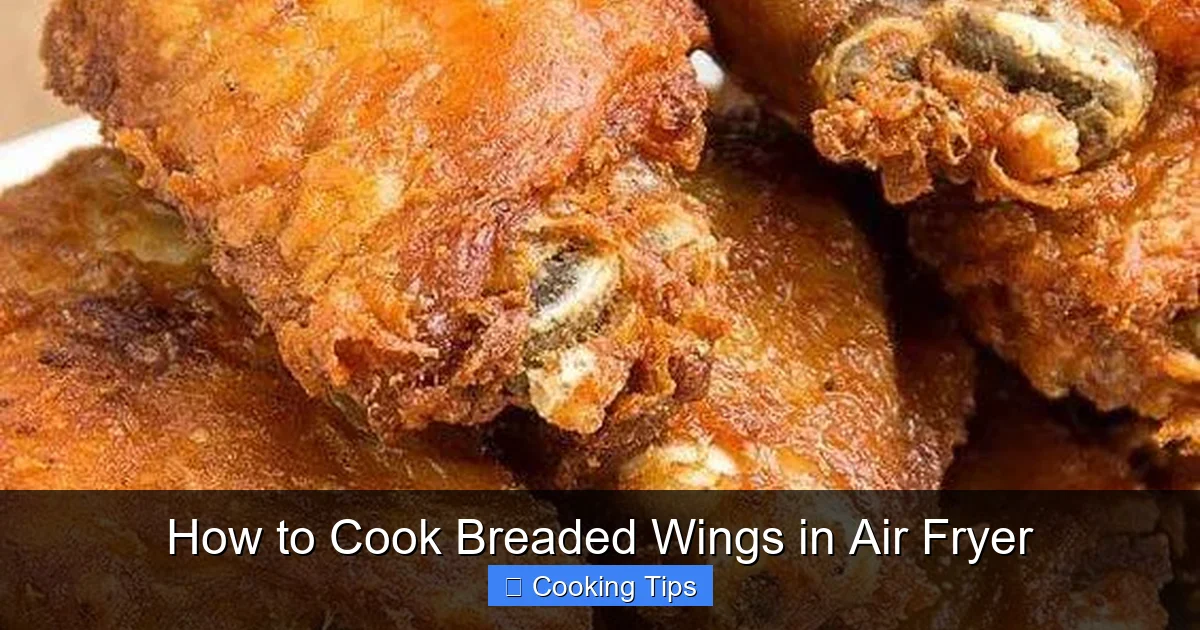
Visual guide about How to Cook Breaded Wings in Air Fryer
Image source: allguiderecipes.info
Now it’s time to coat those wings! The key here is to ensure an even coating.
Step 1: Coat in Flour (If Not Using Egg Wash)
If you’re not using an egg wash, you’ll coat the wings in the seasoned flour first. Toss the dried chicken wings in the seasoned flour mixture, ensuring each piece is well-coated. Shake off any excess flour.
Step 2: Apply the Binder (Egg Wash or Milk)
If you’re using an egg wash, dip each floured wing into the egg wash, letting any excess drip off. If you’re not using an egg wash, you can skip this step.
Step 3: Coat with Breadcrumbs
Place the egg-washed (or just floured) wings into the bowl of breadcrumbs. Gently press the breadcrumbs onto the wings to ensure they stick all over. You want a good, solid coating. For extra crispy wings, you can double-dip: flour, then egg, then breadcrumbs, then repeat egg and breadcrumbs. This creates a thicker crust.
Step 4: Rest the Breading
This is an optional but highly recommended step for extra crispiness. Place the breaded wings on a wire rack set over a baking sheet and let them sit for about 10-15 minutes at room temperature. This allows the coating to dry slightly, which helps it adhere better and become crispier during cooking.
Air Frying Your Breaded Wings
This is the exciting part where your wings transform into crispy perfection.
Step 1: Preheat Your Air Fryer
Preheat your air fryer to 400°F (200°C) for about 3-5 minutes. Preheating ensures the wings start cooking immediately and get that initial blast of hot air for crisping.
Step 2: Arrange Wings in the Air Fryer Basket
Place the breaded wings in a single layer in the air fryer basket. It’s crucial not to overcrowd the basket. Overcrowding will steam the wings instead of crisping them, leading to soggy results. Cook in batches if necessary. For perfectly cooked wings, think of it like this: “Space is your friend for crispiness.”
Step 3: Lightly Oil the Wings (Optional but Recommended)
Lightly spray the tops of the breaded wings with your chosen cooking oil. This helps them achieve a beautiful golden-brown color and adds to the crispy texture.
Step 4: Cook the Wings
Air fry the wings for 20-25 minutes.
Step 5: Flip and Continue Cooking
After about 10-12 minutes, carefully open the air fryer and flip the wings using tongs. This ensures even cooking and browning on all sides. Continue air frying for another 10-13 minutes, or until the wings are golden brown, crispy, and cooked through. The internal temperature of the thickest part of the wing should reach 165°F (74°C). Cooking times can vary depending on the size of your wings and your specific air fryer model.
Step 6: Check for Doneness
You can check for doneness by looking at the color and crispiness. If they aren’t as crispy as you’d like, you can add a few more minutes of cooking time, keeping an eye on them to prevent burning.
Serving Your Air Fryer Breaded Wings
Your delicious, crispy breaded wings are ready to be enjoyed!
Step 1: Toss with Sauce (Optional)
Once cooked, you can toss your wings in your favorite sauce. Classic buffalo sauce, BBQ sauce, honey garlic, or sweet chili are all fantastic options. Do this immediately after taking them out of the air fryer while they are still hot.
Step 2: Serve Immediately
Serve your air fryer breaded wings hot with your favorite dipping sauces like ranch or blue cheese dressing, and perhaps some celery and carrot sticks.
Tips for Crispy, Delicious Wings Every Time
Achieving that perfect crunch is the goal, and these tips will help you get there.
- Pat Them DRY: We can’t stress this enough! Moisture is the enemy of crispiness.
- Don’t Overcrowd: Give the hot air plenty of room to circulate around each wing. Cook in batches if your air fryer is small.
- Use Panko Breadcrumbs: They are lighter and create a crispier coating than traditional breadcrumbs.
- Preheat is Key: A hot air fryer ensures instant crisping.
- Flip for Evenness: Turning the wings halfway through cooking guarantees consistent results.
- Consider a Second Breading: For an extra-thick, crispy crust, double-dip your wings (flour, egg, breadcrumbs, egg, breadcrumbs).
- Experiment with Seasonings: Don’t be afraid to try different spice blends to create unique flavors. For example, you could add curry powder, smoked paprika, or even a pinch of cinnamon for a sweet and savory twist.
Troubleshooting Common Air Fryer Wing Issues
Even with the best intentions, sometimes things don’t go perfectly. Here are a few common issues and how to solve them.
Issue: Wings are not crispy.
Solution: This is most likely due to overcrowding the air fryer basket or not patting the wings dry enough. Ensure each wing has space, and make sure the wings are thoroughly dried before breading. You can also try cooking at a slightly higher temperature for the last few minutes, or ensuring your breading is nice and thick.
Issue: Breading is falling off.
Solution: Make sure you’re using a binder like egg wash or milk. Press the breadcrumbs firmly onto the wings. Letting the breaded wings rest for a bit before cooking can also help the coating adhere better.
Issue: Wings are cooked but not browned enough.
Solution: A light spray of oil before cooking helps achieve a golden-brown color. You can also try adding a bit more paprika to your breading mixture for color, or increasing the cooking time slightly.
Issue: Wings are burning on the outside but not cooked inside.
Solution: This usually means the temperature is too high for the cooking time. Reduce the temperature slightly and increase the cooking time, or ensure your wings are a consistent size so they cook evenly.
Flavor Variations to Try
The beauty of making your own breaded wings is the endless possibilities for flavor!
- Spicy Garlic Parmesan: Add grated Parmesan cheese and extra garlic powder to your breading. Toss with a garlic-parmesan sauce after cooking.
- Lemon Pepper: Incorporate lemon zest and extra black pepper into your flour mixture. A squeeze of fresh lemon juice after cooking is great too.
- Smoky BBQ: Add smoked paprika and a pinch of brown sugar to your breading. Toss with your favorite BBQ sauce.
- Asian Glazed: While not strictly breaded, you can toss plain air-fried wings in a soy-ginger-garlic glaze. For a breaded version, add ginger and garlic powder to your breading.
If you’re looking for other chicken options in the air fryer, check out our guide on [how to cook boneless chicken wings in air fryer](https://airfrye.com/how-to-cook-boneless-chicken-wings-in-air-fryer/).
Conclusion
You’ve now learned the secrets to mastering how to cook breaded wings in your air fryer! By following these simple steps, you can achieve incredibly crispy, flavorful chicken wings with significantly less oil than traditional frying. Experiment with different seasonings and sauces to discover your signature flavor. Whether you’re a seasoned cook or a beginner, this method is straightforward and delivers consistently delicious results. So go ahead, preheat that air fryer, and get ready to impress yourself and your guests with your amazing homemade air fryer breaded wings! Your taste buds will thank you.