Discover how to achieve perfectly crispy and juicy breaded chicken cutlets using your air fryer. This comprehensive guide covers everything from preparation to cooking, ensuring delicious results with minimal oil. You’ll learn essential techniques for a golden-brown exterior and tender, flavorful interior, making this a go-to method for a healthy and satisfying meal.
How to Cook Breaded Chicken Cutlets in Air Fryer
Tired of soggy, oil-logged chicken cutlets? Ready for a healthier, quicker way to enjoy that satisfying crunch? You’ve come to the right place! This guide will walk you through everything you need to know to cook perfectly breaded chicken cutlets in your air fryer. Imagine golden-brown, crispy cutlets with a tender, juicy interior, all made with a fraction of the oil used for traditional frying. We’ll cover preparation, cooking, and even some handy tips to ensure your air fryer adventures are a delicious success. Get ready to transform your weeknight dinners with this simple, effective method.
Key Takeaways
- Simple Preparation: Learn the straightforward steps to prepare your chicken cutlets for air frying, ensuring they are ready for the basket in minutes.
- Crispy Coating Technique: Master the art of achieving a golden-brown, crunchy coating without deep frying, using basic pantry staples.
- Optimal Air Frying Settings: Discover the ideal temperature and cooking time for your breaded chicken cutlets to ensure they are cooked through and perfectly crispy.
- Even Cooking Tips: Understand how to arrange the cutlets in the air fryer basket for maximum airflow and even cooking, preventing soggy spots.
- Versatile Serving Suggestions: Get ideas on how to serve your air fryer chicken cutlets, from classic sandwiches to healthy main dishes.
- Troubleshooting Common Issues: Learn how to address potential problems like uneven cooking or a less-than-crispy coating, so you always get great results.
Why Air Fry Your Chicken Cutlets?
Before we dive into the “how,” let’s talk about the “why.” Air fryers have revolutionized home cooking by mimicking the effects of deep frying with hot air circulation. This means you can achieve that coveted crispy texture on foods like chicken cutlets without submerging them in oil. This leads to:
- Healthier Meals: Significantly less oil is used compared to pan-frying or deep-frying, reducing fat and calorie content.
- Faster Cooking Times: Air fryers preheat quickly and cook food efficiently, often in less time than conventional ovens.
- Consistent Results: The circulating hot air ensures even cooking and a uniform crispiness that’s hard to achieve otherwise.
- Less Mess: No more splattering oil all over your stovetop! Cleanup is usually a breeze.
This method is particularly brilliant for breaded chicken cutlets, as it ensures the coating gets wonderfully crisp while the chicken stays moist and tender.
Gather Your Ingredients and Equipment
To get started, you’ll need a few key items. Having everything ready before you begin will make the process smooth and enjoyable.
Ingredients:
- Boneless, skinless chicken breasts or thighs (about 1-1.5 lbs)
- All-purpose flour (about 1/2 cup)
- Eggs (2 large)
- Breadcrumbs (about 1 cup – Panko breadcrumbs work exceptionally well for extra crispiness)
- Salt and freshly ground black pepper to taste
- Optional seasonings: paprika, garlic powder, onion powder, dried herbs (like parsley or Italian seasoning)
- Cooking spray or a little oil (olive oil, avocado oil, or vegetable oil)
Equipment:
- Air fryer
- Three shallow dishes or plates for the breading station
- Sharp knife
- Cutting board
- Tongs
- Wire rack (optional, for resting cooked cutlets)
- Meat mallet or rolling pin (optional, for pounding chicken)
Step-by-Step Guide to Perfect Air Fryer Chicken Cutlets
Now, let’s get cooking! Follow these steps for delicious, crispy chicken cutlets every time.
Step 1: Prepare the Chicken
The first step is to get your chicken ready. This ensures even cooking and a pleasant eating experience.
Pound the Chicken (Optional but Recommended)
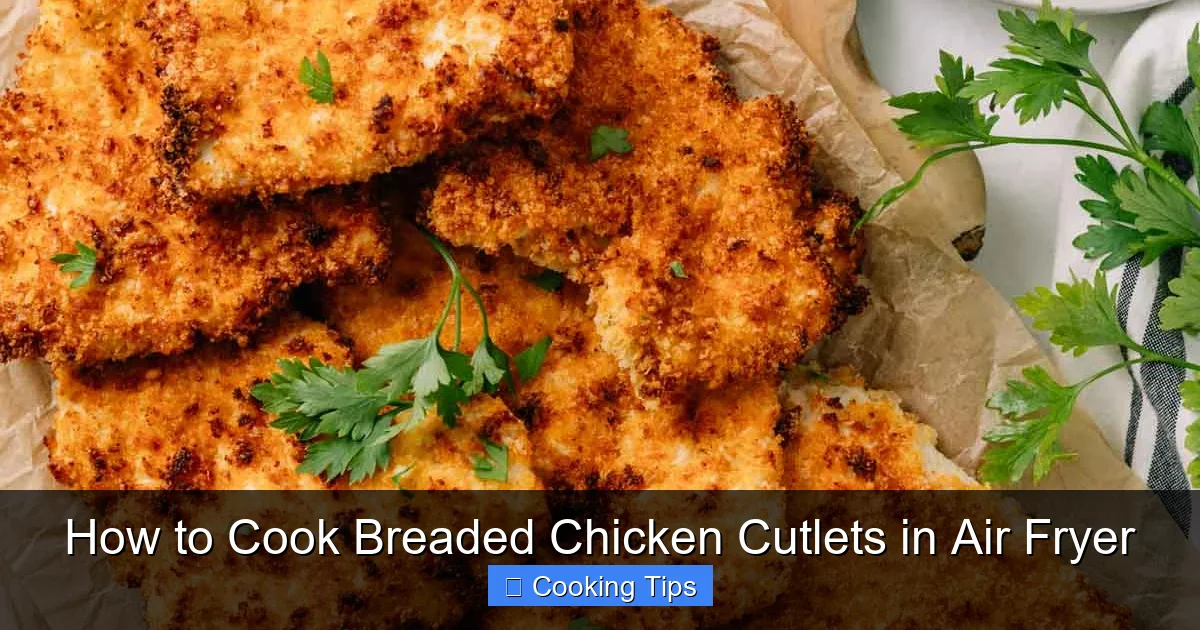
If you’re using chicken breasts, they can sometimes be uneven in thickness. To ensure they cook evenly and become more tender, you can pound them. Place a chicken breast between two pieces of plastic wrap or inside a large zip-top bag. Using the flat side of a meat mallet or a rolling pin, gently pound the chicken to an even thickness of about 1/2 inch. This also helps to tenderize the meat.

Visual guide about How to Cook Breaded Chicken Cutlets in Air Fryer
Image source: cycookery.com
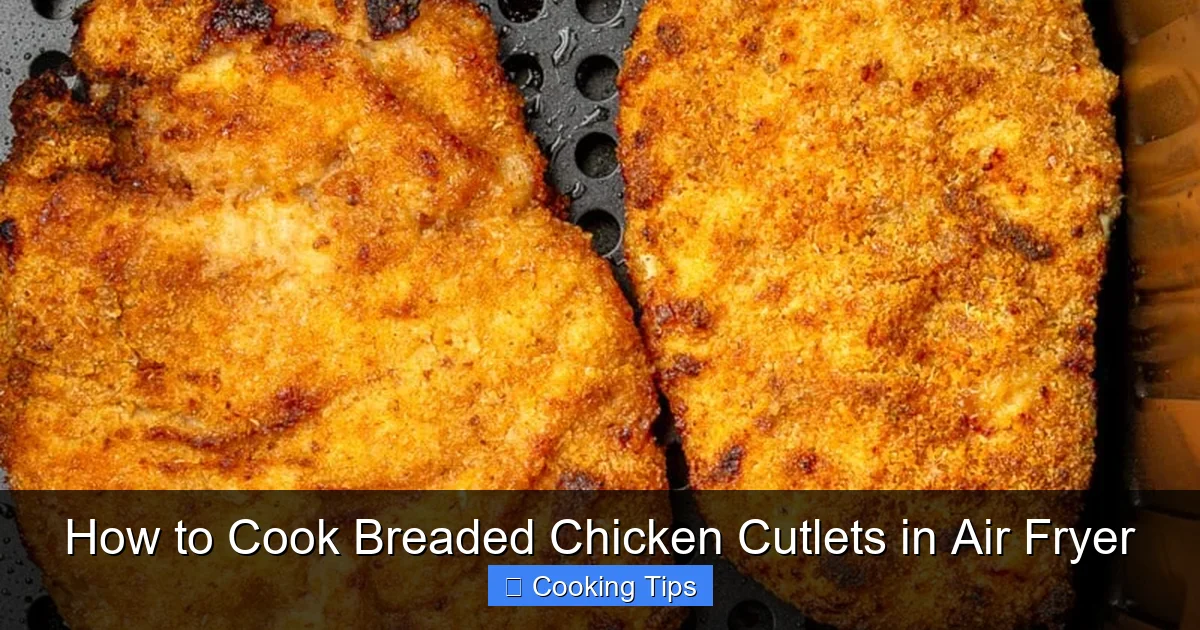
Visual guide about How to Cook Breaded Chicken Cutlets in Air Fryer
Image source: modernminimalism.com
Visual guide about How to Cook Breaded Chicken Cutlets in Air Fryer
Image source: skinnytaste.com
Cut the Chicken
If you’re using whole chicken breasts, you can slice them horizontally to create thinner cutlets. Aim for pieces that are roughly uniform in size and thickness, around 1/2 inch thick. This helps them cook at the same rate in the air fryer.
Step 2: Set Up Your Breading Station
A well-organized breading station is crucial for evenly coated and crispy cutlets. You’ll need three shallow dishes or plates.
Dish 1: Flour Mixture
In the first dish, combine the all-purpose flour with your chosen seasonings. This typically includes salt, pepper, and any optional spices like paprika, garlic powder, or onion powder. Whisk everything together until well combined. The flour coating helps the egg mixture adhere better to the chicken.
Dish 2: Egg Wash
In the second dish, whisk the eggs with a tablespoon of water or milk. This creates your egg wash, which will act as the binder for the breadcrumbs.
Dish 3: Breadcrumbs
In the third dish, place your breadcrumbs. Panko breadcrumbs are highly recommended for their light, airy texture, which results in superior crispiness. If you don’t have Panko, regular breadcrumbs will work, but you might achieve a slightly denser coating. You can also add a little salt and pepper to the breadcrumbs for extra flavor.
Step 3: Bread the Chicken Cutlets
Now it’s time to get those cutlets coated! This process is often referred to as the “three-step breading” method.
First Dip: Flour
Take one chicken cutlet and dredge it in the seasoned flour, ensuring it’s fully coated on all sides. Gently shake off any excess flour. This layer of flour helps absorb moisture and provides a dry surface for the egg to cling to.
Second Dip: Egg Wash
Next, dip the floured chicken cutlet into the egg wash, making sure it’s completely covered. Let any excess egg drip back into the dish.
Third Dip: Breadcrumbs
Finally, transfer the egg-coated cutlet to the breadcrumb dish. Press the breadcrumbs onto the chicken firmly to ensure a good, even coating. You want the entire surface to be covered. For extra crispiness, you can dip it in the egg and then the breadcrumbs a second time. Place the breaded cutlet on a clean plate or a wire rack.
Repeat this process for all your chicken cutlets. If you plan to air fry them immediately, you can place them on a plate. If you need to wait a bit, placing them on a wire rack set over a baking sheet can prevent the bottom from becoming soggy. You can also refrigerate them for about 15-30 minutes; this helps the breading adhere better during cooking.
Step 4: Preheat Your Air Fryer
Preheating is key for achieving that perfect crispy texture right from the start.
Preheat your air fryer to 375°F (190°C). Most air fryers have a preheat setting, or you can simply run it empty for about 3-5 minutes at the desired temperature. A hot air fryer helps to immediately crisp up the exterior of the cutlets.
Step 5: Air Fry the Chicken Cutlets
This is where the magic happens! Proper arrangement in the air fryer basket is crucial for even cooking.
Arrange the Cutlets
Once preheated, carefully arrange the breaded chicken cutlets in a single layer in the air fryer basket. Do not overcrowd the basket. Overcrowding will steam the chicken instead of crisping it, leading to soggy cutlets. You may need to cook in batches, depending on the size of your air fryer. Leave a little space between each cutlet for air to circulate freely. If you’re cooking a lot, consider using multiple batches. For instance, if you’re using an air fryer, it’s designed for single layers.
Add a Little Oil
Lightly spray the tops of the chicken cutlets with cooking spray or brush them with a little oil. This helps them to brown beautifully and achieve an extra crispy finish. Be careful not to drench them; a light coating is all you need.
Cooking Time and Temperature
Air fry the chicken cutlets for 10-15 minutes at 375°F (190°C). The exact cooking time will depend on the thickness of your cutlets and the specific model of your air fryer. It’s essential to flip them halfway through the cooking process.
Flip Halfway
After about 5-7 minutes, carefully open the air fryer basket and flip each chicken cutlet using tongs. This ensures both sides get evenly browned and crispy. Spray or brush the other side with a little oil if desired.
Step 6: Check for Doneness
You want your chicken to be cooked through and safe to eat, while also being wonderfully crispy.
After flipping, continue to cook for another 5-8 minutes, or until the chicken cutlets are golden brown, crispy, and cooked through. The internal temperature of the chicken should reach 165°F (74°C) when checked with an instant-read thermometer. The juices should run clear.
Step 7: Rest and Serve
Once cooked, it’s important to let the chicken rest briefly.
Carefully remove the chicken cutlets from the air fryer basket using tongs. Place them on a wire rack set over a baking sheet. Let them rest for 5 minutes before serving. This allows the juices to redistribute throughout the meat, ensuring a more tender and flavorful cutlet.
Practical Tips for Success
Here are some extra tips to help you master the art of air fryer breaded chicken cutlets:
- Don’t Skip the Flour: The initial flour coating is crucial. It creates a dry surface that allows the egg to adhere properly and the breadcrumbs to stick well.
- Panko is Your Friend: For the crispiest results, Panko breadcrumbs are highly recommended. They are lighter and airier than traditional breadcrumbs.
- Uniform Thickness Matters: As mentioned, pounding your chicken to an even thickness ensures it cooks uniformly. This prevents some parts from being overcooked while others are still raw.
- Don’t Overcrowd: This is perhaps the most important tip. Air needs to circulate around each cutlet for them to become crispy. Cook in batches if necessary. If your air fryer is smaller, you might need to cook in 2 or even 3 batches. A good rule of thumb is to ensure there’s about an inch of space between each piece.
- Shake Your Basket: For some foods, giving the air fryer basket a gentle shake can help distribute oil and crisping. However, for breaded cutlets, flipping with tongs is generally more effective to maintain the breading.
- Experiment with Seasonings: Feel free to get creative with your seasonings! Add a pinch of cayenne pepper for a little heat, some dried dill for freshness, or a dash of smoked paprika for a smoky flavor. A sprinkle of grated Parmesan cheese in the breadcrumbs can also add a delicious savory note.
- For an Extra Crispy Coating: If you love an extra-crunchy exterior, consider a double breading. After the initial breading, dip the cutlet back into the egg wash, then into the breadcrumbs again.
Troubleshooting Common Air Fryer Chicken Cutlet Issues
Even with the best instructions, you might encounter a hiccup. Here are some common issues and how to fix them:
Issue: Soggy Cutlets
Cause: Likely caused by overcrowding the air fryer basket, not preheating the air fryer, or not flipping the cutlets halfway through. Moisture gets trapped, preventing crisping.
Solution: Ensure cutlets are in a single layer with space between them. Always preheat your air fryer. Flip the cutlets halfway through cooking. If they are still not crispy enough after the recommended time, increase the temperature slightly (by 10-15 degrees) and cook for another 2-3 minutes, watching them closely to prevent burning.
Issue: Breading Falling Off
Cause: The chicken might be too wet before breading, or the breading wasn’t pressed on firmly enough.
Solution: Pat the chicken very dry with paper towels before starting the breading process. Press the breadcrumbs firmly onto the cutlets to ensure they adhere well. Refrigerating the breaded cutlets for 15-30 minutes before air frying can also help the breading set.
Issue: Uneven Cooking
Cause: Inconsistent thickness of the chicken cutlets or an unevenly distributed heat in your air fryer.
Solution: Pound the chicken to an even thickness. Flipping the cutlets halfway through cooking is crucial. If you notice one side consistently cooking faster, rotate the basket if your air fryer allows for it, or rearrange the cutlets for the second half of cooking.
Serving Suggestions
Your perfectly air-fried chicken cutlets are incredibly versatile! Here are a few ideas:
- Chicken Parmesan: Top with marinara sauce and mozzarella cheese, then briefly return to the air fryer or oven to melt the cheese.
- Chicken Sandwiches: Serve on a bun with your favorite toppings like lettuce, tomato, and mayo.
- Salads: Slice or chop and add to a green salad for a protein boost.
- With Sides: Pair with roasted vegetables, a simple salad, mashed potatoes, or fries for a complete meal.
- Dipping Sauces: Serve with a variety of dipping sauces like honey mustard, ranch, BBQ sauce, or ketchup.
Conclusion
Cooking breaded chicken cutlets in the air fryer is a fantastic way to enjoy a crispy, flavorful meal with less fat and hassle. By following these steps – from proper preparation and breading to preheating and careful arrangement in the air fryer basket – you’re well on your way to culinary success. Remember to avoid overcrowding and to flip your cutlets for even cooking. With just a few simple ingredients and your air fryer, you can whip up this delicious dish any night of the week. So, go ahead, try it out, and savor the crunch!