Unlock the secret to perfectly cooked chicken breast in your air fryer! This guide provides a comprehensive breakdown of cooking times and temperatures based on chicken breast thickness and whether it’s fresh or frozen. Learn essential tips for achieving a juicy, tender result and avoid common pitfalls, making air fryer chicken breast a weeknight dinner staple.
How Long to Cook Chicken Breast in Air Fryer
Tired of dry, bland chicken breast? The air fryer is your new best friend! It’s an incredible appliance for cooking chicken breast quickly and efficiently, delivering a delicious, juicy result that’s hard to beat. But knowing exactly how long to cook it can be tricky. This comprehensive guide will walk you through everything you need to know to achieve perfectly cooked chicken breast in your air fryer, every single time.
We’ll cover the essential factors that influence cooking time, provide step-by-step instructions, and offer practical tips to ensure your chicken breast is tender, flavorful, and safely cooked. Whether you’re a seasoned air fryer user or just starting out, you’ll learn how to get it right.
Key Takeaways
- Perfectly Cooked Chicken Breast: Air frying offers a quick and efficient way to cook chicken breast, yielding a tender and juicy result with minimal oil.
- Time Varies by Thickness: The cooking time for air fryer chicken breast depends significantly on its thickness. Thicker breasts require more time than thinner ones.
- Temperature is Key: A consistent temperature of 375°F (190°C) is generally recommended for optimal cooking and browning.
- Use a Meat Thermometer: The most reliable way to ensure chicken is cooked through is by using a meat thermometer to check for an internal temperature of 165°F (74°C).
- Preheating is Important: Always preheat your air fryer to ensure even cooking and a better texture.
- Don’t Overcrowd: Cook chicken in a single layer without overlapping to allow hot air to circulate properly for even crisping.
- Resting is Crucial: Allowing the chicken breast to rest after cooking helps redistribute juices, resulting in a more moist and tender final product.
Understanding the Factors for Perfect Air Fryer Chicken Breast
Before we dive into the cooking times, it’s important to understand what affects how long your chicken breast needs to cook in the air fryer. Several key elements play a role:
1. Thickness of the Chicken Breast
This is arguably the most crucial factor. A thin chicken cutlet will cook much faster than a thick, whole chicken breast. You can often achieve more consistent results by pounding thicker breasts to an even thickness. If you’re cooking very thick chicken breasts, it might be beneficial to explore how to cook bone-in chicken breast in air fryer, as the bone can sometimes help regulate cooking.
2. Air Fryer Model and Wattage
Different air fryer models have varying heating elements and airflow. A more powerful air fryer might cook slightly faster than a less powerful one. It’s always a good idea to familiarize yourself with your specific air fryer’s capabilities. Understanding how to operate an air fryer correctly can also make a difference.
3. Starting Temperature of the Chicken
Is your chicken coming straight from the refrigerator, or has it been sitting out for a bit? While we generally recommend cooking chicken cold from the fridge for safety, a chicken breast that has been at room temperature for a short period might cook a little faster.
4. Whether the Chicken is Frozen or Fresh
Cooking frozen chicken breast requires significantly more time than fresh chicken. It’s generally recommended to thaw chicken before air frying for best results and more even cooking. If you must cook frozen chicken, be prepared for a longer cooking duration.
5. Marinades or Coatings
If your chicken breast is coated in breadcrumbs or a thick marinade, this can affect cooking time. Coatings can sometimes help it brown faster, while very dense marinades might require slightly adjusted timing.
Ideal Temperature and General Guidelines
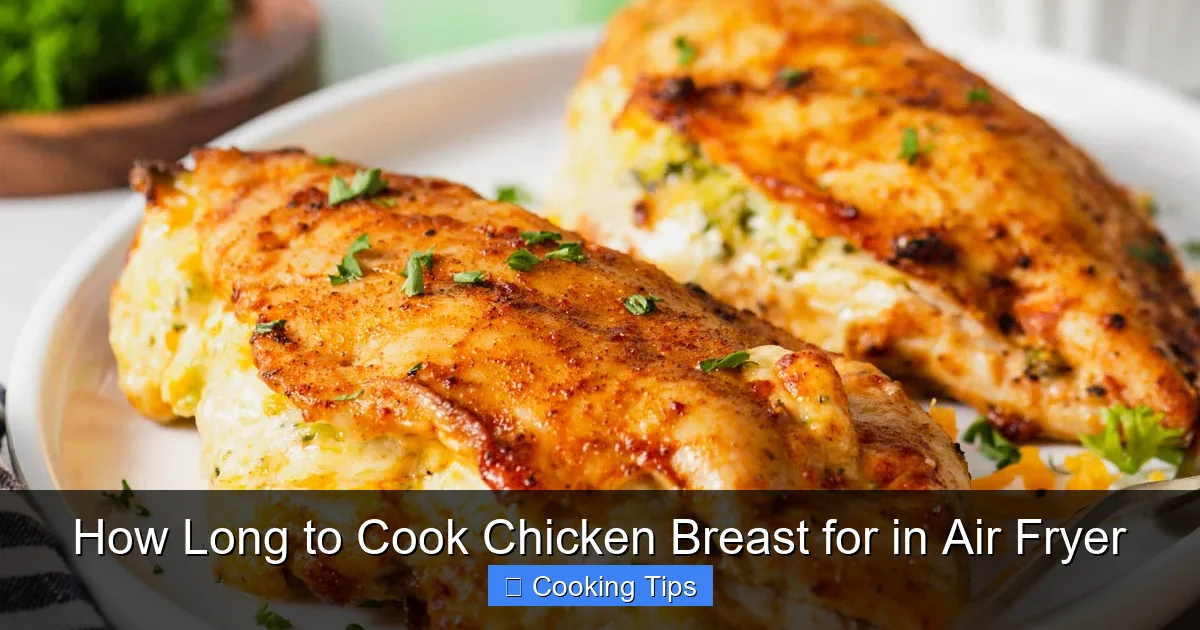
Visual guide about How Long to Cook Chicken Breast for in Air Fryer
Image source: recipes.net
For most air fryer chicken breast recipes, a consistent temperature is key for achieving both a cooked interior and a nice exterior.
* Recommended Temperature: 375°F (190°C)
* Why this temperature? It’s hot enough to cook the chicken through and develop a golden-brown crust without drying out the exterior too quickly.
How Long to Cook Chicken Breast in the Air Fryer: A Step-by-Step Guide
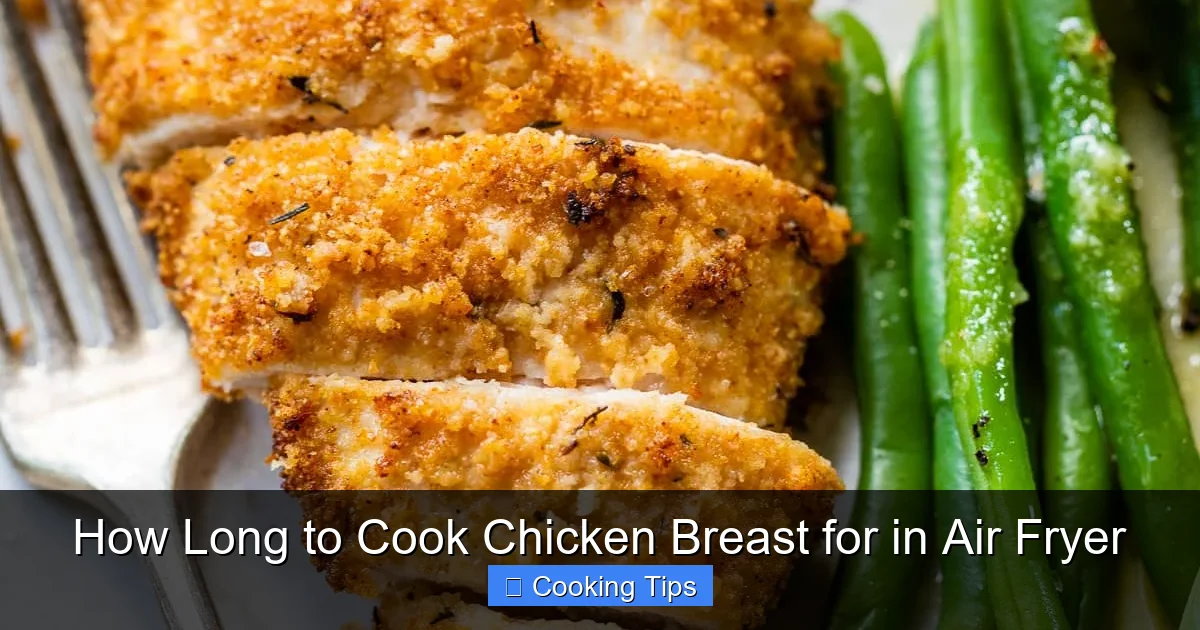
Visual guide about How Long to Cook Chicken Breast for in Air Fryer
Image source: wellplated.com
Let’s get to the main event! This guide is designed to give you clear, actionable steps for cooking chicken breast in your air fryer. We’ll focus on boneless, skinless chicken breasts, as they are the most common.
Step 1: Prepare Your Chicken Breast
This is where you get your chicken ready for its air fryer journey.
* **Thawing (if frozen):** If your chicken is frozen, it’s best to thaw it completely in the refrigerator. For a quick thaw, you can use the defrost setting on your microwave, but ensure it’s cooked immediately after.
* **Trimming:** Trim any excess fat from the chicken breasts.
* **Pounding (Optional but Recommended):** For thicker chicken breasts, pound them to an even thickness, about 0.5 to 0.75 inches. This ensures even cooking and prevents the thinner parts from drying out before the thicker parts are done. You can use a meat mallet or the bottom of a heavy pan. Place the chicken between two sheets of parchment paper or in a zip-top bag before pounding.
* **Seasoning/Marinating:** This is your chance to add flavor! You can simply season with salt, pepper, garlic powder, and paprika, or use your favorite marinade. If marinating, ensure you pat the chicken dry before air frying, especially if it has a sugary marinade, to prevent burning.
Step 2: Preheat Your Air Fryer
This step is crucial for achieving that perfect texture and ensuring your chicken cooks evenly.
* How to do it: Set your air fryer to 375°F (190°C) and let it run for about 3-5 minutes. Some air fryers have a preheat function, which is ideal. If not, just set the temperature and time. Preheating helps create a consistent cooking environment from the moment the food goes in.
Step 3: Arrange Chicken in the Air Fryer Basket
Proper placement is key to even cooking.
* Single Layer: Place the seasoned chicken breasts in a single layer in the air fryer basket.
* Don’t Overcrowd: Ensure there is some space between each piece. If you have too many pieces, cook them in batches. Overcrowding prevents hot air from circulating, leading to unevenly cooked chicken. This is also why learning how to operate an air fryer step by step can be so helpful.
Step 4: Cook the Chicken Breast
Now for the actual cooking. The timing will depend on thickness.
* For 0.5-inch thick chicken breasts: Cook for approximately 12-15 minutes.
* For 0.75-inch thick chicken breasts: Cook for approximately 15-18 minutes.
* For 1-inch thick chicken breasts: Cook for approximately 18-22 minutes.
**Important Note:** These are estimates. It’s always best to check for doneness.
Step 5: Flip and Check for Doneness
Halfway through the cooking time, it’s a good idea to flip the chicken.
* Flip: Carefully open the air fryer basket and use tongs to flip each chicken breast.
* Check Internal Temperature: The most reliable way to know if your chicken is done is by using an instant-read meat thermometer. Insert the thermometer into the thickest part of the chicken breast, avoiding the bone if present (though we are discussing boneless here). The chicken is safely cooked when it reaches an internal temperature of 165°F (74°C).
* Visual Cues: If you don’t have a thermometer, the juices should run clear when pierced with a fork, and the inside should be opaque white, with no pinkness. However, a thermometer is far more accurate and prevents under or overcooking.
Step 6: Rest Your Chicken
This is a critical step that many people skip, but it makes a huge difference!
* **Why Rest?** Once cooked, the juices in the chicken are pushed to the center. Allowing it to rest lets those juices redistribute throughout the meat. If you cut into it immediately, the juices will run out, leaving you with dry chicken.
* **How to Rest:** Remove the cooked chicken breast from the air fryer basket and place it on a clean cutting board or plate. Tent it loosely with aluminum foil.
* **Resting Time:** Let the chicken rest for at least 5-10 minutes.
Cooking Frozen Chicken Breast in the Air Fryer
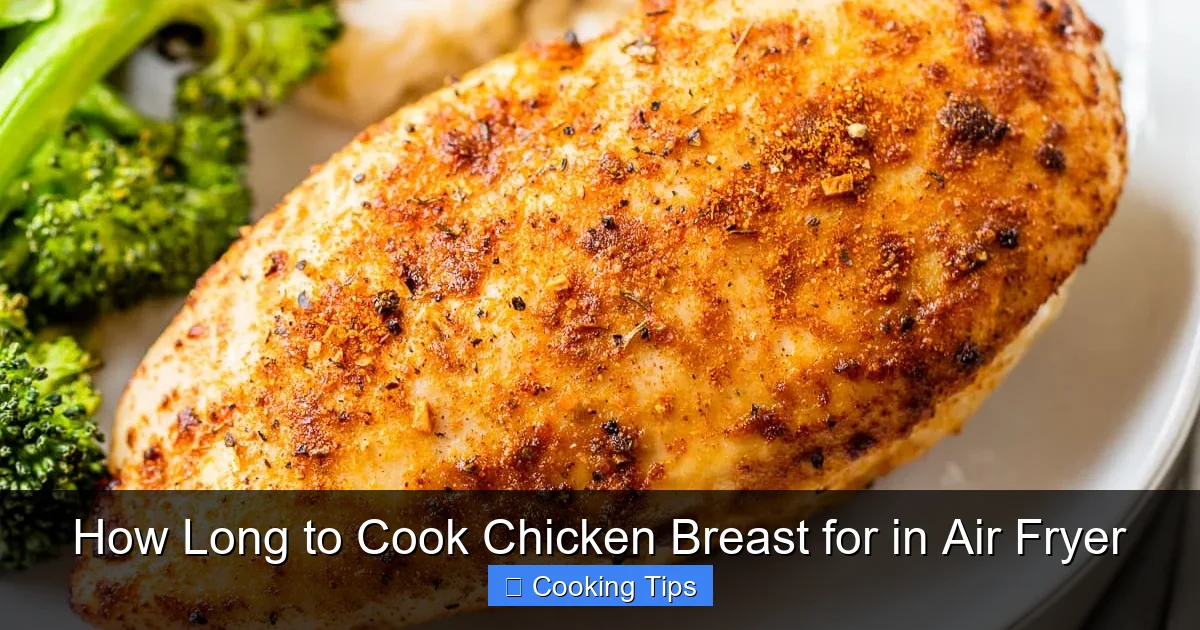
Visual guide about How Long to Cook Chicken Breast for in Air Fryer
Image source: wellplated.com
While not ideal, you can cook chicken breast from frozen.
* **Increased Time:** Expect to add about 5-10 minutes to the cooking time for boneless, skinless chicken breasts.
* **Temperature Check:** It’s even more important to use a meat thermometer to ensure the chicken reaches 165°F (74°C) throughout. Frozen chicken can sometimes have colder spots.
* **Broader Thickness:** Frozen chicken breasts, especially if they are very thick, might benefit from being cooked at a slightly lower temperature initially, like 350°F (175°C), for longer, then finishing at 375°F (190°C) to get a nice sear. However, for simplicity and speed, starting at 375°F and increasing the time is often sufficient for thinner frozen breasts.
Troubleshooting Common Air Fryer Chicken Breast Issues
Even with the best instructions, sometimes things don’t go perfectly. Here are some common problems and how to fix them:
Problem: My Chicken Breast is Dry
* **Cause:** Overcooked, or not rested properly.
* **Solution:** Use a meat thermometer to ensure you’re not cooking past 165°F (74°C). Always rest your chicken for at least 5 minutes after cooking. Try pounding thicker breasts to an even thickness for more consistent cooking. Consider marinating for added moisture.
Problem: My Chicken Breast is Unevenly Cooked (Dry in some spots, pink in others)
* **Cause:** Uneven thickness of the chicken breast or overcrowding the basket.
* **Solution:** Always pound your chicken breasts to a uniform thickness. Cook in a single layer without overlapping. Make sure your air fryer is preheated properly.
Problem: My Chicken Breast Isn’t Browning Nicely
* **Cause:** Air fryer not hot enough, not enough oil (if using), or air fryer is too old and heating element is weak.
* **Solution:** Ensure your air fryer is fully preheated. Lightly brushing the chicken with oil can help with browning and crisping. If you’ve tried everything else, your air fryer might be due for an upgrade.
Problem: My Air Fryer is Smoking
* **Cause:** Often due to excess fat or food particles burning on the heating element or in the basket.
* **Solution:** Ensure you clean your air fryer regularly. If cooking fatty meats, you might need to empty the grease tray during cooking. For chicken breast, this is less common unless there’s a lot of residual fat.
Tips for Delicious Air Fryer Chicken Breast
* Experiment with Spices: Don’t limit yourself to salt and pepper. Try smoked paprika, onion powder, garlic powder, cumin, chili powder, or your favorite spice blends.
* **Marinate for Flavor and Moisture:** Marinades not only add flavor but can also tenderize the chicken. Aim for marinades that include an acid (like lemon juice or vinegar) and some oil.
* Get Creative with Coatings: While simple seasoning is great, you can also coat chicken breast in panko breadcrumbs, grated Parmesan cheese, or a mix of herbs and spices for a delicious crispy exterior. If you are looking for crispy chicken, you might also want to check out how to make Tyson chicken tenders in air fryer for inspiration.
* **Use it in Salads and Sandwiches:** Cooked air fryer chicken breast is incredibly versatile. Shred it for tacos, slice it for sandwiches, or dice it for salads.
* **Don’t Forget the Rest:** We cannot stress this enough – resting is key to juicy chicken!
Conclusion
Mastering the art of cooking chicken breast in the air fryer is simpler than you think. By understanding the role of thickness, temperature, and proper technique, you can consistently achieve tender, juicy, and perfectly cooked results. Remember to preheat your air fryer, cook in a single layer, use a meat thermometer to confirm doneness at 165°F (74°C), and always, always let your chicken rest.
With this guide, you’re well-equipped to make air fryer chicken breast a regular, delicious part of your meal rotation. Enjoy your perfectly cooked chicken!