Discover the secret to perfectly cooked baked potatoes in your air fryer! This guide provides all the information you need, from selecting the right potatoes to achieving fluffy interiors and crispy skins. Get ready to enjoy delicious, quick, and easy air fryer baked potatoes every time. Master the art of the air fryer baked potato with our simple, step-by-step instructions.
How Long to Cook Baked Potato Air Fryer
Hello, potato lovers! Are you looking for a faster, easier, and more delicious way to make baked potatoes? Forget the long wait in the oven. The air fryer is here to revolutionize your potato game! In this comprehensive guide, we’ll walk you through everything you need to know to achieve perfectly fluffy insides and irresistibly crispy skins on your baked potatoes using your air fryer.
We’ll cover the best potatoes to use, how to prep them for success, the ideal cooking times and temperatures, and even some tips for troubleshooting. Get ready to enjoy the best baked potato you’ve ever made, with minimal effort!
Key Takeaways
- Select the Right Potato: Russet potatoes are the best choice for their starchy texture, which leads to fluffy insides and crispy skins when air-fried.
- Prep is Key: Thoroughly wash and dry your potatoes. Pricking them with a fork is essential to prevent them from bursting during cooking.
- Oil and Season Generously: A light coating of oil and your favorite seasonings (like salt and pepper) before cooking helps create that desirable crispy skin.
- Cooking Time Varies: The exact cooking time depends on potato size, ranging from 30-50 minutes. Larger potatoes will take longer.
- Temperature Matters: A consistent temperature of 400°F (200°C) is ideal for achieving both cooked-through interiors and crispy exteriors.
- Flip for Evenness: Flipping the potatoes halfway through cooking ensures they cook evenly on all sides and develop a uniform crispness.
- Check for Doneness: A fork or skewer inserted into the potato should slide in easily, indicating it’s tender and ready to enjoy.
[FEATURED_IMAGE_PLACEHOLDER]
Why Use Your Air Fryer for Baked Potatoes?
You might be wondering, “Why an air fryer for a baked potato?” The answer is simple: speed, convenience, and incredible texture. Traditional oven-baked potatoes can take an hour or more to cook. Your air fryer, on the other hand, uses rapid hot air circulation to cook food much faster. This means you can go from raw potato to a delicious, fully cooked baked potato in a fraction of the time.
Beyond speed, the air fryer excels at creating that sought-after crispy skin. The intense, circulating hot air crisps up the exterior beautifully, giving you a satisfying crunch that complements the soft, fluffy interior. It’s a winning combination that’s hard to beat. If you love crispy food, you might also enjoy learning how to make waffle fries in the air fryer.
Choosing the Right Potatoes
Not all potatoes are created equal when it comes to baking. For the best baked potato experience in your air fryer, you want a potato that has a high starch content.
Russet Potatoes: The Gold Standard
When it comes to baked potatoes, the Russet reigns supreme. Its dense, starchy flesh cooks up incredibly light and fluffy. The skin of a Russet is also perfect for crisping in the air fryer. Look for firm, smooth-skinned Russet potatoes for the best results.
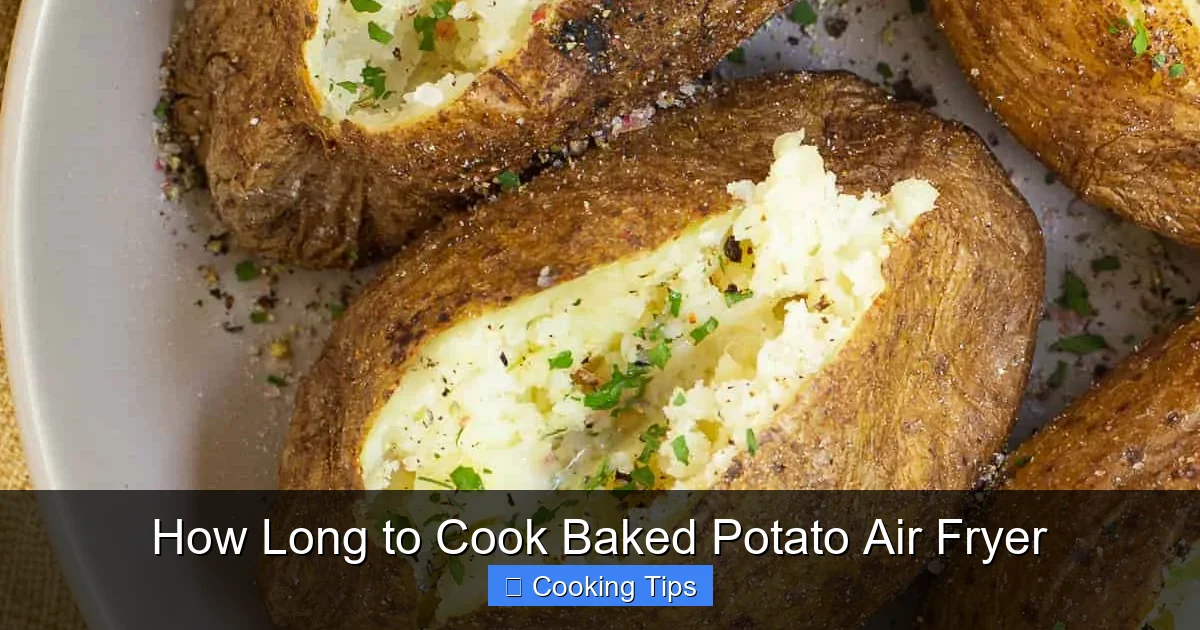
Visual guide about How Long to Cook Baked Potato Air Fryer
Image source: intentionalhospitality.com
Other Options (with caveats)
While Russets are ideal, you can also use other starchy potatoes like Idaho potatoes (which are often Russets anyway) or certain varieties of Yukon Gold. However, waxy potatoes like red potatoes or fingerlings are not the best choice for a classic baked potato texture, as they tend to be denser and less fluffy. They are better suited for other air fryer preparations, perhaps like bite-sized roasted potatoes.
Preparing Your Potatoes for the Air Fryer
Proper preparation is crucial for achieving the perfect air fryer baked potato. Follow these simple steps to get your potatoes ready for their crispy, fluffy transformation.
Step 1: Wash and Scrub
This is a vital first step for any potato dish. Thoroughly wash your potatoes under cool running water. Use a vegetable brush to scrub away any dirt or debris from the skin. Since you’ll be eating the skin (and it’s going to get wonderfully crispy!), cleanliness is paramount.
Visual guide about How Long to Cook Baked Potato Air Fryer
Image source: cdn.momsdish.com
Step 2: Dry Them Completely
After washing, it’s essential to dry the potatoes completely with a clean kitchen towel or paper towels. Moisture on the skin can prevent it from crisping up properly. A dry surface is key to achieving that golden, crunchy texture.
Step 3: Prick the Potatoes
This step is non-negotiable for safety! Use a fork or a sharp knife to prick each potato several times all over. This allows steam to escape during cooking. Without pricking, the steam can build up inside the potato, leading to a potential explosion in your air fryer – not ideal!
Step 4: Oil and Season
This is where the magic begins for the skin. Drizzle your potatoes with a tablespoon or two of your preferred cooking oil. Olive oil, avocado oil, or even vegetable oil work well. Use your hands to rub the oil all over the potato, ensuring an even coating. Then, generously season with salt and freshly ground black pepper. The oil and salt are what create that delicious, crispy, and flavorful skin.
Air Frying Your Baked Potatoes: Step-by-Step
Now that your potatoes are prepped, it’s time to get them into the air fryer!
Step 1: Preheat Your Air Fryer
Preheating is important for ensuring even cooking and consistent results. Preheat your air fryer to 400°F (200°C). Most air fryers have a preheat function, or you can simply set the temperature and let it run for about 3-5 minutes before adding your potatoes.
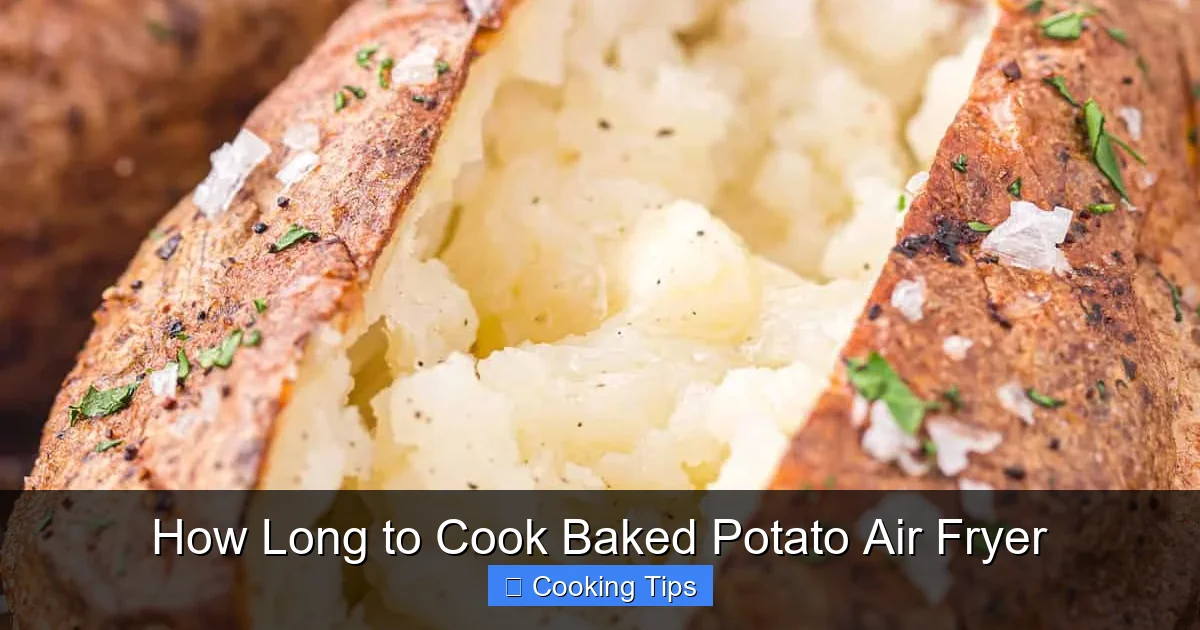
Visual guide about How Long to Cook Baked Potato Air Fryer
Image source: bellyfull.net
Step 2: Arrange Potatoes in the Air Fryer Basket
Place the prepared potatoes in a single layer in the air fryer basket. Make sure they are not touching each other. Overcrowding the basket will steam the potatoes rather than crisp them, hindering the crisping process. If you’re cooking more than a couple of potatoes, you might need to cook them in batches.
Step 3: Set the Cooking Time
The cooking time will vary depending on the size of your potatoes. Here’s a general guideline:
- Small to Medium Potatoes (around 6-8 oz): Start with 30-35 minutes.
- Medium to Large Potatoes (around 8-10 oz): Start with 35-45 minutes.
- Extra Large Potatoes (over 10 oz): Start with 45-50 minutes, or even slightly longer.
It’s always better to start with a shorter time and add more if needed. You can check for doneness a bit earlier.
Step 4: Flip Halfway Through
About halfway through the estimated cooking time (e.g., after 15-20 minutes for a medium potato), carefully remove the air fryer basket and flip each potato over. This ensures that all sides of the potato get exposed to the hot air, leading to even crisping and cooking.
Step 5: Check for Doneness
Once the initial cooking time is up, it’s time to check if your potatoes are ready. The best way to do this is to carefully insert a fork or a skewer into the thickest part of the potato. If it slides in easily with no resistance, your potato is perfectly cooked and fluffy inside. If it’s still firm, continue cooking in 5-minute increments, checking for doneness after each interval.
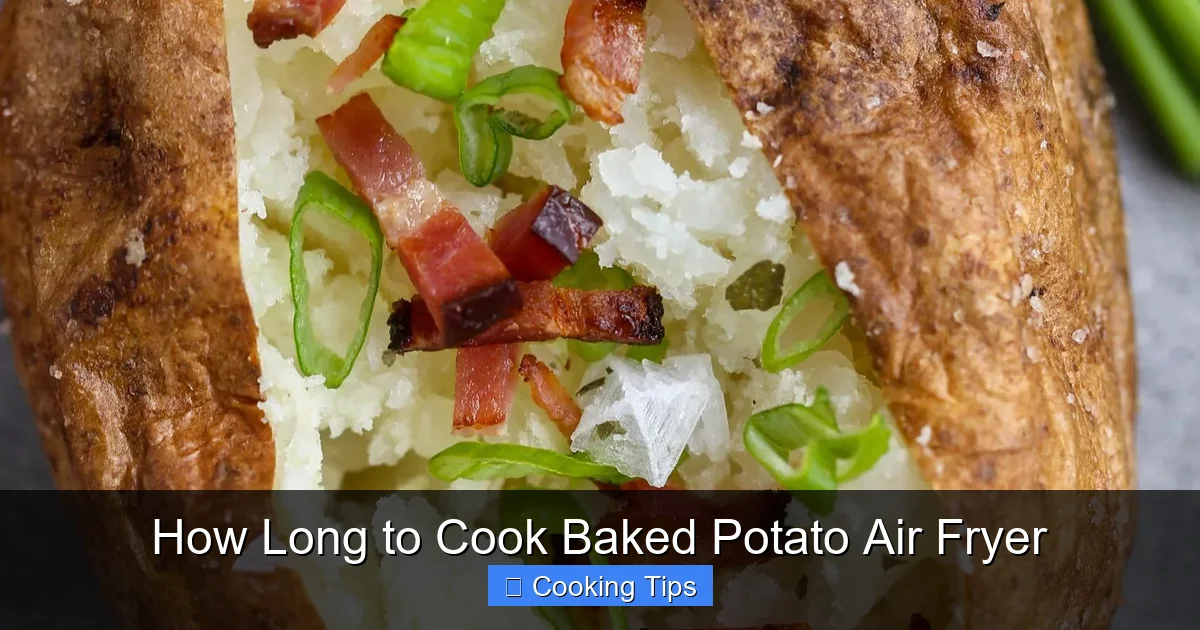
Step 6: Serve and Enjoy!
Once your baked potatoes are perfectly cooked, carefully remove them from the air fryer basket. Serve them immediately with your favorite toppings. Classic choices include butter, sour cream, chives, shredded cheese, bacon bits, or even a dollop of Greek yogurt.
Tips for the Crispiest Skins
Want those skins to be extra crispy? Here are some pro tips:
- Use Enough Oil: Don’t skimp on the oil. A good coating is essential for crisping.
- Salt Generously: Salt not only adds flavor but also helps draw out moisture from the skin, making it crispier.
- Don’t Overcrowd: Ensure there’s good airflow around each potato.
- Higher Temperature: While 400°F is standard, some find a slightly higher temp (if your air fryer allows) for the last few minutes can boost crispiness, but watch carefully to avoid burning.
- Consider a Second Pass: If your potatoes are cooked through but the skin isn’t as crisp as you’d like, you can sometimes pop them back into the air fryer for another 5-10 minutes at 400°F (200°C) until they reach your desired crispness.
Troubleshooting Common Issues
Even with the best instructions, sometimes things don’t go exactly as planned. Here are a few common issues and how to fix them.
Issue: Potatoes are still hard inside.
Solution: This usually means they needed more time. Continue cooking in 5-minute increments, checking for doneness each time. Ensure your air fryer is preheated properly and that you’re not overcrowding the basket, as this can lead to uneven cooking.
Issue: Skins are not crispy.
Solution: The most common reason for this is insufficient oil or salt, or overcrowding the basket. Make sure you’ve coated them well and that there’s ample space for air circulation. If the potato is cooked through but the skin is soft, try increasing the cooking time slightly at the end, or follow the “Second Pass” tip above.
Issue: Potatoes are cooked on the outside but not the inside.
Solution: This can happen with very large potatoes. If the outside is getting too brown and crispy before the inside is cooked, you can try reducing the temperature slightly (e.g., to 375°F or 190°C) and extending the cooking time. Covering the potato loosely with foil for the last part of cooking can also help the inside cook without the outside burning.
Issue: Potatoes exploded!
Solution: This is why pricking your potatoes is so important. Always ensure you’ve made several deep pricks with a fork or knife before placing them in the air fryer. If this happens, unplug your air fryer and let it cool completely before cleaning. Check your manual for specific cleaning instructions.
Variations and Topping Ideas
Once you’ve mastered the basic air fryer baked potato, the possibilities for toppings are endless!
- Cheesy Delight: Top with shredded cheddar, Monterey Jack, or a blend of your favorite cheeses, and let the residual heat melt it.
- Bacon Lover’s Dream: Add crumbled cooked bacon bits and a dollop of sour cream or Greek yogurt.
- Loaded Potato: Combine cheese, bacon, chives, and sour cream for the ultimate loaded baked potato.
- Broccoli and Cheese: Steamed or air-fried broccoli florets topped with melted cheese.
- Chili Cheese Potato: A hearty topping of your favorite chili and melted cheese.
- Mediterranean Twist: Feta cheese, olives, sun-dried tomatoes, and a drizzle of olive oil.
- Plant-Based Power: Nutritional yeast for a cheesy flavor, avocado, black beans, salsa, and cilantro.
Don’t be afraid to experiment! Your air fryer is also great for cooking other dishes like hot dogs or even a simple biscuit, offering a variety of quick meal options.
Conclusion
Making perfect baked potatoes in your air fryer is surprisingly simple and incredibly rewarding. By following these steps, you can achieve fluffy, tender interiors and deliciously crispy skins in a fraction of the time it takes in a conventional oven. Remember to choose the right potatoes, prep them well, season generously, and cook at the correct temperature. Your air fryer is a versatile kitchen tool, and mastering the baked potato is a fantastic step in its usage. So, grab your Russets, preheat that air fryer, and get ready to enjoy a classic comfort food made better, faster, and easier. Happy air frying!