Cooking chicken breast in an air fryer is quick and easy, resulting in perfectly cooked, juicy meat. This guide details the ideal cooking times based on thickness and temperature, ensuring safe and delicious meals. You’ll learn how to prepare, cook, and check for doneness, along with troubleshooting tips for the best air fryer chicken breast results.
How Long to Cook Air Fryer Chicken Breast
Welcome to your ultimate guide on achieving perfectly cooked chicken breast in your air fryer! If you’ve ever dreamed of tender, juicy chicken without the fuss of a skillet or oven, the air fryer is your new best friend. Many people struggle to get chicken breast just right – often ending up with dry, rubbery disappointments. But fear not! With this comprehensive guide, you’ll learn the secrets to air fryer chicken breast success. We’ll cover everything from prep to the perfect cooking time, ensuring delicious results every single time.
Key Takeaways
- Perfectly Cooked Every Time: This guide provides precise cooking times and temperatures for air fryer chicken breast, ensuring it’s juicy and tender, not dry.
- Factors Affecting Time: Understand how chicken breast thickness and your air fryer’s model and temperature settings influence cooking duration.
- Preparation is Key: Learn simple steps like patting dry and seasoning to achieve the best texture and flavor.
- Internal Temperature is Crucial: Always use a meat thermometer to confirm the chicken has reached a safe internal temperature of 165°F (74°C).
- Troubleshooting Common Issues: Find solutions for common problems like dry chicken or uneven cooking.
- Versatile Meal Prep: Discover how easy it is to use air fryer chicken breast in various dishes, from salads to sandwiches.
Why Air Fryer Chicken Breast?
The air fryer is a game-changer for cooking chicken breast. It uses rapid hot air circulation to cook food evenly and efficiently. This method creates a wonderfully crispy exterior while keeping the inside incredibly moist and tender. It’s healthier too, as it requires little to no oil. Plus, it’s significantly faster than traditional oven methods. If you’re looking for a quick, healthy, and delicious protein, air fryer chicken breast is the way to go. It’s a versatile ingredient that can be used in salads, sandwiches, wraps, or enjoyed on its own. For those looking to branch out, exploring how to cook Tyson chicken nuggets in an air fryer can also yield fantastic results.
The Science of Air Frying Chicken Breast: Time and Temperature
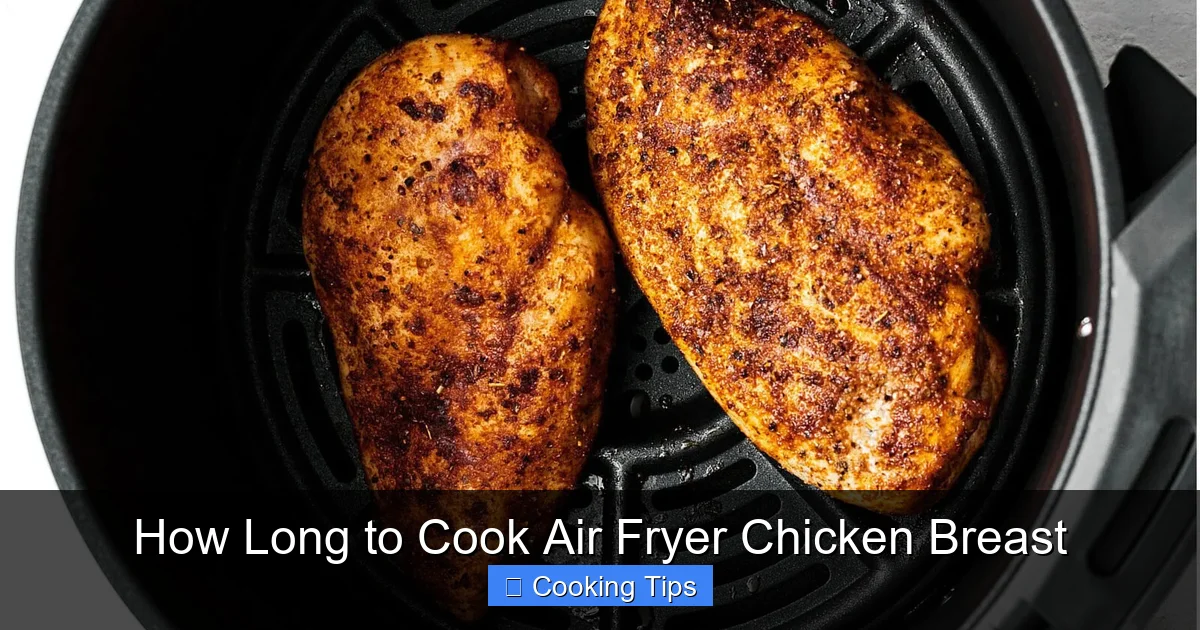
Visual guide about How Long to Cook Air Fryer Chicken Breast
Image source: storables.com
The exact time it takes to cook chicken breast in an air fryer can vary. Several factors play a role:
- Thickness of the Chicken Breast: This is the most significant factor. Thicker breasts will naturally take longer to cook through than thinner ones.
- Air Fryer Model and Wattage: Different air fryers have varying heating elements and power levels. Some run hotter than others.
- Starting Temperature of the Chicken: Is it straight from the fridge, or has it been sitting out for a bit?
- Preheating the Air Fryer: Preheating helps ensure even cooking from the moment the chicken goes in.
- Crowding the Basket: Overcrowding prevents hot air from circulating properly, leading to uneven cooking and longer times.
However, we can provide excellent general guidelines. The most common and effective temperature for air frying chicken breast is between 375°F (190°C) and 400°F (200°C).
Step-by-Step Guide to Cooking Air Fryer Chicken Breast
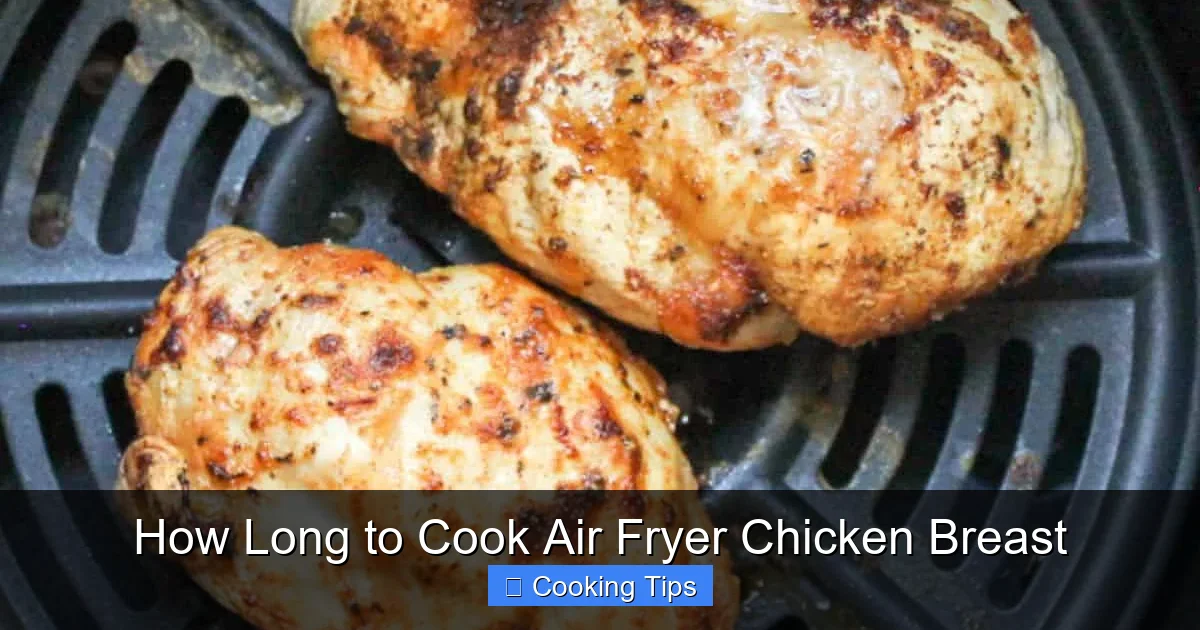
Visual guide about How Long to Cook Air Fryer Chicken Breast
Image source: savaskitchen.com
Let’s get cooking! Follow these simple steps for foolproof air fryer chicken breast.
Step 1: Choose and Prepare Your Chicken Breast
Start with good quality chicken breast. You can use boneless, skinless chicken breast, which is the most common. If you’re using bone-in chicken breast, the cooking time will be longer, and you might want to refer to our guide on how to cook bone-in chicken breast in an air fryer.
* Select the Right Size: Aim for chicken breasts that are roughly the same thickness. If you have very thick and very thin breasts, consider pounding the thicker ones to an even thickness or cutting them in half horizontally.
* Trim Excess Fat: Remove any visible fat or connective tissue.
* Pat Dry: This is a crucial step for achieving a good sear and texture. Use paper towels to pat the chicken breasts completely dry on all sides. Moisture is the enemy of crispiness!
Step 2: Season Your Chicken Breast
This is where you can get creative! Simple salt and pepper are classic, but feel free to experiment with your favorite herbs and spices.
* Basic Seasoning: A generous pinch of salt and freshly ground black pepper on all sides is a great start.
* Spice Blends: Consider paprika, garlic powder, onion powder, chili powder, or your favorite poultry seasoning blend.
* Marinades: You can marinate chicken breasts for at least 30 minutes (or up to a few hours in the fridge) before air frying. Ensure you pat them dry after marinating to remove excess moisture that could hinder browning.
* Oils: A light coating of olive oil or avocado oil helps seasonings adhere and promotes browning. You can use an oil spray or brush it on.
Step 3: Preheat Your Air Fryer
Preheating your air fryer is essential for even cooking and a good initial sear. Most air fryers take about 3-5 minutes to preheat.
* Set your air fryer to the desired temperature (typically 375°F or 400°F / 190°C or 200°C).
* Let it run for a few minutes until the indicator light shows it’s ready.
Step 4: Arrange Chicken in the Air Fryer Basket
Proper arrangement is key to letting the hot air circulate.
* Single Layer: Place the seasoned chicken breasts in a single layer in the air fryer basket.
* Don’t Overcrowd: Ensure there’s space between each piece. If you need to cook more than can fit comfortably in a single layer, cook in batches. Overcrowding will steam the chicken instead of air frying it, leading to a less desirable texture and potentially longer cooking times.
* If Using Marinade: Ensure the chicken is patted dry of excess marinade before placing it in the basket to avoid excessive smoking.
Step 5: Determine the Cooking Time (The Crucial Part!)
Now for the main event: cooking time. This is where thickness really matters.
* For Average Thickness (about 1 inch):
* At 375°F (190°C): Cook for approximately 15-20 minutes.
* At 400°F (200°C): Cook for approximately 12-18 minutes.
* For Thicker Breasts (over 1.5 inches):
* You may need to increase the cooking time by a few minutes, potentially up to 22-25 minutes at 375°F (190°C).
* Consider flipping halfway through for even cooking, especially for thicker cuts.
* For Thinner Breasts (less than 1 inch):
* Reduce the cooking time. They might be done in as little as 10-12 minutes at 400°F (200°C).
Important Tip: These are starting points! The best way to know is to check the internal temperature.
Step 6: Flip and Continue Cooking
For most chicken breasts, flipping them halfway through the cooking time helps ensure even browning and cooking.
* After about half of the estimated cooking time, carefully pull out the air fryer basket.
* Use tongs to flip each chicken breast over.
* Return the basket to the air fryer and continue cooking for the remaining time.
Step 7: Check for Doneness with a Meat Thermometer
This is the *most important step* for ensuring your chicken is safe to eat and perfectly cooked. Never guess!
* Internal Temperature: Insert an instant-read meat thermometer into the thickest part of the chicken breast.
* **Safe Temperature: The chicken is done when the internal temperature reaches 165°F (74°C).**
* If the temperature is not yet 165°F (74°C), continue cooking in 2-3 minute increments, checking the temperature each time. Be careful not to overcook!
Step 8: Rest Your Chicken Breast
This is another critical step for juicy chicken! Once cooked, remove the chicken from the air fryer basket.
* Place the chicken breasts on a clean plate or cutting board.
* Tent loosely with aluminum foil.
* Let them rest for 5-10 minutes. This allows the juices to redistribute throughout the meat, resulting in a much more tender and moist chicken breast. If you cut into it immediately, all those delicious juices will run out onto the plate.
Tips for Perfectly Juicy Air Fryer Chicken Breast
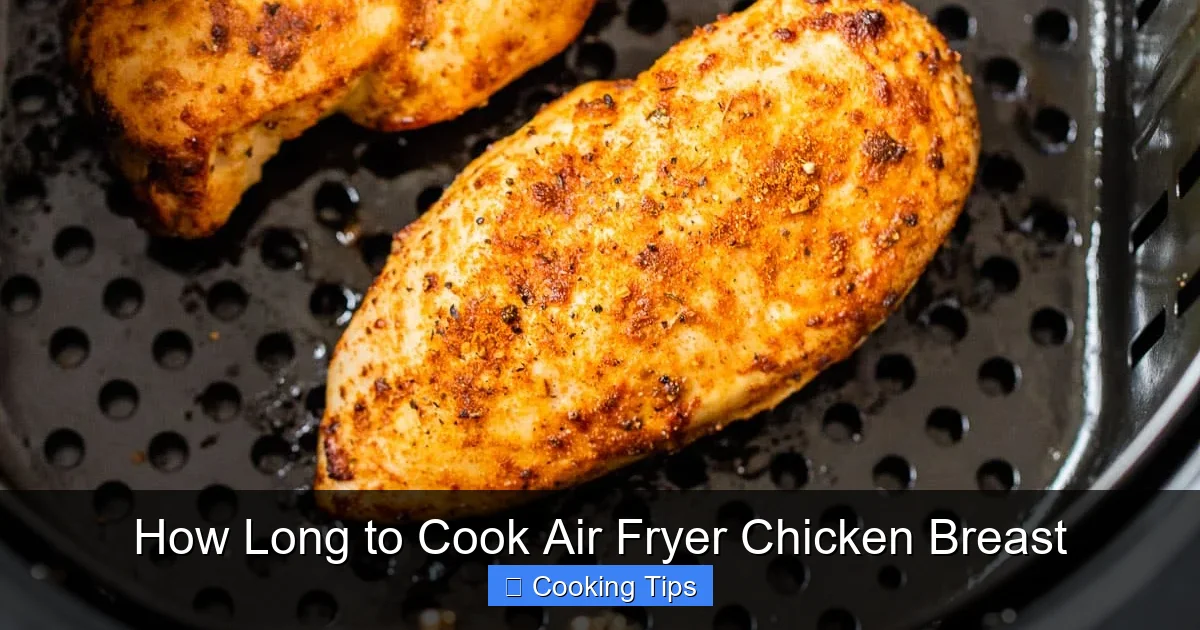
Visual guide about How Long to Cook Air Fryer Chicken Breast
Image source: wellplated.com
* **Don’t Overcook:** This is the number one reason for dry chicken. Rely on your meat thermometer!
* **Thickness Consistency:** Try to cook chicken breasts of similar thickness together.
* **Avoid Overcrowding:** Give the air fryer space to work its magic.
* **Resting is Non-Negotiable:** Seriously, don’t skip this step.
* **Consider Marinades or Brines:** For extra moisture and flavor insurance, consider marinating your chicken or using a quick brine.
* **Experiment with Spices:** Don’t be afraid to try different seasoning combinations. This is a great way to add variety to your meals. For example, if you’ve mastered chicken, you might be interested in how to cook air fryer salmon.
Troubleshooting Common Air Fryer Chicken Breast Problems
Even with the best instructions, sometimes things don’t go perfectly. Here are solutions to common issues:
Problem: My Chicken Breast is Dry and Tough.
* Cause: Most likely overcooked.
* Solution: Use a meat thermometer next time and remove the chicken as soon as it hits 165°F (74°C). Also, ensure you’re resting the chicken after cooking. Consider using slightly thinner breasts or adjusting your cooking time downwards.
Problem: The Outside is Burnt, But the Inside Isn’t Cooked.
* Cause: Air fryer temperature is too high, or the chicken pieces are too thin relative to the cooking time.
* Solution: Reduce the cooking temperature by 10-25°F (about 5-15°C). Ensure you’re checking the internal temperature frequently, especially towards the end of the cooking time. If you’re cooking very thin pieces, they might cook too quickly at the higher heat; consider using a lower temperature for slightly longer.
Problem: My Chicken Has a “Fried” or Greasy Taste.
* Cause: Too much oil was used, or the chicken wasn’t patted dry enough.
* Solution: Use oil sparingly. A light spray or a thin brush of oil is usually sufficient. Ensure you’re patting the chicken very dry before seasoning and cooking.
Problem: My Chicken is Cooked Unevenly.
* Cause: Overcrowding the basket, or not flipping the chicken.
* Solution: Ensure chicken pieces are in a single layer with space between them. Flip the chicken halfway through the cooking process for even browning and cooking.
Problem: My Air Fryer is Smoking Excessively.
* Cause: Fat or marinade drippings are hitting the heating element, or there’s too much oil.
* Solution: Ensure you’re not overcrowding the basket. If you marinated the chicken, pat it very dry before cooking. Clean your air fryer basket and the area around the heating element regularly. Use a minimal amount of oil.
Making Ahead and Storing Air Fryer Chicken Breast
Air fryer chicken breast is fantastic for meal prepping.
* **Cool Completely:** After cooking and resting, let the chicken cool down completely before storing.
* **Airtight Container:** Store in an airtight container in the refrigerator for up to 3-4 days.
* **Freezing:** You can also freeze cooked chicken breast. Wrap individual pieces tightly in plastic wrap, then place them in a freezer-safe bag or container. It can be stored in the freezer for up to 2-3 months.
* **Reheating:** Reheat gently in the air fryer at a lower temperature (around 300°F/150°C) for a few minutes, or in the microwave. Avoid overheating, which can dry it out.
Conclusion
Mastering the art of cooking chicken breast in the air fryer is simpler than you think. By understanding the role of thickness, using the right temperature, and most importantly, relying on a meat thermometer, you can consistently achieve tender, juicy, and perfectly cooked chicken breast every time. This versatile protein is a staple for healthy eating and a fantastic ingredient for countless meals. So, go ahead, experiment with seasonings, and enjoy the delicious results of your perfectly cooked air fryer chicken breast! For more culinary adventures in your air fryer, check out guides on everything from waffle fries to brats.