Discover how to cook a delicious ham in your air fryer with this comprehensive guide. We’ll walk you through preheating, cooking times, and achieving a perfectly golden-brown finish. Get ready for a surprisingly quick and incredibly tasty ham, ideal for any meal!
How Long to Cook a Ham in Air Fryer
Welcome to the ultimate guide on cooking ham in your air fryer! If you’ve ever wondered if your handy air fryer can tackle a whole ham, the answer is a resounding YES! You might be surprised at how easy and efficient it is to get a perfectly cooked, deliciously juicy ham using this popular kitchen appliance. Forget about long oven preheating times or dealing with a large, bulky oven. The air fryer is here to revolutionize your ham-cooking game.
In this guide, we’ll cover everything you need to know to achieve ham perfection. We’ll delve into preheating, the essential cooking times based on ham size and type, how to achieve that coveted crispy glaze, and crucial food safety tips. Whether you have a small half ham for a weeknight dinner or a larger one for a special occasion, you’ll find the answers here. Let’s get started on creating your best ham yet!
Key Takeaways
- Air fryers offer a faster and more efficient way to cook ham compared to traditional ovens. This method is perfect for smaller hams or when you’re short on time.
- Preheating your air fryer is crucial for even cooking and a crispy exterior. Aim for a temperature between 375°F (190°C) and 400°F (200°C).
- Cooking time depends on the ham’s weight and whether it’s pre-cooked or uncooked. A general guideline is 10-15 minutes per pound for pre-cooked ham.
- Always use a meat thermometer to ensure your ham reaches a safe internal temperature. For pre-cooked ham, aim for 140°F (60°C), and for uncooked, it’s 160°F (71°C).
- Resting the ham after cooking is vital for retaining moisture and flavor. Allow it to rest for at least 10-15 minutes before slicing.
- Glazing your ham adds extra flavor and visual appeal. Apply glazes during the last 10-15 minutes of cooking for optimal results.
Understanding Your Ham: Pre-Cooked vs. Uncooked
Before we dive into cooking times, it’s important to understand the type of ham you’re working with. This makes a big difference in how long and at what temperature you’ll need to cook it.
Pre-Cooked Ham
Most hams sold in the grocery store are already pre-cooked and just need to be heated through. These are generally labeled as “fully cooked,” “ready to eat,” or “cooked ham.” Your goal with a pre-cooked ham is simply to warm it up to a safe and delicious temperature while making the outside nice and crispy.
Uncooked Ham
Uncooked hams are less common for home cooks to prepare entirely on their own, as they require longer cooking times and more careful temperature monitoring to ensure they are safe to eat. If you have an uncooked ham, it will need to reach a higher internal temperature.
Choosing the Right Ham Size for Your Air Fryer
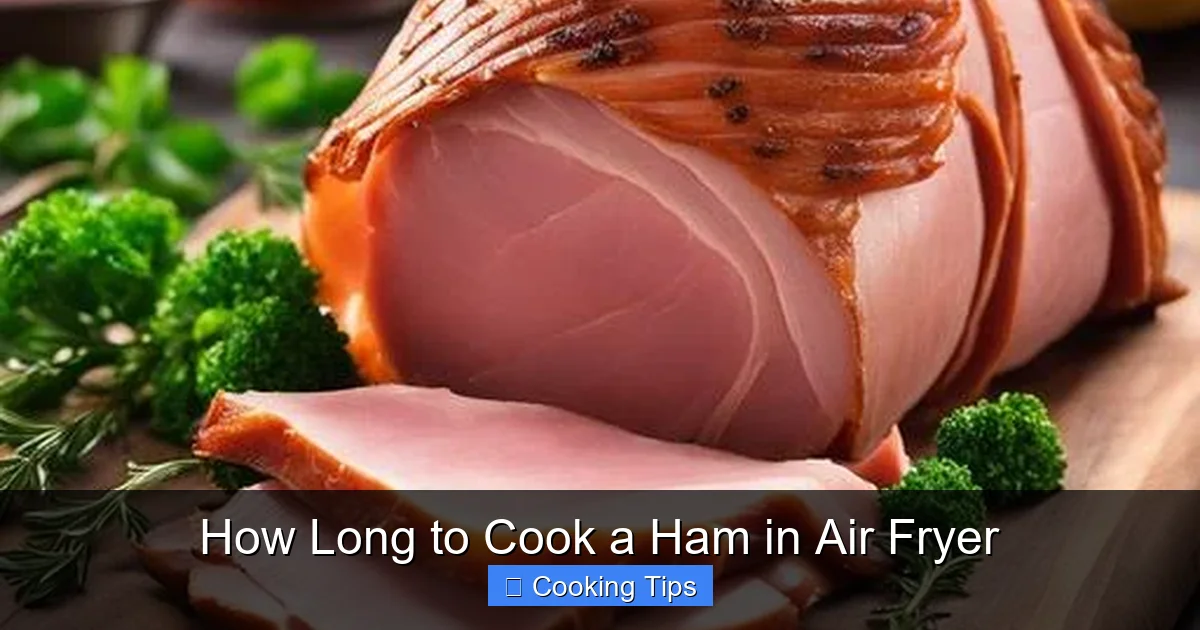
Visual guide about How Long to Cook a Ham in Air Fryer
Image source: airfryeryummyrecipes.com
Air fryers, while versatile, have capacity limitations. You need to ensure your ham will fit comfortably in the air fryer basket without touching the sides or the top. Overcrowding will prevent the hot air from circulating properly, leading to uneven cooking.
* Small Hams: Smaller half hams (around 3-5 pounds) are ideal for most standard-sized air fryers.
* Boneless Hams: Boneless hams are generally easier to fit due to their more compact shape.
* Consider Spiral Cut: Spiral-cut hams can work, but ensure they aren’t too spread out. You might need to arrange them a bit to fit.
If you have a larger ham, you might need to divide it into smaller portions or use a different cooking method, like your oven. For smaller cuts of pork, like a pork steak, an air fryer is also a fantastic option.
Step-by-Step Guide to Cooking Ham in the Air Fryer
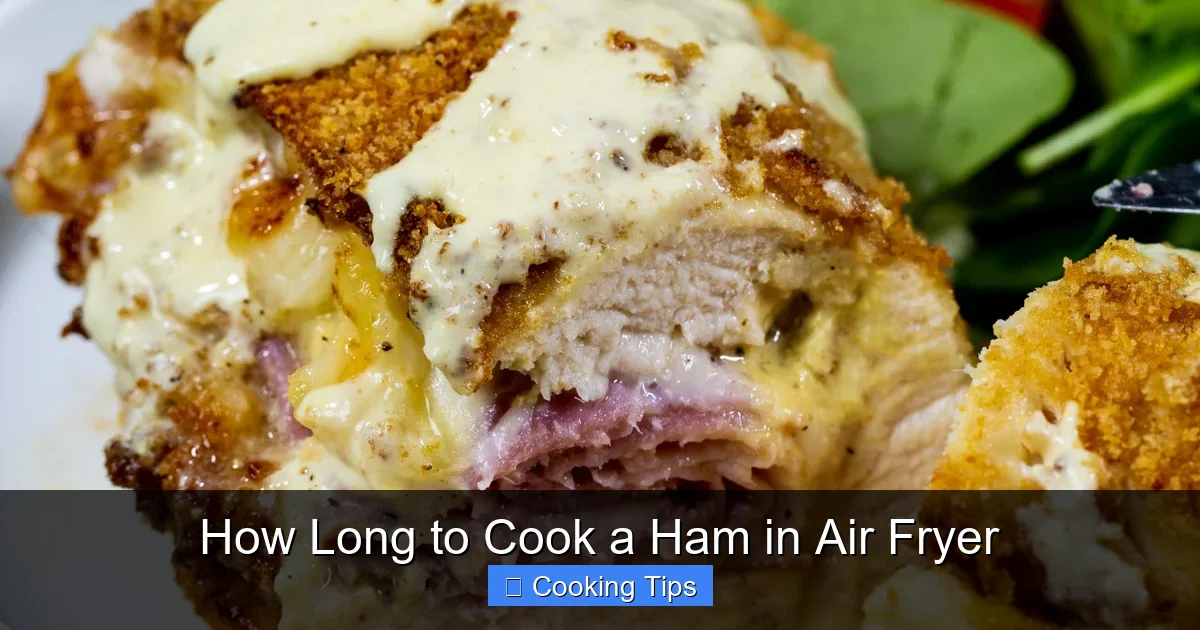
Visual guide about How Long to Cook a Ham in Air Fryer
Image source: airfryerlove.com
Let’s get down to the nitty-gritty of how to cook your ham to perfection. Follow these simple steps for a delicious result.
Step 1: Prepare Your Ham
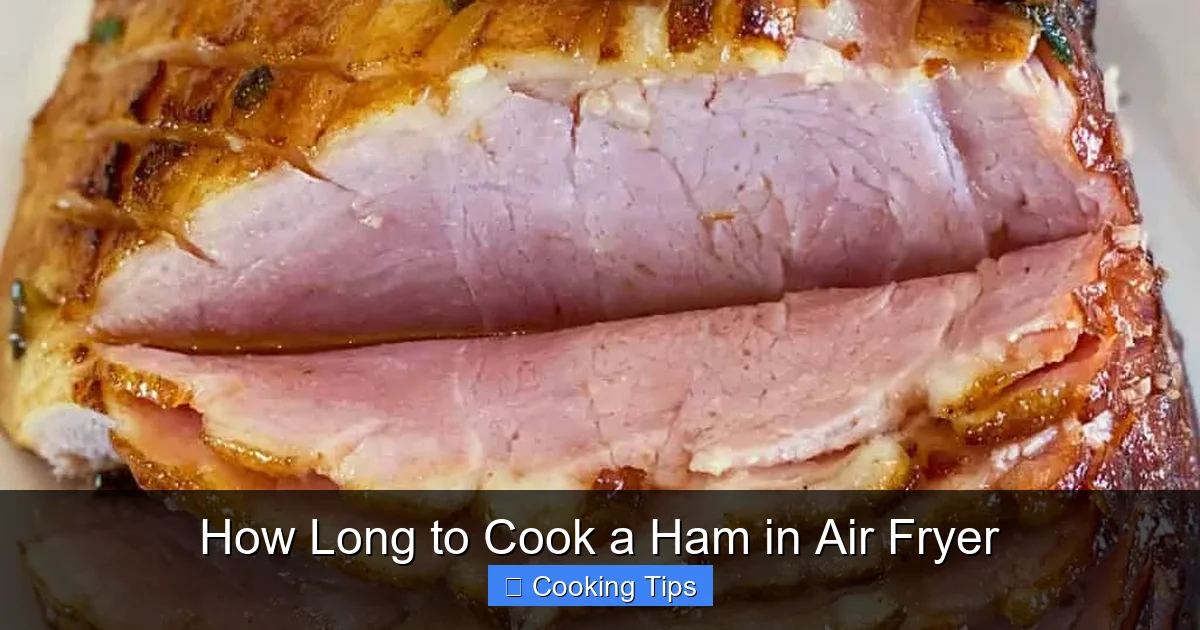
Visual guide about How Long to Cook a Ham in Air Fryer
Image source: sundaysuppermovement.com
* Remove Packaging: Take your ham out of its original packaging.
* Pat Dry: Use paper towels to pat the ham completely dry. This is a crucial step for achieving a crispy exterior, especially if you plan to glaze it. Moisture on the surface will steam the ham instead of crisping it.
* Score (Optional): For larger hams or to help glazes penetrate, you can lightly score the surface in a diamond pattern. Be careful not to cut too deep.
Step 2: Preheat Your Air Fryer
Preheating is essential for any air fryer recipe. It ensures the air is hot and circulating when the food goes in, leading to better browning and crisping.
* Set Temperature: Preheat your air fryer to 375°F (190°C) or 400°F (200°C). A slightly higher temperature helps create a nice crust. Check your air fryer’s manual for specific preheating instructions. Most models just require you to set the temperature and let it run for 3-5 minutes.
Step 3: Place the Ham in the Air Fryer Basket
* Positioning: Place the ham directly into the preheated air fryer basket. If you are cooking a larger ham or one with a cut side, place it cut-side down to help retain moisture.
* **Make sure there is space around the ham for air circulation.** If your ham is too large, consider cutting it into manageable portions. You can cook smaller cuts of meat, like a marinated pork tenderloin, in a similar fashion.
Step 4: Determine Cooking Time
This is where the weight of your ham becomes important. The general rule of thumb for *pre-cooked* ham is:
* 10-15 minutes per pound at 375°F (190°C).
Let’s break this down with examples:
* A 3-pound ham might take 30-45 minutes (3 lbs x 10-15 min/lb).
* A 5-pound ham might take 50-75 minutes (5 lbs x 10-15 min/lb).
* For Uncooked Ham: You will need significantly longer cooking times and a slightly lower temperature, typically around 325°F (160°C) for about 18-20 minutes per pound. However, due to air fryer size limitations and the extended cooking time required, cooking a large, uncooked ham in an air fryer is often not practical. Always use a meat thermometer.
Step 5: Cook and Flip (If Necessary)
* Start Cooking: Place the ham in the air fryer and set the timer based on your calculation.
* Flip Halway: For even cooking and browning, it’s a good idea to flip the ham halfway through the cooking time. If you’re adding a glaze, this is often a good time to do it as well.
Step 6: Apply Glaze (Optional)
A glaze adds a beautiful sheen and extra layer of flavor to your ham. Apply your favorite glaze during the last 10-15 minutes of cooking.
* **Prepare Your Glaze:** This could be a simple mix of brown sugar, honey, mustard, pineapple juice, or a store-bought glaze.
* **Brush it On:** Generously brush the glaze all over the ham.
* **Continue Cooking:** Return the ham to the air fryer to allow the glaze to caramelize. You may need to add a few extra minutes to the cooking time to achieve the desired stickiness. Be careful not to burn the glaze; keep an eye on it.
Step 7: Check Internal Temperature
This is the most important step for food safety and ensuring your ham is perfectly cooked.
* **Use a Meat Thermometer:** Insert a meat thermometer into the thickest part of the ham, avoiding any bones.
* **Target Temperatures:**
* Pre-cooked Ham: Should reach an internal temperature of 140°F (60°C).
* Uncooked Ham: Should reach an internal temperature of 160°F (71°C).
If your ham hasn’t reached the target temperature, continue cooking in 5-minute increments and re-check.
Step 8: Rest Your Ham
Once your ham has reached the correct internal temperature, remove it from the air fryer basket.
* **Tent with Foil:** Place the ham on a cutting board and loosely tent it with aluminum foil.
* **Resting Time:** Let the ham rest for at least 10-15 minutes. This allows the juices to redistribute throughout the meat, making it more tender and moist. Skipping this step can result in a drier ham.
Step 9: Slice and Serve
After resting, your ham is ready to be sliced and served. Enjoy the fruits of your air-fried labor!
Tips for Air Fryer Ham Success
* Don’t Overcrowd: As mentioned, ensure good air circulation. If your ham is too big, consider air frying it in batches or cutting it into smaller pieces. Smaller pieces cook much faster.
* **Use Parchment Liners (with caution): You can use air fryer parchment liners, but make sure they don’t interfere with air circulation. Don’t let them cover the entire bottom of the basket, as this can cause the liner to fly up and potentially burn or block airflow.
* **Adjust for Your Air Fryer:** Air fryer models vary in power and size. Cooking times are always a guideline. It’s always best to check with a thermometer.
* **Experiment with Glazes:** Don’t be afraid to get creative with your glazes! Maple-dijon, brown sugar-bourbon, or even a sweet chili glaze can be delicious.
* **Consider Smaller Cuts:** If you find whole hams challenging for your air fryer size, consider cooking smaller pork cuts like pork chops or pork roasts. For example, cooking a steak in an air fryer can yield excellent results.
Troubleshooting Common Air Fryer Ham Issues
* **Ham is Dry:** This usually happens if it’s overcooked or not rested properly. Ensure you’re cooking to the correct internal temperature and always rest your ham.
* **Ham is Not Browning Enough:** Make sure your air fryer is preheated properly. You can also increase the temperature by 10-20°F for the last few minutes of cooking, but watch it closely to prevent burning.
* **Glaze is Burning:** This can happen if the sugar content is too high or the cooking temperature is too hot during the glazing stage. Try reducing the temperature slightly when you add the glaze or brush it on later in the cooking process.
* **Uneven Cooking:** This is often due to overcrowding the basket. Ensure there’s space for hot air to circulate around the ham. Flipping the ham halfway through also helps.
Conclusion
Cooking a ham in the air fryer is a game-changer! It’s faster, more convenient, and delivers deliciously tender results with a beautifully crispy exterior. By following these simple steps, understanding your ham, and using a meat thermometer, you can confidently prepare a fantastic ham that will impress your family and friends. So next time you’re craving a flavorful, juicy ham, don’t hesitate to reach for your air fryer. Happy air frying!