Cooking a 6lb whole chicken in the air fryer is easier than you think! This guide provides a detailed, step-by-step process to achieve crispy, golden-brown skin and moist, tender meat. Follow our simple instructions for a delicious, fuss-free meal perfect for any occasion.
How Long to Cook 6lb Whole Chicken in Air Fryer
Dreaming of a perfectly roasted, juicy whole chicken with incredibly crispy skin, but don’t want to heat up your oven? The air fryer might just be your new best friend! Many people think a whole chicken is too large for an air fryer, but with a few smart tips, you can achieve restaurant-quality results right at home. This guide will walk you through everything you need to know about how long to cook a 6lb whole chicken in your air fryer, ensuring a delicious and stress-free meal.
We’ll cover selecting the right chicken, essential prep steps, the cooking process itself, and how to tell when it’s perfectly done. Get ready to impress yourself and your guests with this easy and impressive air fryer method!
- Preheating is Crucial: Always preheat your air fryer to ensure even cooking and a crispy exterior from the start.
- Season Generously: Don’t be shy with herbs, spices, and oil; they are key to developing flavor and achieving that coveted crispy skin.
- Use a Meat Thermometer: The most reliable way to ensure your chicken is safely cooked through is by checking its internal temperature with a meat thermometer.
- Resting is Essential: Allow the chicken to rest after cooking so the juices redistribute, resulting in a more tender and moist final product.
- Consider Chicken Size and Air Fryer Capacity: A 6lb chicken is at the larger end for most air fryers; ensure it fits comfortably for proper air circulation.
- Adjust Time as Needed: Cooking times can vary based on your specific air fryer model and the exact weight of the chicken.
[FEATURED_IMAGE_PLACEHOLDER]
Choosing Your 6lb Whole Chicken
The first step to a successful air fryer chicken is selecting the right bird. For a 6lb chicken, you’ll need to ensure it will comfortably fit inside your air fryer basket. Most standard air fryers have a basket that can accommodate a chicken of this size, but it’s always a good idea to double-check your air fryer’s dimensions.
Size Matters: A 6lb chicken is a generous size. If your air fryer is on the smaller side, you might find a 4-5lb chicken a better fit to allow for proper air circulation. If you have a dual-basket air fryer, you might be able to cook two smaller chickens. For our guide, we’re focusing on a single 6lb chicken.
Quality: Opt for a good quality chicken, whether it’s free-range, organic, or a standard supermarket bird. A fresh, good-quality chicken will always yield better flavor and texture.
Prepping Your Chicken for the Air Fryer
Proper preparation is key to unlocking that perfect crispy skin and juicy interior. This involves a few simple but important steps.
Visual guide about How Long to Cook 6lb Whole Chicken in Air Fryer
Image source: amindfullmom.com
Step 1: Thawing and Patting Dry
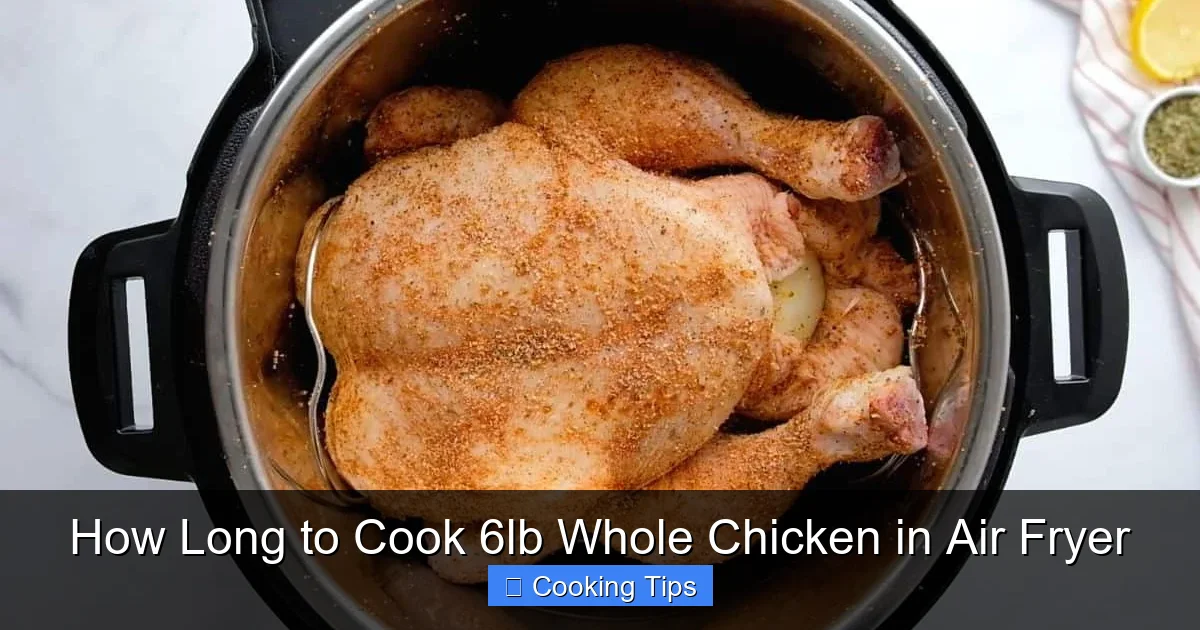
If your chicken is frozen, ensure it is fully thawed before cooking. This can take 24-48 hours in the refrigerator. Once thawed, remove the chicken from its packaging. Take special care to pat the chicken thoroughly dry, both inside and out, with paper towels. This is a critical step for achieving crispy skin. Any moisture left on the skin will steam rather than crisp.
Step 2: Seasoning and Flavoring
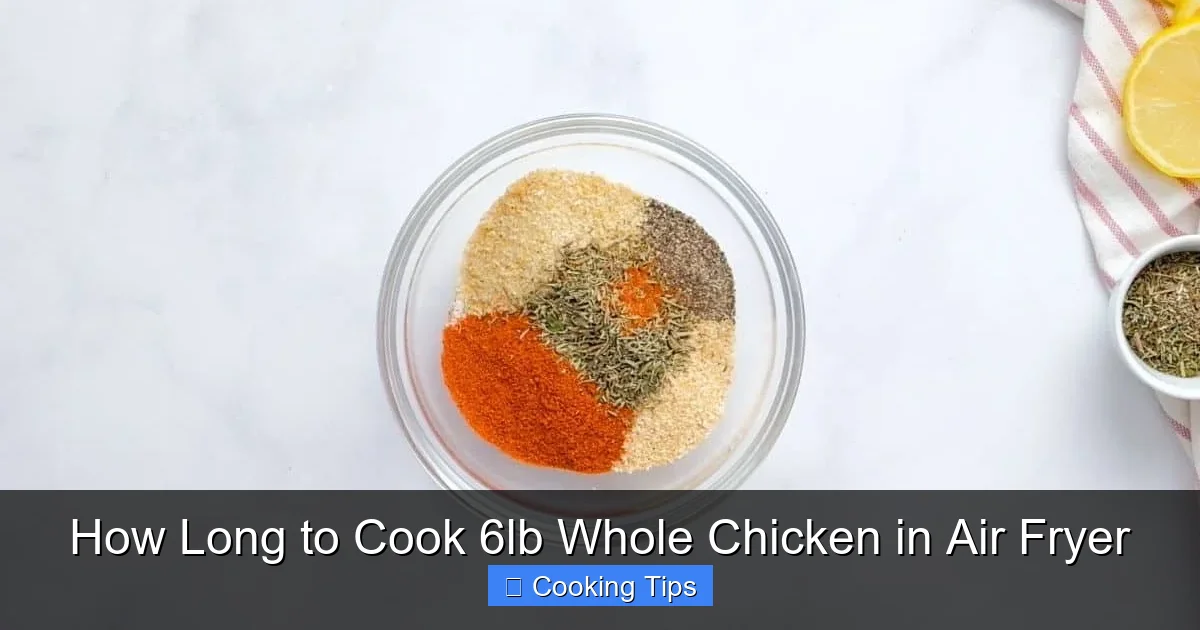
This is where the magic happens! You can go simple or get creative with your seasoning. A classic approach works wonders:
- Oil: Drizzle the chicken generously with olive oil or another cooking oil of your choice. This helps the seasonings adhere and promotes browning and crispiness.
- Salt and Pepper: Don’t skimp! Season the chicken liberally all over, including inside the cavity.
- Herbs and Spices: This is your chance to personalize. Popular choices include garlic powder, onion powder, paprika (for color and a slight smoky flavor), dried thyme, rosemary, and Italian seasoning. You can also rub some butter or a mixture of butter and herbs under the skin for extra moisture and flavor.
- Aromatics (Optional): For added flavor, you can stuff the cavity with aromatics like half a lemon, a few sprigs of fresh rosemary or thyme, and some garlic cloves.
Ensure you rub the seasonings evenly over the entire surface of the chicken. Gently lift the skin over the breast and thighs to get seasoning directly onto the meat for more intense flavor.
Step 3: Tying the Legs (Trussing) – Optional but Recommended
Trussing your chicken means tying the legs together. This helps the chicken cook more evenly and keeps the wings tucked close to the body, preventing them from burning. You can use kitchen twine for this. Simply tie the legs together and tuck the wing tips under the body.
Air Frying Your 6lb Whole Chicken: The Process
Now for the main event! Here’s how to get that golden-brown, perfectly cooked chicken.
Visual guide about How Long to Cook 6lb Whole Chicken in Air Fryer
Image source: m.media-amazon.com
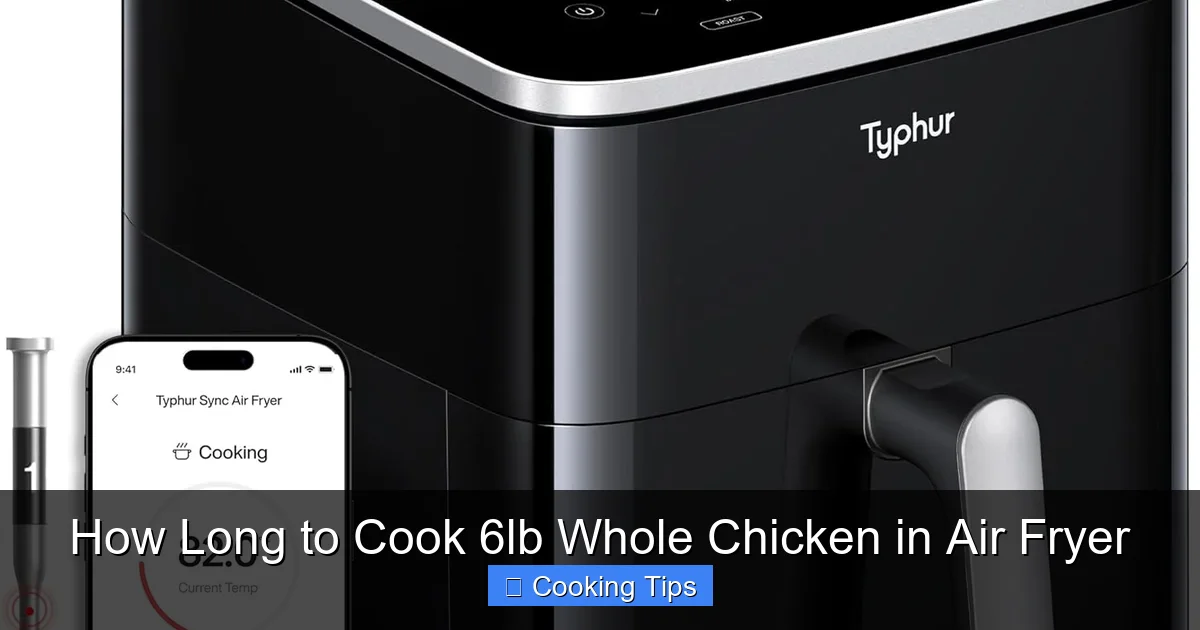
Step 1: Preheat Your Air Fryer
This is a non-negotiable step! Preheat your air fryer to 375°F (190°C). Preheating ensures that the chicken hits a hot environment immediately, which is crucial for developing that crispy skin and preventing the meat from becoming rubbery. Most air fryers take about 3-5 minutes to preheat. If you’re unsure how to operate your air fryer, check out our guide on how to operate an air fryer step by step.
Step 2: Place Chicken in the Air Fryer Basket
Carefully place your seasoned chicken into the preheated air fryer basket. Make sure it fits comfortably without touching the sides too much. If it’s a tight squeeze, you might need to adjust your cooking time or consider a smaller chicken. Ensure the chicken is breast-side up initially.
Step 3: Initial Cooking Time
The general rule of thumb for cooking a whole chicken in an air fryer is about 12-15 minutes per pound. For a 6lb chicken, this means an estimated total cooking time of 72 to 90 minutes.
Start with an initial cooking time of 40 minutes at 375°F (190°C).
Step 4: Basting and Flipping (Mid-Cook)
After the initial 40 minutes, it’s time to check on your chicken. Open the air fryer basket and:
- Baste: Spoon some of the rendered chicken juices from the bottom of the basket over the chicken. This adds moisture and flavor.
- Flip: Carefully flip the chicken over so it is breast-side down. This helps the dark meat cook thoroughly and keeps the breast meat moist.
Close the basket and continue cooking for another 20-30 minutes.
Step 5: Flipping Back and Checking for Doneness
After the additional 20-30 minutes, flip the chicken back to breast-side up. Now it’s time to start checking the internal temperature. Continue cooking, flipping and basting every 10-15 minutes, until the chicken reaches the correct internal temperature.
Crucial Tip: Use a meat thermometer! Insert it into the thickest part of the thigh, avoiding the bone. The chicken is done when the temperature reaches 165°F (74°C). The juices should also run clear when pierced with a fork or knife.
The total cooking time can vary depending on your air fryer model and the exact shape and density of the chicken. It might take anywhere from 70 to 90 minutes or even a little longer. Keep checking the temperature until it’s right.
Resting Your Air Fryer Chicken
This is arguably the second most important step after cooking! Once your chicken reaches 165°F (74°C), remove it from the air fryer basket and place it on a cutting board or platter. Tent it loosely with aluminum foil and let it rest for at least 15-20 minutes before carving.
Visual guide about How Long to Cook 6lb Whole Chicken in Air Fryer
Image source: amindfullmom.com
Why is resting so important? When chicken cooks, the juices are pushed to the center. If you cut into it immediately, all those delicious juices will run out, leaving you with dry meat. Resting allows the juices to redistribute throughout the chicken, resulting in a much moister and tender final product.
Troubleshooting Common Issues
Even with the best intentions, things can sometimes go awry. Here are some common issues and how to solve them:
Issue: Skin Not Crispy Enough
Solution: Ensure you patted the chicken thoroughly dry before seasoning. You can also increase the temperature by 10-15°F (5-8°C) for the last 5-10 minutes of cooking, keeping a close eye to prevent burning. Make sure the chicken isn’t overcrowded in the basket.
Issue: Chicken is Dry
Solution: You might have overcooked it. Always rely on a meat thermometer for accuracy. Ensure you rested the chicken properly after cooking. You can also try basting more frequently during the cooking process or ensuring you’ve used enough oil during seasoning.
Issue: Uneven Cooking
Solution: This can happen if the chicken is too large for the air fryer or if air circulation is blocked. Try trussing the chicken and tucking in the wings. Flipping the chicken halfway through the cooking process (as described above) is essential for even cooking. If you have a dual-basket air fryer, consider how the heat circulates in each basket.
Issue: Burning in Spots
Solution: This usually occurs with the wing tips or legs. You can loosely tent these areas with aluminum foil about halfway through the cooking time to shield them from direct heat.
Tips for Different Air Fryer Models
While the general principles remain the same, different air fryer models might have slight variations. Here are a few things to keep in mind:
- Basket Size: As mentioned, a 6lb chicken is large. If your air fryer basket is on the smaller side, you might need to trim any excess fat or protrusions from the chicken or opt for a smaller bird.
- Wattage and Airflow: Higher wattage air fryers might cook slightly faster. Pay attention to how your specific air fryer circulates air. Some models have a more powerful fan than others.
- Preheat Function: Some air fryers have a dedicated preheat button, while others require you to set the temperature and time to preheat. Refer to your manual for specific instructions.
If you’re new to your air fryer, it’s always a good idea to get a feel for how it cooks different foods. For example, learning how to cook bone-in chicken thighs in an air fryer can give you a better understanding of its capabilities with chicken.
Conclusion
Cooking a 6lb whole chicken in the air fryer is a fantastic way to enjoy a delicious, home-cooked meal with minimal fuss and maximum flavor. By following these steps – from proper preparation and seasoning to the precise cooking times and the crucial resting period – you’ll achieve a bird with wonderfully crispy skin and incredibly moist, tender meat.
Remember to use a meat thermometer to ensure your chicken is cooked to a safe internal temperature of 165°F (74°C). Don’t be afraid to experiment with different seasonings to find your perfect flavor combination. With a little practice, your air fryer will become your go-to appliance for roasting whole chickens. Enjoy your perfectly cooked air fryer chicken!