Cooking 2 Cornish hens in your air fryer is a fast and easy way to enjoy a delicious meal. This guide provides a clear, step-by-step process to ensure your Cornish hens are perfectly cooked, juicy inside, and delightfully crispy on the outside. Learn the ideal temperature and time, plus helpful tips for the best results every time.
How Long to Cook 2 Cornish Hens in Air Fryer
Cornish hens are a fantastic choice for a special meal or a weeknight treat. They cook quickly and are perfectly portioned for individual servings. When you have two, they make for a wonderfully balanced dinner. While roasting them in a conventional oven is classic, using an air fryer can give you incredibly crispy skin and juicy meat in a fraction of the time. If you’ve wondered, “How long to cook 2 Cornish hens in an air fryer?” you’ve come to the right place! This guide will walk you through everything you need to know for air fryer success.
In this comprehensive guide, we’ll cover the ideal cooking time, temperature, preparation steps, and essential tips to ensure your 2 Cornish hens turn out perfectly golden brown, incredibly tender, and bursting with flavor. Whether you’re a seasoned air fryer user or just getting started, you’ll learn how to achieve restaurant-quality results right in your own kitchen.
- Preheating is Key: Always preheat your air fryer to ensure even cooking and crispy skin from the start.
- Proper Seasoning is Crucial: Don’t skimp on seasoning! Herbs, spices, salt, and pepper will elevate the flavor of your Cornish hens.
- Don’t Overcrowd: Ensure there’s enough space between the two Cornish hens for hot air to circulate freely.
- Internal Temperature is Your Guide: The most reliable way to check for doneness is by using a meat thermometer.
- Resting is Essential: Letting the hens rest after cooking allows the juices to redistribute, resulting in a more tender and moist bird.
- Adjust for Your Air Fryer: Cooking times can vary slightly between different air fryer models, so keep an eye on them.
[FEATURED_IMAGE_PLACEHOLDER]
Preparing Your Cornish Hens for the Air Fryer
Getting your Cornish hens ready is the first step to a delicious meal. Proper preparation ensures even cooking and maximum flavor. It’s important to handle the birds with care and set yourself up for success.
Thawing the Hens
If your Cornish hens are frozen, make sure they are fully thawed before you begin. This is crucial for even cooking. A safe way to thaw them is in the refrigerator overnight. For quicker thawing, you can use the cold water method: place the hen in a leak-proof plastic bag and submerge it in cold water, changing the water every 30 minutes. Never thaw poultry at room temperature, as this can lead to bacterial growth.
Patting Dry for Crispy Skin
Once thawed, take your Cornish hens out of their packaging. Gently rinse them inside and out with cold water, then pat them thoroughly dry with paper towels. This step is absolutely vital for achieving that coveted crispy skin. Moisture is the enemy of crispiness, so don’t skip this! You want them as dry as a bone.
Seasoning for Flavor
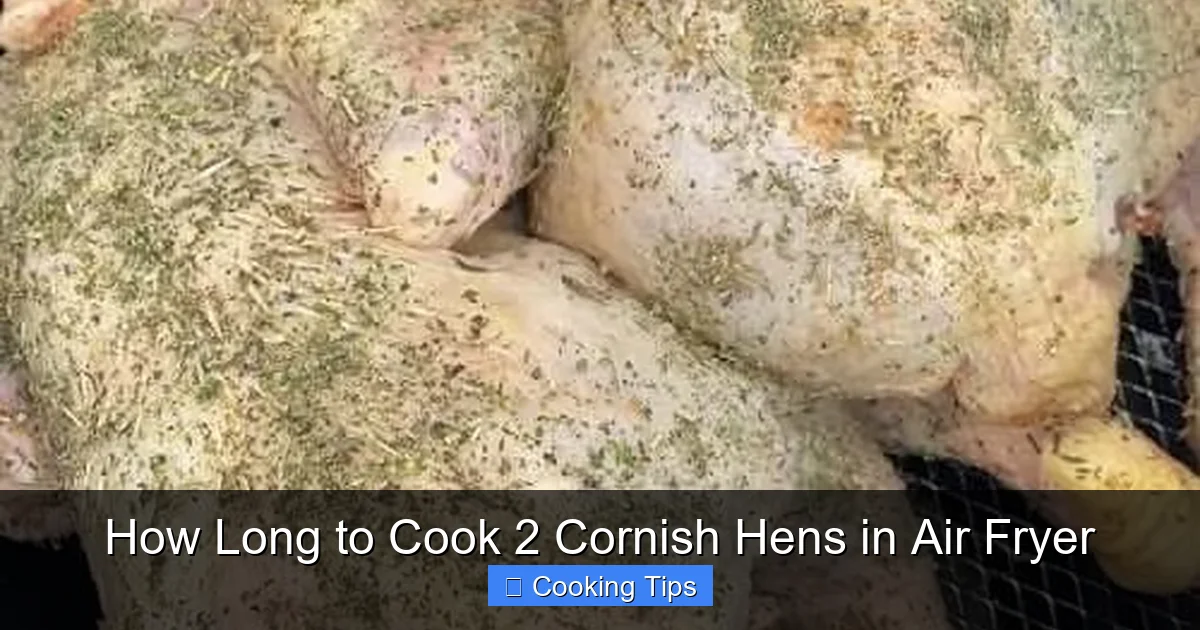
This is where you can get creative! A simple yet delicious seasoning blend includes salt, black pepper, garlic powder, onion powder, and paprika. You can also add dried herbs like rosemary, thyme, or oregano. For a richer flavor, consider rubbing some softened butter or olive oil over the hens before applying your dry seasonings. Don’t forget to season the cavity of the hens as well.
Tip: For an extra flavor boost, you can place aromatics like lemon wedges, garlic cloves, or fresh herb sprigs inside the cavity.
Trussing (Optional but Recommended)
Trussing helps the hens cook more evenly and maintain their shape. It involves tying the legs together and tucking the wing tips under the body. This prevents the extremities from cooking too quickly and burning before the main body of the hen is done.
Preheating Your Air Fryer
Just like with baking or roasting, preheating your air fryer is a critical step. It ensures that the hot air is circulating at the correct temperature from the moment your Cornish hens go in, leading to a more even cook and crispier results. This is a fundamental step for most air fryer recipes, from cooking a simple brat to more complex dishes.
Visual guide about How Long to Cook 2 Cornish Hens in Air Fryer
Image source: recipethis.com
Recommended Temperature
For Cornish hens, a good starting temperature is 375°F (190°C). This temperature is hot enough to crisp the skin beautifully while cooking the meat through without drying it out.
Preheating Time
Most air fryers require about 3-5 minutes to preheat. Check your air fryer’s manual for specific instructions. You’ll usually hear a beep or see an indicator light when it’s ready.
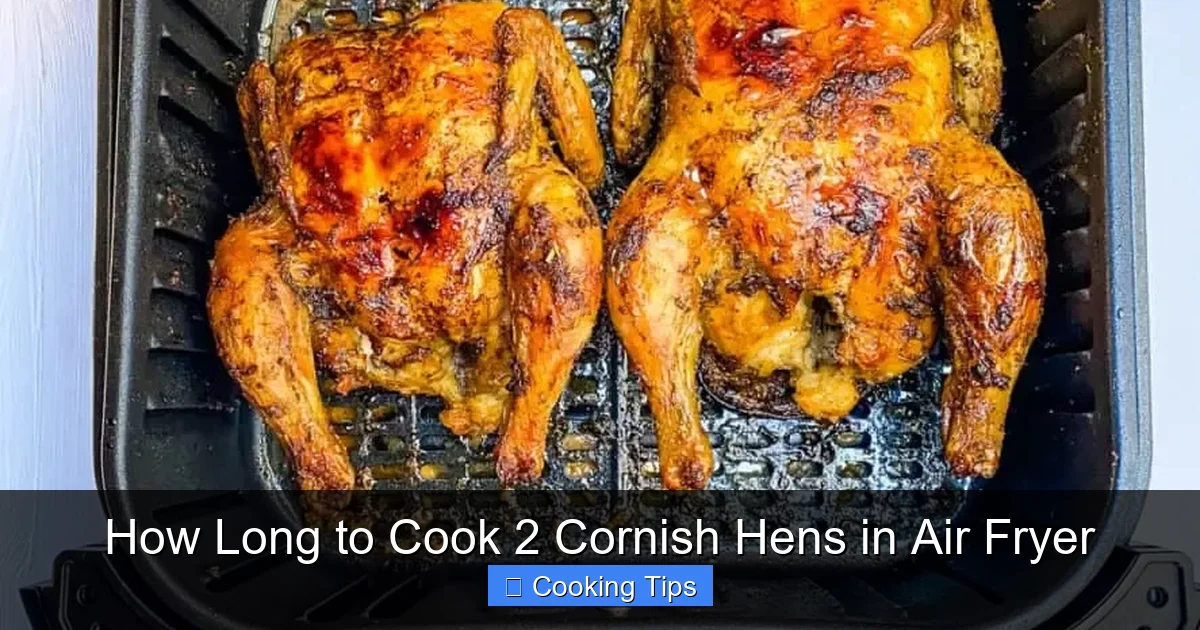
Cooking the 2 Cornish Hens
Now for the main event! Cooking two Cornish hens in your air fryer is straightforward, but there are a few key things to remember for optimal results.
Visual guide about How Long to Cook 2 Cornish Hens in Air Fryer
Image source: staysnatched.com
Arranging the Hens in the Air Fryer Basket
This is a critical step when cooking two Cornish hens. You need to ensure adequate airflow around each bird.
Do NOT overcrowd the basket. If your air fryer basket is small, you might only be able to fit one hen at a time. If you have a larger air fryer, you can likely fit two.
Place the hens breast-side up or breast-side down. Many people prefer breast-side down for the first half of cooking to keep the breast meat moist, then flipping them over. If you plan to flip them, ensure you have enough space and confidence to do so.
Initial Cooking Time and Temperature
Once your air fryer is preheated and the hens are in the basket, set your air fryer to 375°F (190°C).
For 2 Cornish hens, a general guideline for cooking time is approximately 30-40 minutes. This can vary based on the size of the hens and your specific air fryer model.
Flipping and Basting (Optional)
Around the halfway point of cooking, which is roughly 15-20 minutes in, it’s a good idea to check on your hens.
Flip the hens: If you started breast-side down, flip them to breast-side up now. This helps ensure even browning and crisping of the skin on all sides.
Basting: You can baste the hens with any rendered juices from the bottom of the basket or with melted butter. This adds extra moisture and flavor, though it’s not strictly necessary if you’ve seasoned them well.
Checking for Doneness
The most reliable way to determine if your Cornish hens are cooked through is by using a meat thermometer. Insert the thermometer into the thickest part of the thigh, avoiding the bone. The internal temperature should reach 165°F (74°C).
If you don’t have a thermometer, you can also check by piercing the thigh with a fork or knife. The juices should run clear, not pink. However, the thermometer is the most accurate method to ensure food safety and prevent overcooking.
Resting the Cornish Hens
This is another crucial step that many home cooks overlook. Once your Cornish hens reach the correct internal temperature, remove them from the air fryer basket and place them on a clean cutting board or platter. Tent them loosely with aluminum foil.

Visual guide about How Long to Cook 2 Cornish Hens in Air Fryer
Image source: everythingairfryer.com
Let them rest for 5-10 minutes before carving. This resting period allows the juices inside the meat to redistribute throughout the hen. If you cut into them immediately, all those delicious juices will run out, leaving you with dry meat. Patience here will be rewarded with a more tender and moist final product.
Troubleshooting Common Air Fryer Cornish Hen Issues
Even with the best instructions, sometimes things don’t go exactly as planned. Here are a few common issues and how to fix them:
Issue: Skin Not Crispy Enough
Cause: Hens were not patted dry thoroughly, oven was not preheated, or overcrowding in the basket.
Solution: Ensure hens are completely dry before seasoning. Preheat your air fryer for the full recommended time. Cook in batches if necessary to avoid overcrowding. You can also increase the temperature slightly (by 10-15°F) for the last 5 minutes of cooking, keeping a close eye to prevent burning.
Issue: Hens Are Dry
Cause: Overcooked, or juices were not allowed to redistribute during resting.
Solution: Use a meat thermometer to ensure you’re not overcooking. Always rest your hens for at least 5 minutes before carving. Consider basting during the cooking process with melted butter or pan juices for added moisture.
Issue: Uneven Cooking
Cause: Hens were too close together in the basket, or the air fryer needs to be more evenly heated.
Solution: Ensure there is space between the two hens for air circulation. Shake or flip items halfway through cooking as recommended. Some air fryers benefit from tilting or rotating the basket if your model allows.
Issue: Burning on the Edges
Cause: Temperature is too high, or cooking time is too long.
Solution: Lower the cooking temperature by 15-20°F. Check for doneness earlier and remove the hens as soon as they reach the safe internal temperature. If specific parts are browning too quickly, you can loosely tent them with foil.
Serving Your Air Fryer Cornish Hens
Once rested, your Cornish hens are ready to be served. You can carve them in half or quarters. They pair wonderfully with a variety of side dishes.
Consider classic accompaniments like mashed potatoes, roasted vegetables (like air fryer vegetables), a fresh salad, or stuffing. The compact size of Cornish hens makes them ideal for serving one per person, making your meal planning much simpler.
If you’re looking for more inspiration for air fryer meals, you might find our guides on how to cook bone-in chicken thighs or even how to cook a delicious pot pie in an air fryer to be helpful for future culinary adventures.
Conclusion
Cooking 2 Cornish hens in your air fryer is a delightful way to create a satisfying and impressive meal with minimal fuss. By following these simple steps—proper preparation, preheating, careful cooking, and resting—you’ll achieve incredibly tender, juicy meat and beautifully crisp skin every time. Remember that while this guide provides excellent starting points for time and temperature, always rely on your meat thermometer for the most accurate indication of doneness. Enjoy your perfectly cooked Cornish hens!