Don’t let leftover onion rings go to waste! This guide shows you how to use your air fryer to reheat them, making them crispy and delicious again. We’ll cover the best temperatures, cooking times, and handy tips to achieve the perfect reheated onion ring every time.
So, you’ve got some delicious onion rings left over from last night, or maybe you snagged some from a restaurant, and now they’re… well, not quite as exciting as they were fresh. Soggy, soft, and a little sad. Don’t toss them! Your air fryer is about to become your new best friend for resurrecting those humble rings of fried onion goodness. In this comprehensive guide, you’ll learn everything you need to know to warm up onion rings in the air fryer, transforming them from a sad leftover into a crispy, crave-worthy snack. We’ll cover the best temperatures, cooking times, and all the little tricks to ensure your reheated onion rings are nothing short of spectacular. Get ready to say goodbye to soggy fries and hello to perfectly crisp onion rings, every single time!
When it comes to reheating food, the air fryer is a game-changer. Unlike microwaves, which steam food and make it limp, or ovens, which can take a while and sometimes dry things out, the air fryer circulates hot air rapidly. This process mimics deep-frying, making it ideal for restoring the crispiness of fried foods. Onion rings, with their delicate batter or breading, are particularly well-suited for this method.
Let’s face it, nobody likes a limp, oily onion ring. The goal when reheating is to bring back that satisfying crunch and heat them through without burning them or making them tough. This guide will empower you to achieve that perfect balance, whether you’re dealing with homemade onion rings or store-bought frozen ones.
Key Takeaways
- Achieve Perfect Crispiness: Reheating onion rings in the air fryer brings back their original crunch, preventing sogginess.
- Simple Temperature Settings: Most onion rings reheat well around 375-400°F (190-200°C).
- Short Cooking Times: Reheating typically takes only 3-6 minutes, depending on the air fryer and quantity.
- Avoid Overcrowding: Arrange onion rings in a single layer for even heating and maximum crispness.
- Preheating is Key: Always preheat your air fryer for the best results.
- Shake or Flip: Midway through cooking, shake the basket or flip the onion rings for uniform heating.
- Adjust Based on Type: Freshly made, frozen, or restaurant-style rings might require slight adjustments in time and temperature.
Understanding Your Air Fryer
Before we dive into the step-by-step process, it’s important to remember that air fryers can vary slightly in their heating capabilities. Newer models might cook a little faster, while older ones might take a bit longer. The size of your air fryer basket also plays a role. These general guidelines are a great starting point, but don’t be afraid to observe your onion rings and adjust as needed. It’s all about getting to know your specific appliance!
Preparation is Key: Getting Your Onion Rings Ready
The first step to perfectly reheated onion rings is proper preparation. This is simple but crucial for success.
Step 1: Check the Onion Rings
- For Leftovers: If you have leftover onion rings from a meal, let them sit at room temperature for about 10-15 minutes before air frying. This helps them heat more evenly.
- For Frozen Onion Rings: Most frozen onion rings can go straight from the freezer to the air fryer. Check the package instructions, as some might recommend a slightly different temperature or time.
Step 2: Preheat Your Air Fryer
This is a vital step for achieving optimal crispiness. Preheating ensures that the hot air surrounds the onion rings immediately, starting the crisping process right away.
- Set your air fryer to the recommended temperature, typically between 375°F and 400°F (190°C to 200°C).
- Let it preheat for about 3-5 minutes. You’ll usually hear it stop making noise when it’s ready.
The Reheating Process: Step-by-Step
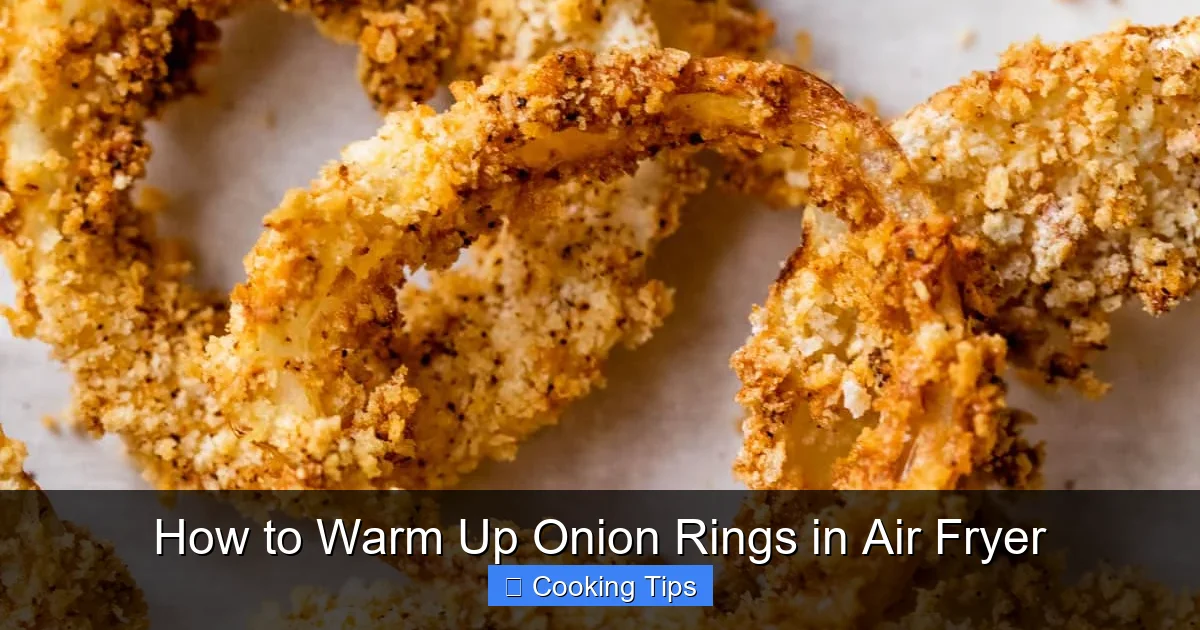
Visual guide about How to Warm Up Onion Rings in Air Fryer
Image source: wellplated.com
Now that your air fryer is preheated and your onion rings are ready, let’s get them crispy again!
Step 3: Arrange the Onion Rings in the Basket
This is where you can make or break your crispy onion ring dream.
- Single Layer is Best: Place the onion rings in a single layer in the air fryer basket. Do not overcrowd the basket.
- Why Single Layer Matters: Overcrowding prevents hot air from circulating properly around each ring. This leads to uneven cooking and results in some rings being crispy while others remain soft and limp. If you have a lot of onion rings, you’ll need to work in batches. Think of it like trying to cook a whole pot pie – you can’t just stuff it all in!
- Spacing: Leave a little space between each onion ring. This allows the hot air to do its magic on all sides.
Step 4: Air Fry the Onion Rings
This is where the magic happens.
- Set the Temperature: If you haven’t already, set your air fryer to 375°F to 400°F (190°C to 200°C).
- Set the Time: For most leftover or frozen onion rings, start with a cooking time of 3 to 6 minutes.
Step 5: Shake or Flip Midway
To ensure even crispiness on all sides, you’ll want to give them a little shake or flip.
- Halfway Point: After about half the cooking time (usually 2-3 minutes), carefully pull out the air fryer basket.
- Shake or Flip: Gently shake the basket to redistribute the onion rings, or use tongs to flip them over. This is especially important if you have rings that are layered on top of each other.
- Return to Air Fryer: Slide the basket back into the air fryer and continue cooking for the remaining time.
Step 6: Check for Doneness
Once the timer goes off, it’s time to check if your onion rings are perfectly reheated.
- Visual Check: They should look golden brown and feel crispy to the touch.
- Texture Test: If they still feel soft or aren’t as golden as you like, you can add another minute or two to the cooking time. Keep a close eye on them to prevent burning, especially if you’re adding extra time.
Step 7: Serve Immediately
Air fryer onion rings are best enjoyed hot and fresh!
- Enjoy: Remove them from the basket and serve immediately with your favorite dipping sauce.
- Dipping Sauces: Consider classic options like ketchup, ranch, or a spicy aioli.
Tips for Perfectly Crispy Onion Rings Every Time
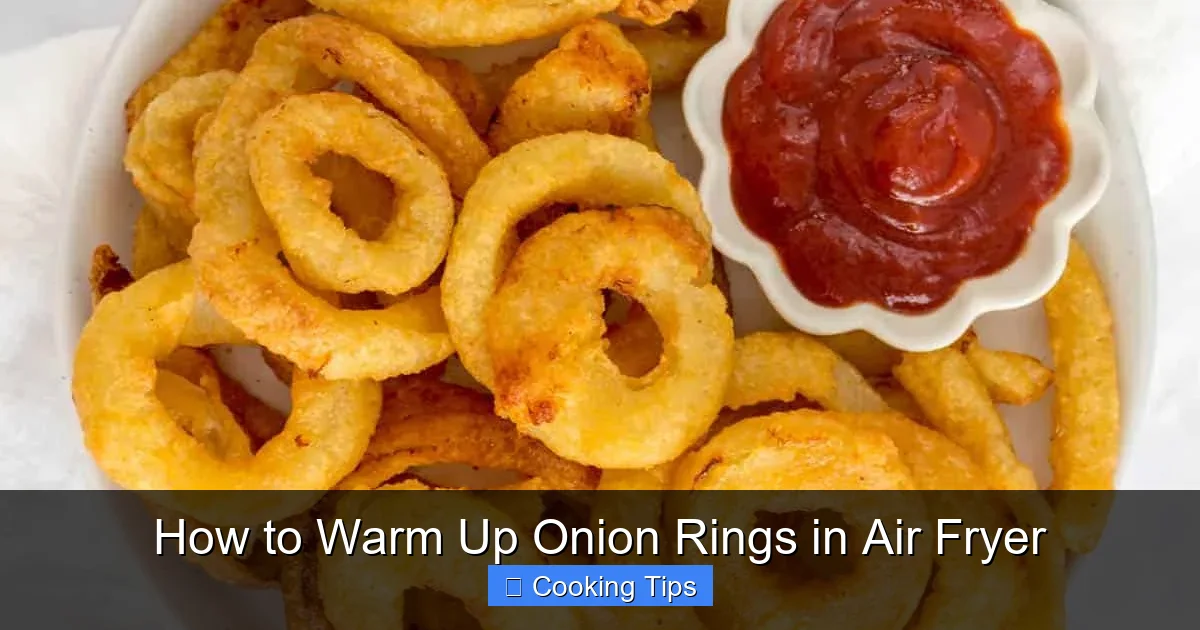
Visual guide about How to Warm Up Onion Rings in Air Fryer
Image source: carmyy.com
Beyond the basic steps, here are some extra tips to elevate your reheated onion ring game.
Tip 1: Don’t Overcrowd the Basket
We can’t stress this enough! This is the most common mistake people make. Imagine trying to get a good sear on a porterhouse steak – you wouldn’t cram multiple steaks into a tiny pan. Air frying is similar; it needs space for that air to circulate.
Tip 2: Consider the Type of Onion Rings
- Homemade: If you made your own onion rings and they weren’t super crispy to begin with, they might need a little longer or a slightly higher temperature (e.g., 400°F).
- Frozen: Frozen onion rings are often designed to be crisped up from a frozen state, so they tend to do very well. Follow package directions as a baseline.
- Restaurant-Style: Rings from restaurants can vary wildly. Thicker breading might take slightly longer than thinner breading.
Tip 3: Use a Little Oil (Optional)
If your onion rings seem a bit dry or you want an extra boost of crispiness, you can lightly spray them with cooking oil (like olive oil or avocado oil) before air frying. Just a quick mist is all you need. This helps them brown beautifully and adds an extra layer of crunch. It’s like adding a touch of oil when you’re cooking marinated pork tenderloin for a nice sear.
Tip 4: Adjust Time Based on Quantity
The times provided are for a single layer of onion rings, typically enough for one or two people. If you’re reheating a larger batch, you’ll need to increase the cooking time slightly, but still aim to do it in batches to maintain crispiness.
Tip 5: Don’t Forget About the Bottom
Sometimes, the bottom of the onion rings can stay a bit softer if they’ve been sitting for a while. Flipping or shaking them halfway is crucial for ensuring the entire ring gets that delightful crisp.
Troubleshooting Common Onion Ring Reheating Issues
Even with the best intentions, sometimes things don’t turn out perfectly. Here are a few common problems and how to solve them.
Problem: Onion Rings are Still Soggy
- Cause: Most likely, the basket was overcrowded, or they weren’t cooked long enough.
- Solution: Ensure you’re cooking in a single layer. If they are still soggy after the initial cooking time, return them to the air fryer for another 1-2 minutes, checking frequently. Make sure your air fryer is preheated sufficiently.
Problem: Onion Rings are Burnt on the Outside, Soft Inside
- Cause: The temperature might be too high, or they were cooked for too long without being shaken/flipped.
- Solution: Lower the temperature by about 10-20°F (5-10°C) and check them more frequently. Ensure you’re shaking or flipping them midway through.
Problem: Onion Rings are Unevenly Cooked
- Cause: Overcrowding or not shaking/flipping the basket.
- Solution: Stick to the single-layer rule and always shake or flip the onion rings halfway through the cooking time.
Why the Air Fryer is Superior for Reheating Onion Rings
Let’s quickly recap why the air fryer is the undisputed champion for reheating onion rings compared to other methods.
* Speed: It’s significantly faster than a conventional oven.
* Crispiness: It excels at restoring that desirable crunch.
* Even Cooking: The circulating hot air ensures more uniform heating.
* Less Oil: You achieve a fried texture with a fraction of the oil used for deep frying.
* Convenience: It’s easy to use and requires minimal cleanup compared to deep frying.
Think about other foods you can bring back to life in your air fryer, like crispy chicken nuggets or even a slightly soft waffle fries. The principle of hot air circulation remains the same.
Conclusion
Reheating onion rings in the air fryer is incredibly simple and yields fantastic results. By following these steps – preheating your air fryer, arranging rings in a single layer, cooking at the right temperature for the correct time, and shaking or flipping midway – you can transform sad, soggy leftovers into perfectly crisp and delicious snacks. Don’t let those leftover onion rings go to waste. Embrace the power of your air fryer and enjoy them as if they were just made! Happy air frying!