Discover the secret to perfectly crispy and juicy fried chicken using your air fryer! This guide provides a step-by-step method for achieving delicious, healthier fried chicken without the mess and excess oil of traditional deep frying. Learn how to prepare your chicken, coat it for maximum crispiness, and cook it to perfection in your air fryer, ensuring a delightful meal every time.
How to Cook Fried Chicken in Air Fryer
Are you craving that irresistible crunch and savory flavor of fried chicken, but dread the deep frying process? The splattering oil, the messy cleanup, and the guilt of consuming all that extra fat can be a real downer. But what if I told you there’s a way to achieve that same golden-brown, crispy perfection with a fraction of the oil and effort? Enter the air fryer – your new best friend for guilt-free, delicious fried chicken.
In this comprehensive guide, we’ll walk you through everything you need to know to cook the most amazing fried chicken in your air fryer. From selecting the right cuts of chicken to achieving that signature crispy coating and ensuring the meat stays incredibly juicy, we’ve got you covered. Say goodbye to greasy kitchens and hello to perfectly air-fried chicken that will become a family favorite.
Key Takeaways
- Perfectly Crispy Coating: Achieve a golden-brown, crunchy exterior by mastering the breading process, ensuring every bite has that satisfying crunch.
- Juicy and Tender Meat: Learn techniques to keep the chicken moist and tender on the inside, preventing dryness even with air frying.
- Healthier Alternative: Enjoy the taste of fried chicken with significantly less oil and fat compared to traditional deep-frying methods.
- Simple and Quick: This air fryer method is faster and less messy than deep frying, making it an ideal weeknight meal solution.
- Versatile Seasoning: Understand how to customize your spice blend to create a signature fried chicken flavor that suits your taste.
- Proper Air Fryer Usage: Get tips on preheating, arranging chicken, and cooking times to ensure even cooking and optimal crispiness.
Why Air Fryer Fried Chicken?
Before we dive into the how-to, let’s talk about why this method is such a game-changer. Traditional fried chicken involves submerging chicken pieces in hot oil, which delivers that classic crispiness but also a significant amount of grease. The air fryer, on the other hand, uses hot circulating air to mimic the effect of deep frying. This means you get that desirable crispy texture with dramatically less oil, making your fried chicken a healthier option.
Beyond the health benefits, air frying is incredibly convenient. There’s no need to heat a large pot of oil, no risk of oil splatters, and cleanup is a breeze. Plus, air fryers cook food relatively quickly, making it an excellent choice for busy weeknights.
Choosing Your Chicken
The first step to any great fried chicken recipe is selecting the right chicken. You can use bone-in or boneless pieces. Bone-in pieces, like thighs, drumsticks, and breasts, tend to be more forgiving and stay juicier during cooking. Boneless chicken tenders or thighs are also excellent options and cook a bit faster.
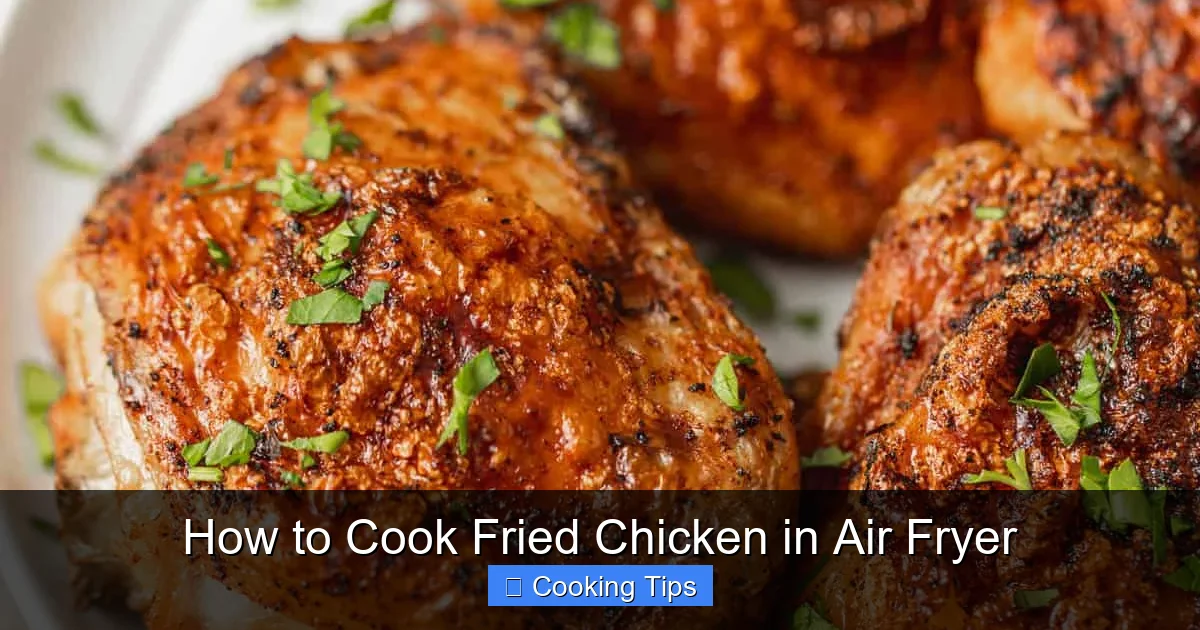
Visual guide about How to Cook Fried Chicken in Air Fryer
Image source: natashaskitchen.com
For bone-in chicken: Drumsticks and thighs are particularly good because they have enough fat to stay moist. Bone-in chicken breasts are also an option, but they can dry out more easily, so keep an eye on them. You might consider cutting them in half for more even cooking.
For boneless chicken: Chicken tenders or boneless, skinless thighs are ideal. Boneless breasts can be cut into cutlets or strips. If using breasts, pound them to an even thickness to ensure they cook uniformly.
Ensure your chicken pieces are roughly the same size for consistent cooking. If you’re using a mix of bone-in and boneless, or pieces of varying thickness, you might need to adjust cooking times.
The Breading Process: Your Key to Crispiness
The breading is what gives fried chicken its signature crunch. A good breading system typically involves three steps: seasoning the chicken, coating it in a wet mixture, and then coating it in a dry mixture.
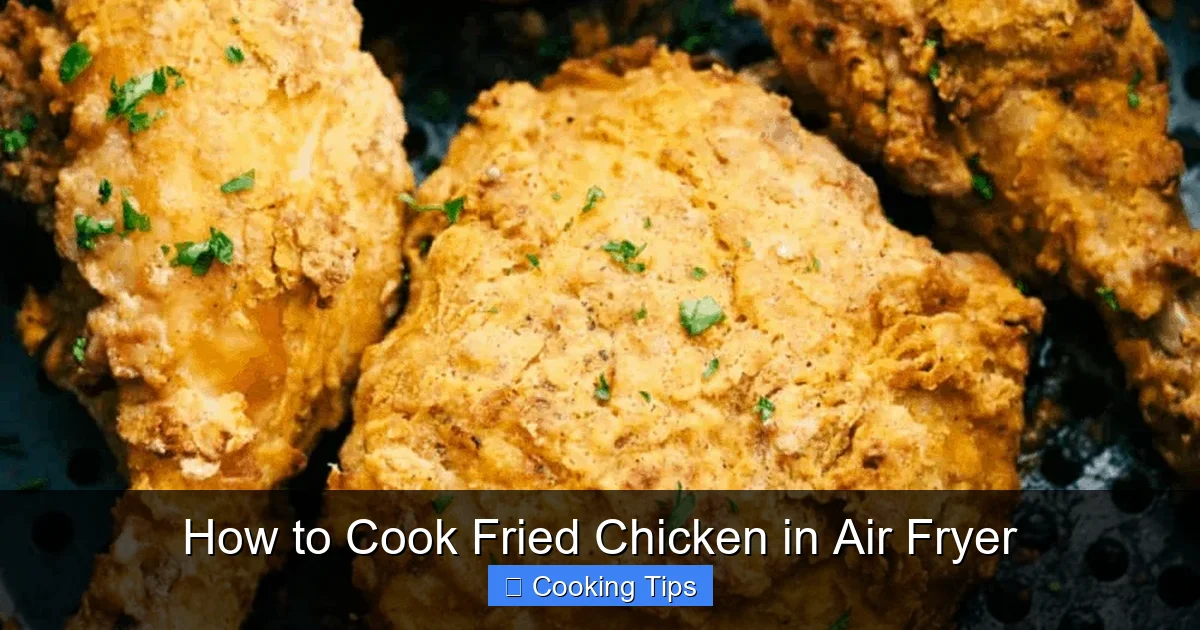
Visual guide about How to Cook Fried Chicken in Air Fryer
Image source: therecipecritic.com
Step 1: Seasoning the Chicken
This is where you build flavor from the inside out. You can season the chicken directly with salt and pepper, or marinate it. A brine or buttermilk soak is excellent for tenderizing the chicken and adding moisture.
- Salt and Pepper: A simple rub of salt and black pepper is the foundation.
- Buttermilk Soak: For extra tender and flavorful chicken, soak pieces in buttermilk for at least 30 minutes, or up to overnight in the refrigerator. The acidity in buttermilk tenderizes the meat and creates a great surface for the breading to adhere to.
- Spice Rub: You can also rub your chicken with a blend of your favorite spices like paprika, garlic powder, onion powder, cayenne pepper, and dried herbs before breading.
Tip: If you’re using buttermilk, pat the chicken dry with paper towels before moving to the next step. This helps the breading stick better.
Step 2: The Wet Mixture
This layer helps the dry breading adhere to the chicken. Common choices include:
- Egg Wash: Whisk together 2-3 eggs with a tablespoon or two of water or milk.
- Buttermilk: If you marinated your chicken in buttermilk, you can use some of that as your wet ingredient.
- Plain Yogurt or Sour Cream: These can also work as binders.
Tip: For a crispier coating, some people add a tablespoon or two of hot sauce to their egg wash or buttermilk. This adds a subtle kick and helps the breading adhere even better.
Step 3: The Dry Mixture (The Crispy Coating!)
This is the star of the show. A classic combination is flour, but you can enhance it for extra flavor and crunch.
- All-Purpose Flour: This is the base. Use about 1-2 cups depending on the amount of chicken.
- Seasonings: This is where you can get creative! Mix in salt, black pepper, paprika (for color and mild flavor), garlic powder, onion powder, dried thyme, dried oregano, and a pinch of cayenne pepper for a little heat.
- Cornstarch or Baking Powder: Adding 1-2 tablespoons of cornstarch or baking powder to your flour mixture can help create an extra crispy, almost “fried” texture. Baking powder, in particular, helps create air bubbles in the coating as it cooks, leading to a lighter, crispier crust.
How to Dredge:
- Set up a dredging station with three shallow bowls or plates.
- In the first bowl, place your seasoned chicken.
- In the second bowl, prepare your wet mixture (egg wash, buttermilk, etc.).
- In the third bowl, mix your dry ingredients (flour, seasonings, cornstarch/baking powder).
- Take a piece of chicken, dip it into the wet mixture, ensuring it’s fully coated. Let any excess drip off.
- Transfer the wet-coated chicken to the dry mixture. Press the flour mixture onto the chicken firmly, ensuring it’s completely covered. For an extra-crispy coating, you can double-dip: after the first coating of dry mix, dip it back into the wet mixture, and then again into the dry mixture.
- Place the breaded chicken pieces on a wire rack set over a baking sheet. Let them rest for about 10-15 minutes. This allows the coating to “set” and helps it adhere better during cooking.
Tip: Don’t overcrowd the breading station. Work in batches if necessary to prevent the flour from becoming clumpy.
Preheating Your Air Fryer
Just like with most cooking methods, preheating your air fryer is crucial for achieving the best results. It ensures the air fryer is hot enough when the chicken goes in, promoting even cooking and a crispier exterior from the start.
Preheat your air fryer to 380°F (190°C) for at least 3-5 minutes. Some models may recommend longer preheating times, so consult your air fryer’s manual.
Air Frying Your Chicken: The Cooking Process
Now for the main event! Cooking your breaded chicken in the air fryer is straightforward.
Step 1: Arrange the Chicken
Place the breaded chicken pieces in a single layer in the air fryer basket. Do not overcrowd the basket. Overcrowding will prevent the hot air from circulating properly, leading to uneven cooking and a less crispy coating.
If you have a lot of chicken, you’ll need to cook it in batches. For best results, leave about an inch of space between each piece.
Step 2: Cook the Chicken
The cooking time will vary depending on the size and type of chicken pieces you are using, as well as your specific air fryer model.
General Cooking Times:
- Boneless, skinless chicken tenders/pieces: 12-18 minutes, flipping halfway through.
- Bone-in chicken thighs: 20-25 minutes, flipping halfway through.
- Bone-in chicken drumsticks: 18-22 minutes, flipping halfway through.
- Bone-in chicken breasts (halved): 25-30 minutes, flipping halfway through.
Important: Always flip the chicken halfway through the cooking time. This ensures both sides get evenly crispy. You might also want to gently shake the basket once or twice during cooking for even browning.
Step 3: Check for Doneness
The most important step is to ensure your chicken is cooked through and safe to eat. The internal temperature for chicken should reach 165°F (74°C).
- Use an instant-read meat thermometer to check the thickest part of the chicken, avoiding the bone.
- The juices should run clear when you pierce the thickest part with a fork or knife.
Tip: If the coating is browning too quickly but the chicken isn’t cooked through, you can loosely tent the chicken with foil or reduce the air fryer temperature slightly (e.g., to 360°F/180°C) for the remaining cooking time.
Resting Your Fried Chicken
Once your chicken is cooked to perfection, resist the urge to dig in immediately! Just like with oven-baked or deep-fried chicken, letting your air fryer fried chicken rest for 5-10 minutes is essential. This allows the juices to redistribute throughout the meat, resulting in more tender and moist chicken.
Transfer the cooked chicken to a wire rack set over a plate or baking sheet. This allows air to circulate around the chicken, preventing the bottom from becoming soggy.
Troubleshooting Common Issues
Even with the best instructions, you might encounter a few hiccups. Here are some common problems and how to solve them:
My chicken isn’t crispy enough.
Possible causes and solutions:
- Overcrowding: You likely put too many pieces in the basket. Cook in smaller batches.
- Not enough preheating: Ensure your air fryer is thoroughly preheated.
- Too much moisture in the breading: Make sure your chicken pieces are relatively dry before breading, and don’t let the breaded chicken sit for too long before cooking.
- Baking powder/cornstarch missing: These ingredients really help with crispiness. Make sure you’ve included them in your dry mix.
My chicken is dry.
Possible causes and solutions:
- Overcooked: Use a meat thermometer and cook to 165°F (74°C). Chicken can dry out quickly after that point.
- Wrong cut of chicken: Fattier cuts like thighs and drumsticks are more forgiving. Boneless breasts are prone to drying out.
- Not enough resting time: Ensure you let the chicken rest after cooking.
The breading is falling off.
Possible causes and solutions:
- Inadequate wet binder: Make sure the chicken is well-coated in the egg wash or buttermilk.
- Not pressing the breading firmly: Ensure you’re pressing the dry mixture onto the chicken.
- Chicken too wet: If you marinated in buttermilk, pat the chicken dry before breading.
- Not letting breaded chicken rest: Allowing the breading to set for 10-15 minutes before cooking helps it adhere better.
Flavor Variations and Serving Suggestions
The beauty of air fryer fried chicken is its versatility. Once you’ve mastered the basic technique, feel free to experiment with different flavor profiles.
- Spicy Buffalo: Add cayenne pepper, paprika, and a dash of hot sauce to your dry mix. Toss cooked chicken in buffalo sauce.
- Lemon Herb: Incorporate lemon zest, dried rosemary, and thyme into the dry mix.
- Parmesan Garlic: Add grated Parmesan cheese and extra garlic powder to your flour mixture.
- Smoked Paprika: Use smoked paprika for a deep, smoky flavor.
Serve your air fryer fried chicken with classic sides like mashed potatoes, coleslaw, mac and cheese, or a fresh green salad for a complete and satisfying meal.
Conclusion
Cooking fried chicken in an air fryer is a revelation! It’s a healthier, easier, and less messy way to enjoy the beloved flavors and textures of classic fried chicken. By following these steps – from selecting your chicken and mastering the breading to proper air fryer technique and resting – you’ll be able to consistently produce wonderfully crispy, juicy, and flavorful chicken that will impress your family and friends.
So, dust off your air fryer, gather your ingredients, and get ready to experience the magic of air fryer fried chicken. Happy cooking!