Discover how to cook perfectly crispy and juicy fresh chicken tenders using your air fryer. This comprehensive guide covers everything from selecting the best chicken to achieving that ideal golden-brown finish. Enjoy a healthier, faster, and more delicious way to make this family favorite, ideal for a quick dinner or a crowd-pleasing appetizer.
Are you looking for a way to make delicious, crispy chicken tenders without all the deep-frying mess? The air fryer is your new best friend! In this guide, we’ll walk you through everything you need to know about cooking fresh chicken tenders in your air fryer. Get ready for tender, juicy chicken with a satisfying crunch that everyone will love. It’s easier than you think to get restaurant-quality results right in your kitchen. We’ll cover selecting the best chicken, preparing it for the air fryer, and cooking it to golden perfection.
Why Air Fry Chicken Tenders?
Air frying is a fantastic method for cooking chicken tenders. It uses hot air to circulate around the food, creating a crispy exterior while keeping the inside moist and tender. This means you can enjoy all the deliciousness of fried chicken with significantly less oil. It’s a healthier alternative that doesn’t sacrifice flavor or texture. Plus, it’s incredibly fast, making it perfect for busy weeknights or when you need a quick appetizer.
Key Takeaways
- Choose the Right Chicken: Opt for fresh, boneless, skinless chicken tenderloins for the best texture and ease of cooking.
- Proper Seasoning is Key: Don’t be afraid to season generously for maximum flavor. A simple salt and pepper base with your favorite spices is a great start.
- Create a Crispy Coating: Achieve a satisfying crunch by using a breading station with flour, egg, and breadcrumbs (or panko for extra crispiness).
- Don’t Overcrowd the Air Fryer: Cook in batches to ensure even air circulation, leading to uniformly crispy tenders.
- Cook to Perfection: Use a meat thermometer to guarantee your chicken is cooked through to a safe internal temperature of 165°F (74°C).
- Adjust Cooking Time as Needed: Air fryers can vary, so keep an eye on your tenders and adjust cooking time and temperature based on your specific model and the thickness of the tenders.
- Serve Immediately for Best Results: Freshly air-fried chicken tenders are at their crispiest and most delicious right out of the basket.
Step 1: Gather Your Ingredients
Before you start, make sure you have everything you need. This will make the cooking process smooth and enjoyable.
What You’ll Need:
- Fresh Chicken Tenders: About 1 to 1.5 pounds of boneless, skinless chicken tenderloins.
- For the Breading:
- 1/2 cup all-purpose flour
- 2 large eggs
- 1 cup panko breadcrumbs (or regular breadcrumbs)
- Salt and freshly ground black pepper
- Your favorite spices (e.g., paprika, garlic powder, onion powder, cayenne pepper)
- For Cooking: A small amount of cooking spray or oil (optional, for extra crispiness)
Step 2: Prepare the Chicken Tenders
Getting your chicken ready is a crucial step for tender and juicy results. Follow these simple steps.
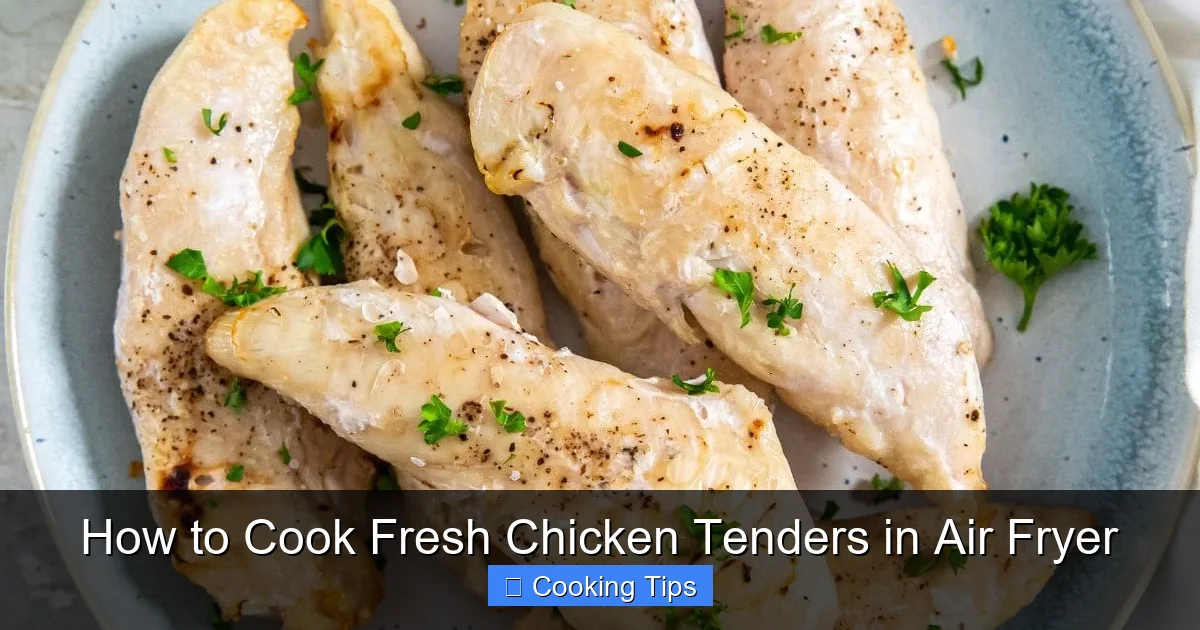
Visual guide about How to Cook Fresh Chicken Tenders in Air Fryer
Image source: chickenairfryerrecipes.com
Trimming the Chicken:
If your chicken tenders have any excess fat or the little tough white tendon, trim them away. This ensures a more pleasant eating experience. You want smooth, uniform pieces of chicken.
Pat Dry for Crispiness:
This might seem like a small detail, but it’s very important. Use paper towels to pat the chicken tenders completely dry. Moisture is the enemy of crispiness. Dry chicken allows the breading to adhere better and fry up crispier.
Step 3: Set Up Your Breading Station
A well-organized breading station makes the whole process efficient. You’ll need three shallow dishes or plates.
Dish 1: The Flour Mix
In the first dish, combine the all-purpose flour with a good pinch of salt, black pepper, and any other dry spices you’d like to use. Popular choices include paprika for color and a hint of smokiness, garlic powder, onion powder, and a touch of cayenne pepper if you like a little heat. Whisk it all together well. This seasoned flour will help the egg wash stick and provide a base for the breadcrumbs.
Dish 2: The Egg Wash
In the second dish, crack the two large eggs and whisk them thoroughly. You want a smooth, consistent mixture. This is what will make your breadcrumbs stick to the chicken.
Dish 3: The Breadcrumbs
In the third dish, place your panko breadcrumbs. Panko breadcrumbs are highly recommended for air fryer chicken tenders because they are lighter and create a much crispier, crunchier coating than regular breadcrumbs. If you don’t have panko, regular breadcrumbs will work, but the texture might be slightly less crispy. You can add a little extra salt and pepper to the breadcrumbs if you want to boost the flavor even more.
Step 4: Bread the Chicken Tenders
Now it’s time to coat the chicken. Work with a few tenders at a time so they don’t get mushy or clumped together.
The Breading Process:
- First, the Flour: Take a chicken tender and dredge it in the seasoned flour mixture. Make sure it’s fully coated, shaking off any excess flour.
- Second, the Egg: Dip the floured tender into the whisked eggs. Let any excess egg drip off.
- Third, the Breadcrumbs: Finally, press the egg-coated tender into the panko breadcrumbs. Ensure it’s completely covered, pressing gently to help the crumbs adhere.
Place the breaded chicken tender onto a clean plate or baking sheet. Repeat this process for all your chicken tenders. Try not to let the breaded tenders touch each other too much, as they can stick together.
Tip for Extra Crispiness:
Some people like to double-bread their chicken tenders for an even thicker, crispier coating. To do this, after the first breading, dip the tender back into the egg wash, and then back into the breadcrumbs. This is optional but can lead to an amazing crunch!
Step 5: Preheat Your Air Fryer
Preheating your air fryer is just as important as preheating a conventional oven. It helps ensure the chicken cooks evenly and gets crispy from the start.
Preheating Instructions:
Set your air fryer to 375°F (190°C) and let it preheat for about 3-5 minutes. Most air fryers have a preheat setting, or you can simply turn it on and let it run without food.
Step 6: Arrange the Chicken Tenders in the Air Fryer
Proper arrangement is key to achieving even cooking and a crispy coating on all sides.
Arranging for Air Flow:
Place the breaded chicken tenders in a single layer in the air fryer basket. It’s crucial that the tenders do not overlap or touch each other. Overcrowding the basket will prevent the hot air from circulating properly, leading to unevenly cooked, soggy chicken.
Cooking in Batches:
If you have a lot of chicken tenders, you will likely need to cook them in batches. It’s better to cook two smaller batches than one overcrowded one. Your air fryer manual will give you an idea of its capacity, but generally, about 6-8 tenders fit comfortably in a standard-sized air fryer basket.
Optional Oil Spray:
For an even crispier finish, you can lightly mist the tops of the breaded chicken tenders with cooking spray or brush them with a tiny bit of oil. This helps the breading achieve that beautiful golden-brown color and extra crunch.
Step 7: Air Fry the Chicken Tenders
This is where the magic happens! Follow these guidelines for perfectly cooked tenders.
Initial Cooking Time:
Place the air fryer basket with the chicken tenders into the preheated air fryer. Cook at 375°F (190°C) for 8-10 minutes.
Flip and Continue Cooking:
After 8-10 minutes, carefully pull out the air fryer basket. Using tongs, flip each chicken tender over. This ensures both sides get equally crispy.
Second Cooking Period:
Continue cooking for another 6-8 minutes, or until the chicken tenders are golden brown and cooked through. The total cooking time will depend on the thickness of your tenders and your specific air fryer model.
Step 8: Check for Doneness
Safety and taste go hand-in-hand. Make sure your chicken is cooked properly.
Using a Meat Thermometer:
The most reliable way to check if chicken is cooked is to use an instant-read meat thermometer. Insert the thermometer into the thickest part of a chicken tender. It should register an internal temperature of 165°F (74°C).
Visual Cues:
If you don’t have a thermometer, you can cut into one of the thicker tenders. The juices should run clear, and the meat should be opaque white all the way through, with no pinkness.
Step 9: Rest and Serve
Just like with other meats, a short rest can make a difference.
Let Them Rest Briefly:
Once cooked, remove the chicken tenders from the air fryer basket and place them on a plate. Let them rest for a minute or two. This allows the juices to redistribute, ensuring a tender and moist interior.
Serving Suggestions:
Serve your air fryer chicken tenders hot! They are delicious on their own or with your favorite dipping sauces like honey mustard, ketchup, BBQ sauce, ranch, or sweet chili sauce. They also make a fantastic addition to salads or can be served with a side of fries or vegetables for a complete meal.
Troubleshooting Common Issues
Issue: Chicken Tenders are soggy.
Solution: This is usually due to overcrowding the air fryer basket or not patting the chicken dry enough initially. Ensure you are cooking in a single layer without touching, and that the chicken was thoroughly dried before breading.
Issue: Breading is falling off.
Solution: Make sure you are pressing the breadcrumbs firmly onto the chicken after dipping it in the egg. Ensure your flour is not too thick and your egg wash isn’t too watery. Re-dredging in flour after the egg wash can also help.
Issue: Chicken tenders are dry.
Solution: This can happen if they are overcooked. Use a meat thermometer and pull them out as soon as they reach 165°F (74°C). Also, ensure you’re using fresh, good-quality chicken tenderloins, as they are naturally lean.
Issue: Air fryer smoking.
Solution: This is often caused by small bits of food or breading falling through the basket and burning on the heating element. Ensure your air fryer is clean, and try to minimize excess breading that might fall off during cooking.
Conclusion
Cooking fresh chicken tenders in the air fryer is a game-changer for quick, healthy, and delicious meals. You’ve learned how to select the best chicken, prepare a perfect breading station, achieve ultimate crispiness, and cook them to tender perfection. With these easy steps, you can enjoy golden, crunchy chicken tenders anytime. So next time you’re craving this classic comfort food, reach for your air fryer and get ready to be impressed. Happy air frying!