Unlock the secret to perfectly crispy and juicy floured chicken with your air fryer! This comprehensive guide walks you through every step, from preparing your chicken to achieving golden-brown perfection. Enjoy a healthier, faster way to make a delicious meal.
Key Takeaways
- Perfectly Crispy Coating: Learn the optimal flour coating technique to ensure a satisfying crunch without being greasy.
- Juicy Interior: Discover how air frying locks in moisture, resulting in tender and flavorful chicken every time.
- Simple Seasoning: Explore easy ways to elevate your floured chicken with basic pantry spices for maximum taste.
- Cooking Time & Temperature Mastery: Understand the ideal settings for different chicken cuts to avoid undercooking or overcooking.
- Quick & Healthy Meal: This method offers a fast and healthier alternative to deep-frying, perfect for busy evenings.
- Minimal Mess: Enjoy a cleaner cooking experience with less oil splatter compared to traditional frying.
How to Cook Floured Chicken in Air Fryer
Craving that irresistible crunch of fried chicken but want to avoid the mess and excess oil? The air fryer is your new best friend! Cooking floured chicken in an air fryer is a game-changer, offering a healthier, quicker, and surprisingly simple way to achieve that golden-brown, crispy exterior and juicy, tender interior we all love. Forget the complicated deep-frying process; with just a few simple steps, you can transform everyday chicken into a culinary delight.
This guide is designed to make cooking floured chicken in your air fryer foolproof. Whether you’re a seasoned home cook or just starting in the kitchen, you’ll learn everything you need to know to get consistently delicious results. We’ll cover preparing your chicken, mastering the flour coating for maximum crispiness, and the best air fryer techniques to ensure your chicken is cooked to perfection. Get ready to impress yourself and your loved ones with your new go-to air fryer chicken recipe!
Why Air Fry Floured Chicken?
Before we dive into the “how,” let’s briefly touch on the “why.” Air fryers work by circulating hot air rapidly around your food. This process mimics the effects of deep-frying, creating a crispy exterior, but it uses significantly less oil. For floured chicken, this means you can achieve that satisfying crunch without the heavy, greasy feeling of traditional fried chicken. It’s a fantastic way to enjoy a classic comfort food with a healthier twist. Plus, the cleanup is a breeze compared to dealing with a pot of hot oil!
Preparing Your Chicken for the Air Fryer
The foundation of any great chicken dish starts with proper preparation. For floured chicken, this involves selecting the right cut, ensuring it’s clean, and preparing it to receive the delicious flour coating.
Choosing the Right Chicken Cuts
You can air fry almost any cut of chicken with a flour coating. However, some cuts lend themselves better to this method and cook more evenly.
- Chicken Thighs: Boneless, skinless chicken thighs are a fantastic choice. They are forgiving and tend to stay incredibly juicy due to their higher fat content. Cut them into bite-sized pieces for quicker cooking and easier eating.
- Chicken Breasts: Boneless, skinless chicken breasts can also be used, but they are leaner and can dry out if overcooked. Cutting them into uniform, smaller pieces (about 1-1.5 inches) or pounding them to an even thickness will help ensure they cook through without becoming tough.
- Chicken Tenders/Strips: These are naturally portioned and cook quickly and evenly. They are perfect for a weeknight meal or as an appetizer.
- Bone-in Chicken Pieces: While possible, bone-in pieces (like thighs or drumsticks) will take longer to cook and may require a slightly lower temperature or careful monitoring to ensure the inside is cooked without burning the coating. For this guide, we’ll focus on boneless cuts for simplicity and speed.
Trimming and Cutting
Once you’ve chosen your chicken, it’s time to get it ready.
- Trim Excess Fat: Remove any large, unsightly pieces of fat from your chicken. A little fat is good for flavor and moisture, but too much can lead to smoking in the air fryer.
- Cut into Uniform Pieces: If you’re using chicken breasts or thighs and cutting them into smaller portions, aim for pieces of similar size and thickness. This is crucial for even cooking. About 1-inch to 1.5-inch cubes or strips work well for most air fryer recipes.
- Pat Dry: This is a critical step! Use paper towels to pat your chicken pieces thoroughly dry. A dry surface helps the flour adhere better and promotes crispiness. Excess moisture will make the flour clump and prevent it from getting crispy.
Creating the Perfect Flour Coating
The flour coating is what gives your chicken that signature crispiness. It’s a simple process, but there are a few tricks to make it truly shine.
The Flour Mixture: Simple Yet Flavorful
You don’t need anything fancy to start. All-purpose flour is the base.
Basic Flour Mix Ingredients:
- 1 cup all-purpose flour
- 1 teaspoon salt
- 1 teaspoon black pepper
Seasoning Variations:
This basic mix is a blank canvas. Feel free to add your favorite spices! Here are some popular and delicious additions:
- For a little heat: 1/2 teaspoon paprika, 1/4 teaspoon cayenne pepper, or a pinch of red pepper flakes.
- For an herby kick: 1 teaspoon dried Italian seasoning, garlic powder, or onion powder.
- For a savory depth: A pinch of smoked paprika or a dash of celery salt.
Experiment and find your favorite combination! Just mix all your dry ingredients together in a shallow dish or a resealable bag.
The Dredging Process: Two-Step Method
A two-step dredging process is often recommended for achieving the best adhesion and a thicker, crispier coating.
Step 1: The Flour Coat
Place your seasoned flour mixture in a shallow dish or a large resealable plastic bag. Add your dried chicken pieces to the dish or bag.
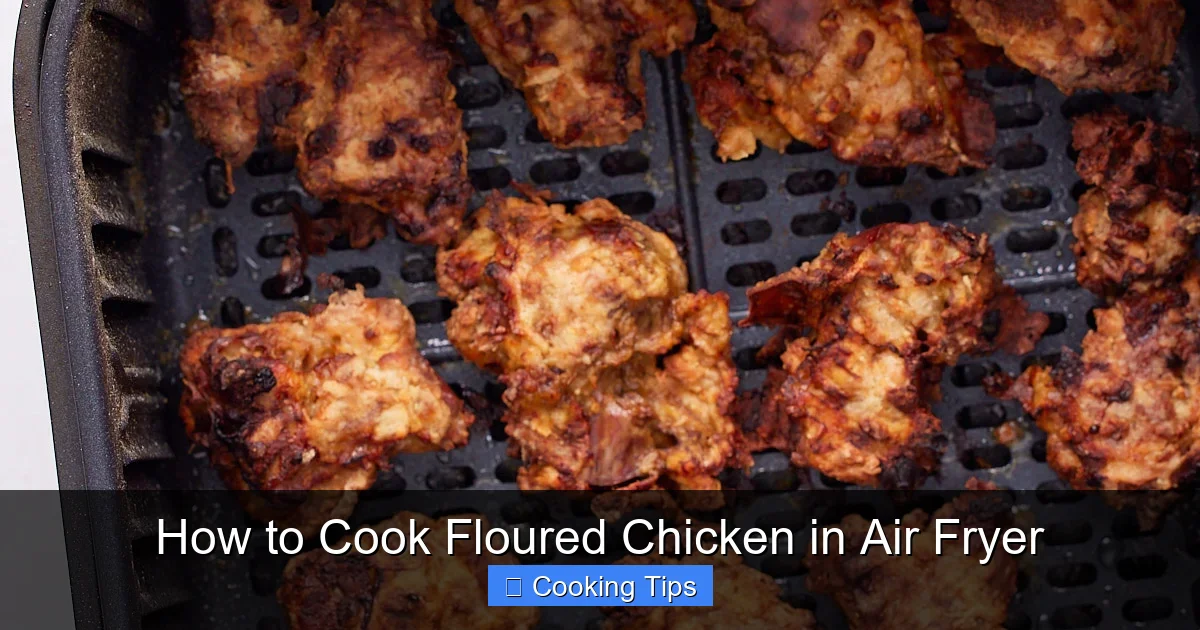
Visual guide about How to Cook Floured Chicken in Air Fryer
Image source: storables.com
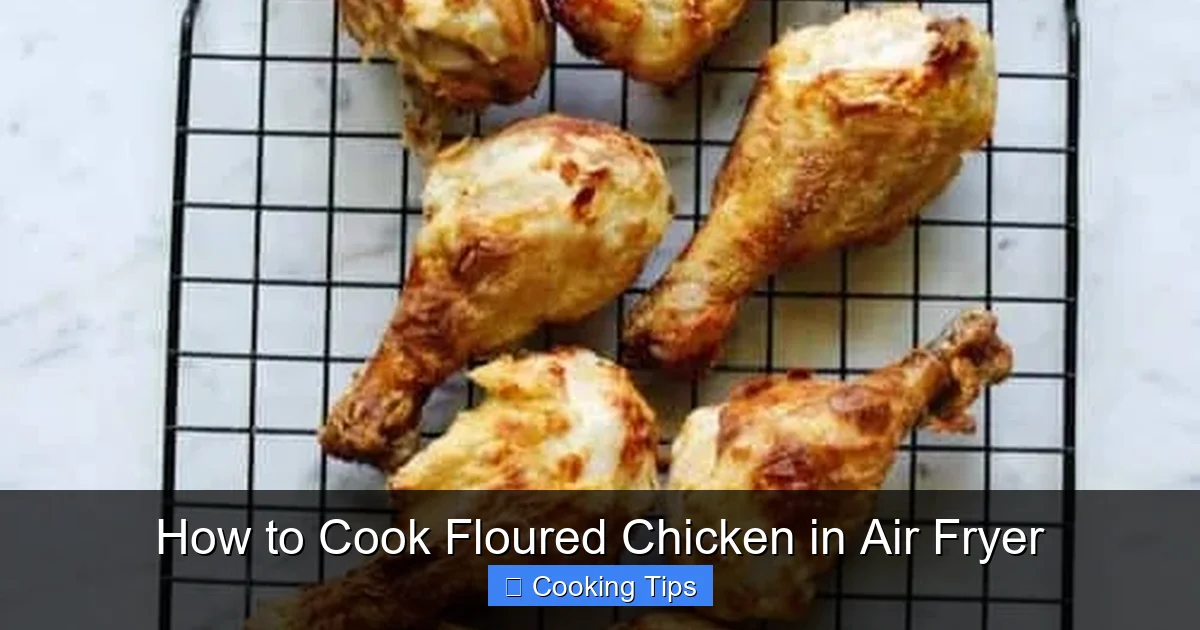
Visual guide about How to Cook Floured Chicken in Air Fryer
Image source: abeautifulmess.com
If using a dish: Toss the chicken gently in the flour until each piece is evenly coated. Shake off any excess flour.
If using a bag: Seal the bag and shake gently until all chicken pieces are well-coated. This method is great for minimizing mess and ensuring even coating.
Once coated, set the floured chicken aside on a plate or wire rack. Let it rest for about 5-10 minutes. This allows the flour to absorb some moisture from the chicken, helping it adhere better and create a sturdier crust.
Step 2: The Binding Agent (Optional but Recommended)
While you can achieve a good coating with just flour, adding a binding agent before the flour helps the flour stick more effectively and creates an even crispier crust. Common binding agents include:
- Egg Wash: Whisk 1-2 eggs with a tablespoon of milk or water in a separate shallow dish.
- Buttermilk: A popular choice for its tenderizing properties and tangy flavor. Place about 1/2 cup of buttermilk in a shallow dish.
- Yogurt or Sour Cream: Plain yogurt or sour cream mixed with a little water can also work as a binder.
How to use the binder:
Dip each floured chicken piece into your chosen binding agent, letting any excess drip off. Then, re-dredge the chicken in the seasoned flour mixture (you might want to replenish your flour if it’s clumpy). Ensure each piece is thoroughly coated again. This double-coating creates a fantastic texture.
Alternative: The “Shake and Bake” Method
If you want to simplify, you can skip the binder. Simply ensure your chicken is very dry, toss it generously in the seasoned flour, and let it rest for 10 minutes before air frying. You’ll still get good results, though perhaps not as thick a crust as the two-step method.
Air Frying Your Floured Chicken
Now for the magic! Air frying is straightforward, but a few tips will guarantee success.
Preheating Your Air Fryer
This is a crucial step for any air fryer recipe.
- Temperature: Preheat your air fryer to 375°F (190°C).
- Time: Allow it to preheat for at least 3-5 minutes.
Preheating ensures that the chicken starts cooking immediately upon entering the basket, which helps create that crispy exterior and prevents it from steaming and becoming soggy.
Arranging the Chicken in the Air Fryer Basket
Proper arrangement is key to even cooking and crispiness.
- Single Layer: Never overcrowd the air fryer basket. Arrange the floured chicken pieces in a single layer, ensuring there is space between each piece. This allows the hot air to circulate freely around the chicken, cooking it evenly and making it crispy.
- Don’t Overlap: Overlapping pieces will result in uneven cooking, with some parts getting crispy and others remaining pale and soft. You may need to cook your chicken in batches, depending on the size of your air fryer and the amount of chicken you’re preparing. It’s better to cook in batches than to compromise on crispiness and even cooking.
Air Frying Time and Temperature
The exact cooking time will vary based on the size of your chicken pieces, your specific air fryer model, and whether the chicken is bone-in or boneless.
General Guidelines:
- Temperature: Stick to 375°F (190°C) for most boneless cuts.
- Boneless, Skinless Chicken Breasts/Thighs (1-1.5 inch pieces): Cook for 12-18 minutes.
- Chicken Tenders/Strips: Cook for 10-15 minutes.
Flipping and Shaking:
- Mid-way Flip: Halfway through the cooking time (around 6-10 minutes in, depending on the cut), open the air fryer and flip each piece of chicken using tongs. If you are air frying smaller pieces like tenders, you can also gently shake the basket to redistribute them. This ensures both sides get equally crispy.
- Checking for Doneness: The most reliable way to check if chicken is cooked is by using an instant-read meat thermometer. The internal temperature of chicken should reach 165°F (74°C) in the thickest part of the meat.
If you don’t have a thermometer, look for chicken that is golden brown and crispy, and when pierced with a fork, the juices run clear, not pink.
Adjusting for Crispiness:
If you prefer an extra-crispy coating, you can add an extra minute or two of cooking time, or even increase the temperature slightly to 400°F (200°C) for the last 2-3 minutes, keeping a close eye to prevent burning.
Troubleshooting Common Issues
Even with the best guidance, you might run into a snag. Here are some common problems and how to fix them:
Soggy Coating
Cause: Overcrowding the basket, not patting chicken dry enough, or not preheating the air fryer.
Solution: Ensure chicken is in a single layer with space. Make sure chicken is *very* dry before flouring. Always preheat your air fryer.
Unevenly Cooked Chicken
Cause: Pieces are different sizes or thickness, or overcrowding.
Solution: Cut chicken into uniform pieces. Don’t overcrowd the basket; cook in batches if necessary. Flip or shake the basket halfway through.
Chicken is Dry
Cause: Overcooking, especially with lean chicken breasts.
Solution: Use a meat thermometer to check for 165°F (74°C). Cook for the minimum recommended time and check for doneness. Thighs are more forgiving. You can also consider adding a bit more seasoning to the flour to help retain moisture.
Flour Coating Falling Off
Cause: Chicken not dry enough, or not enough resting time after flouring.
Solution: Pat chicken *thoroughly* dry. Let the floured chicken rest for 5-10 minutes before air frying to help the flour adhere.
Serving Your Delicious Floured Chicken
Once your floured chicken is perfectly cooked, it’s time to enjoy!
Serve your crispy floured chicken hot, straight from the air fryer. It’s delicious on its own, or you can pair it with your favorite side dishes. Classic pairings include mashed potatoes, coleslaw, macaroni and cheese, or a fresh green salad.
For dipping, consider serving with honey mustard, BBQ sauce, ranch dressing, or hot sauce.
Conclusion
Mastering floured chicken in the air fryer is a rewarding culinary achievement. You’ve learned how to select and prepare your chicken, create a flavorful and crispy flour coating, and navigate the air frying process for optimal results. The convenience, health benefits, and delicious outcome make this a go-to method for a satisfying meal any night of the week. So, gather your ingredients, preheat your air fryer, and get ready to enjoy some of the best floured chicken you’ve ever made – all with the ease and efficiency of your air fryer! Happy cooking!